Mega Shed
Some would say a 'Man Cave', the children call it 'The New House', I've always thought of it as a 'Mega Shed'. This is a visual diary of the process of building Cookie's dream shed throughout 2022.
Spring time
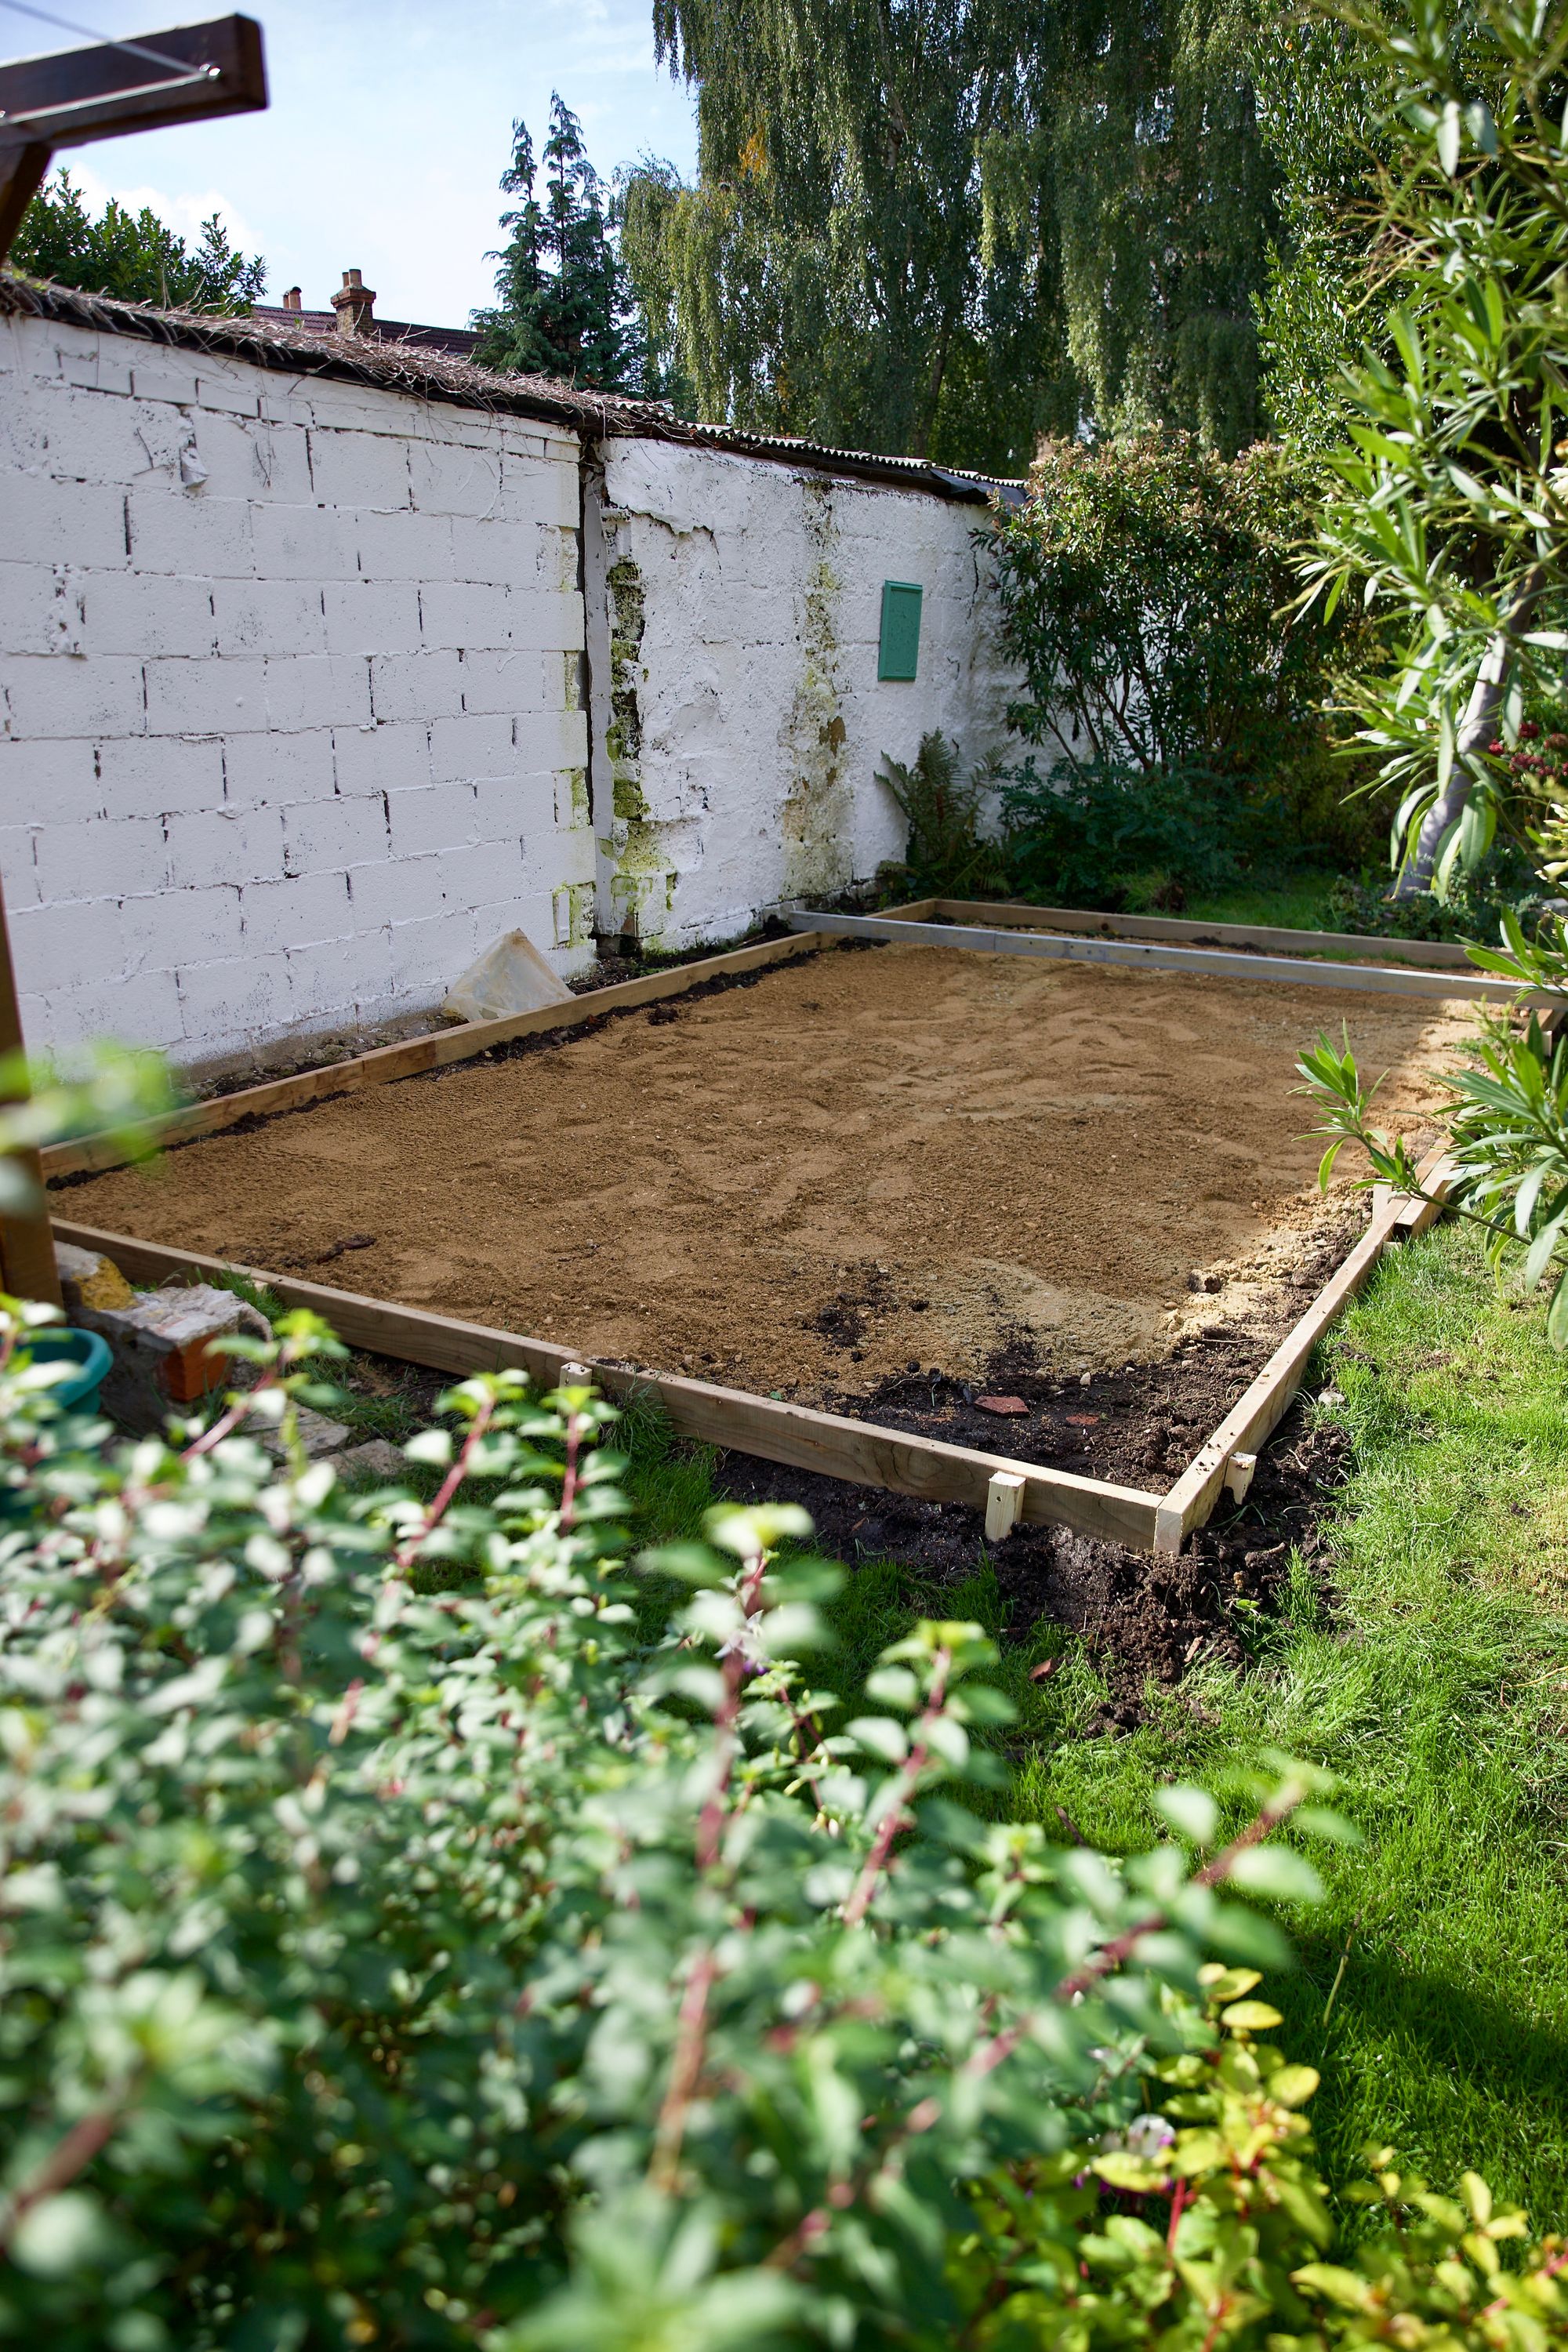
We decided to replace our old shed at the start of the year, but there was a lot of work to do just clearing the site first.
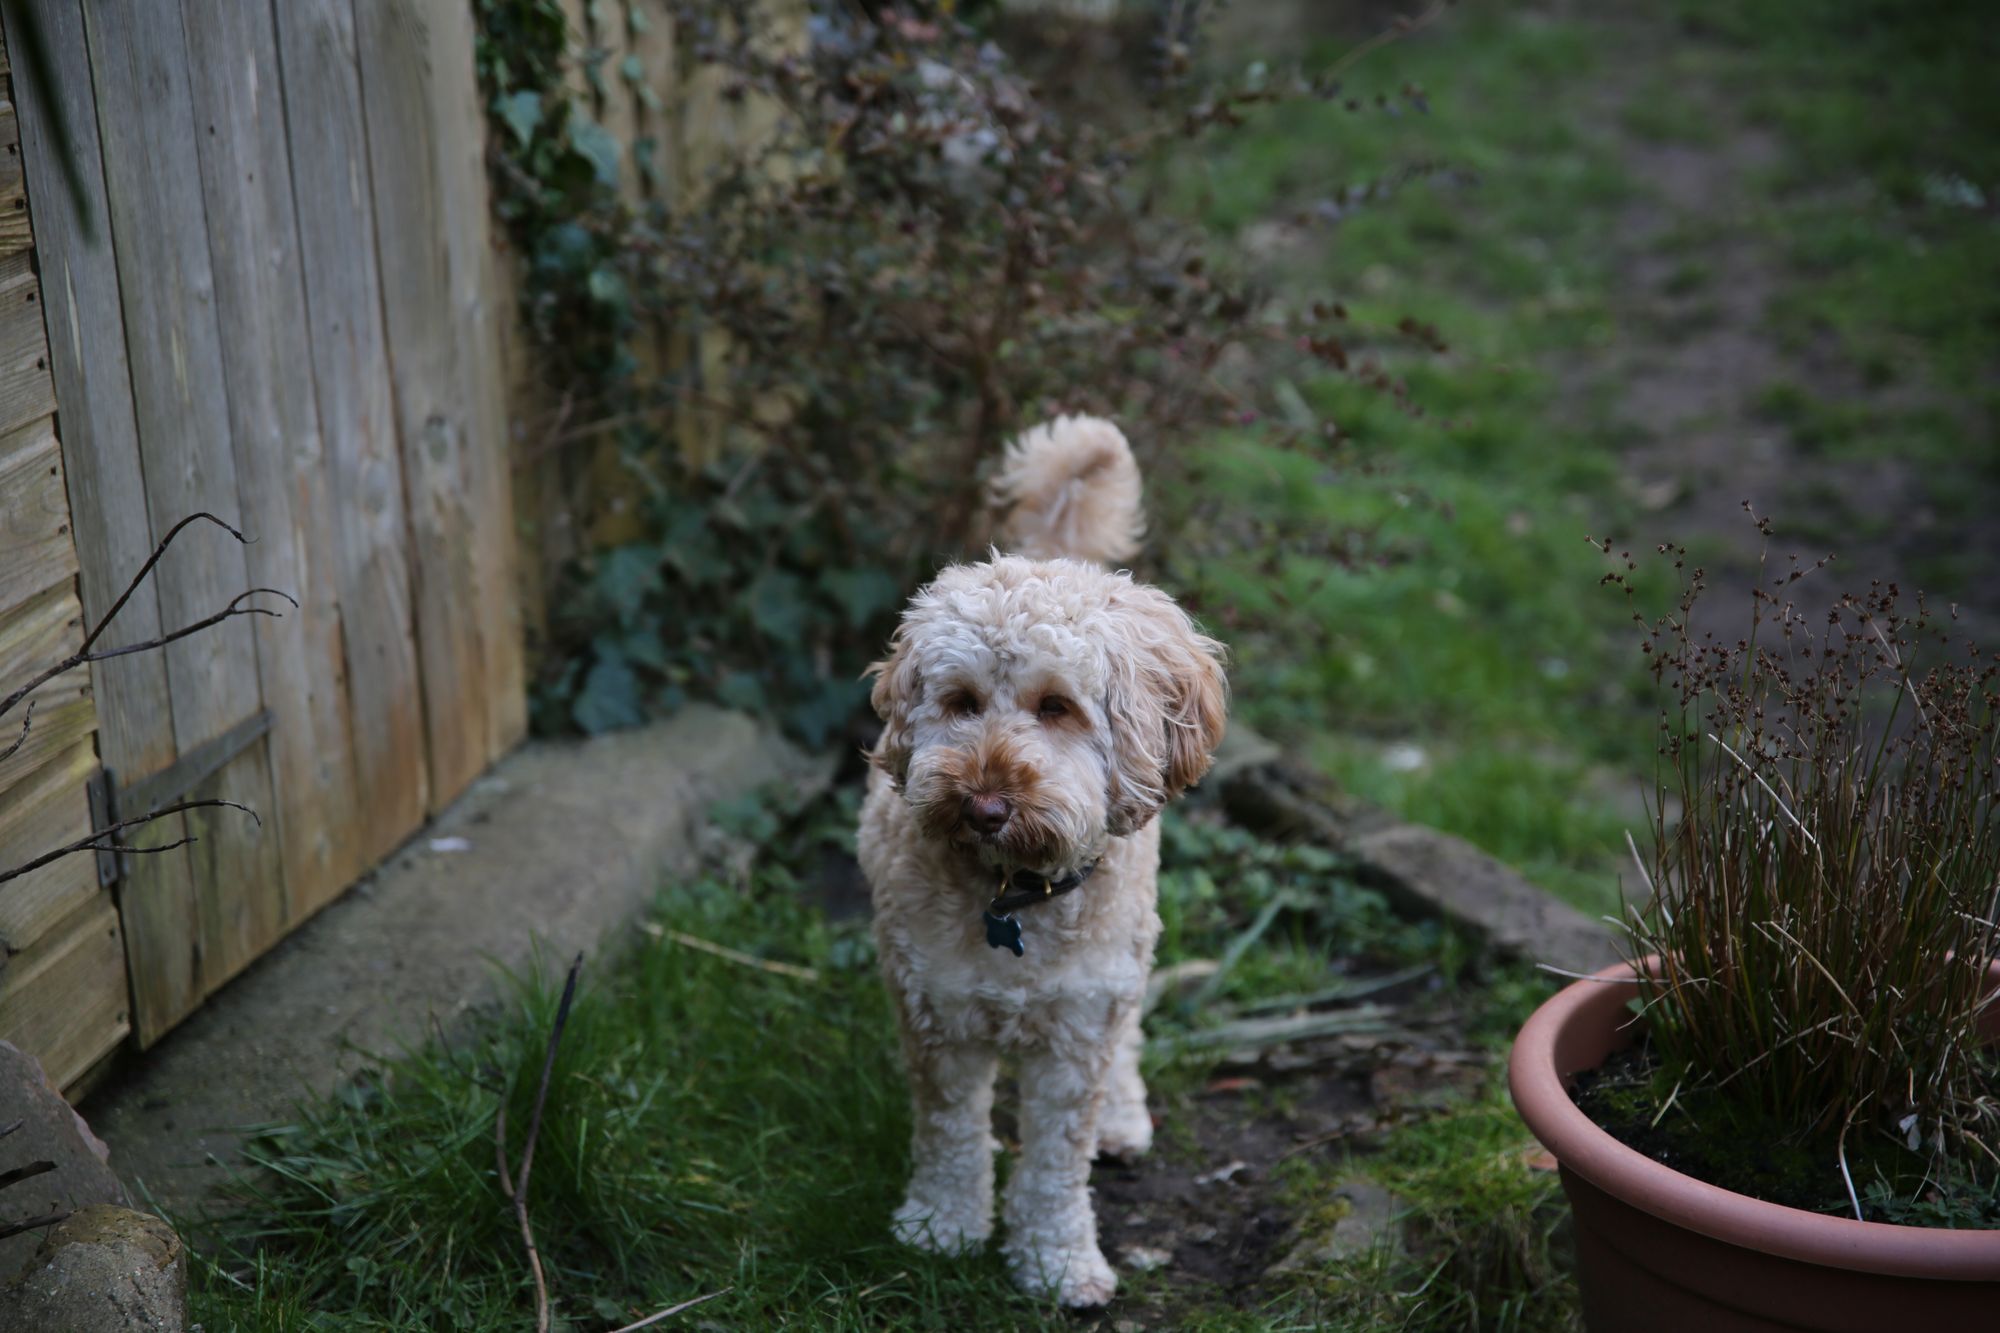
We haven't got many photos of the old shed, partly becuase it wasn't much to look at, but also it was ringed by huge overgrown shrubs so you could hardly see it was there. This is Sausage stood in front of the shed door.
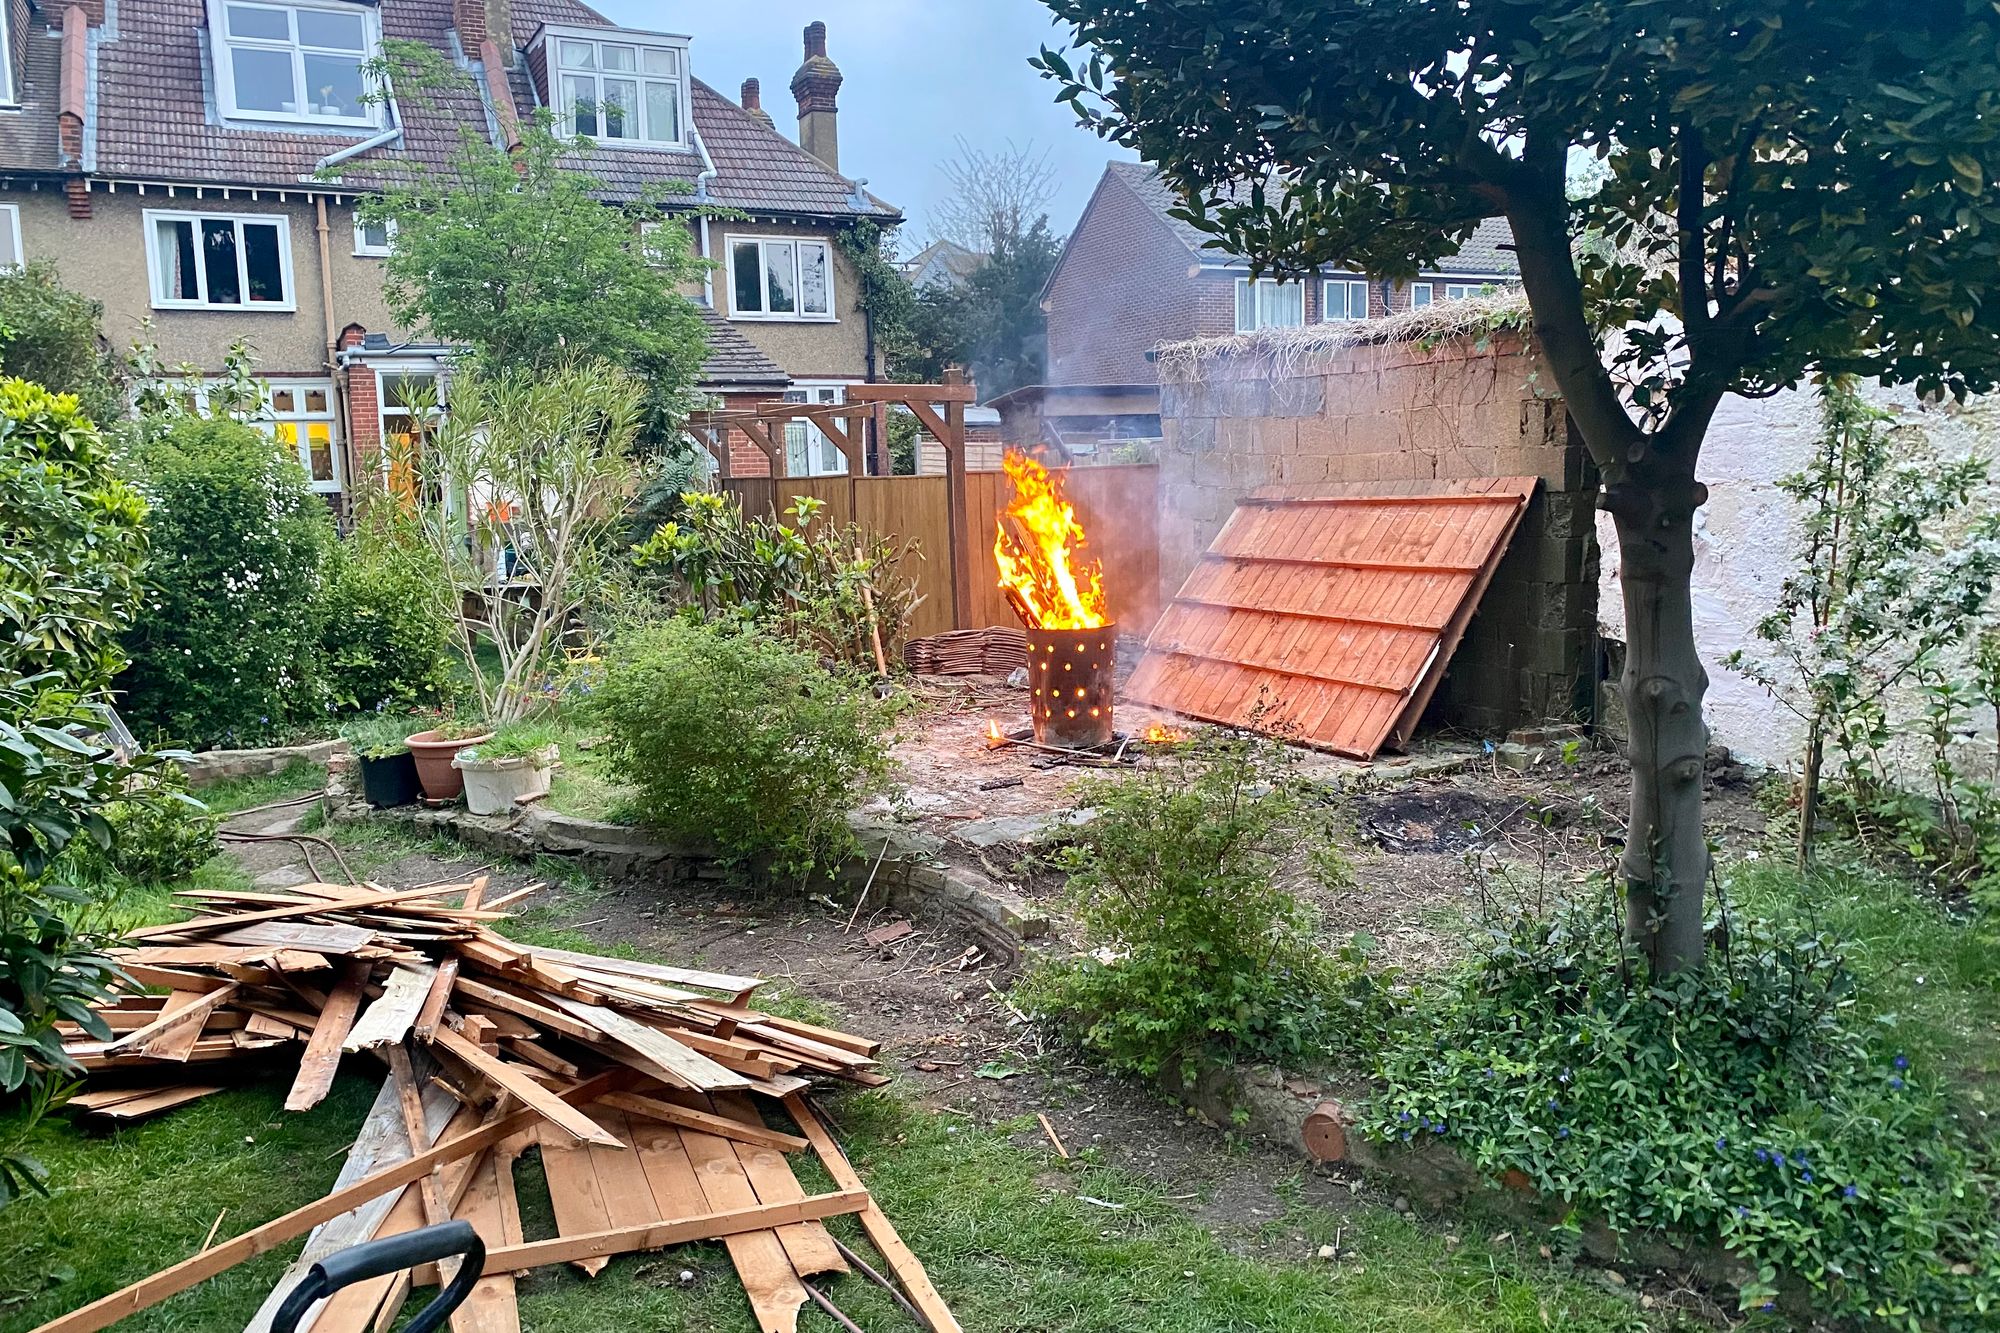
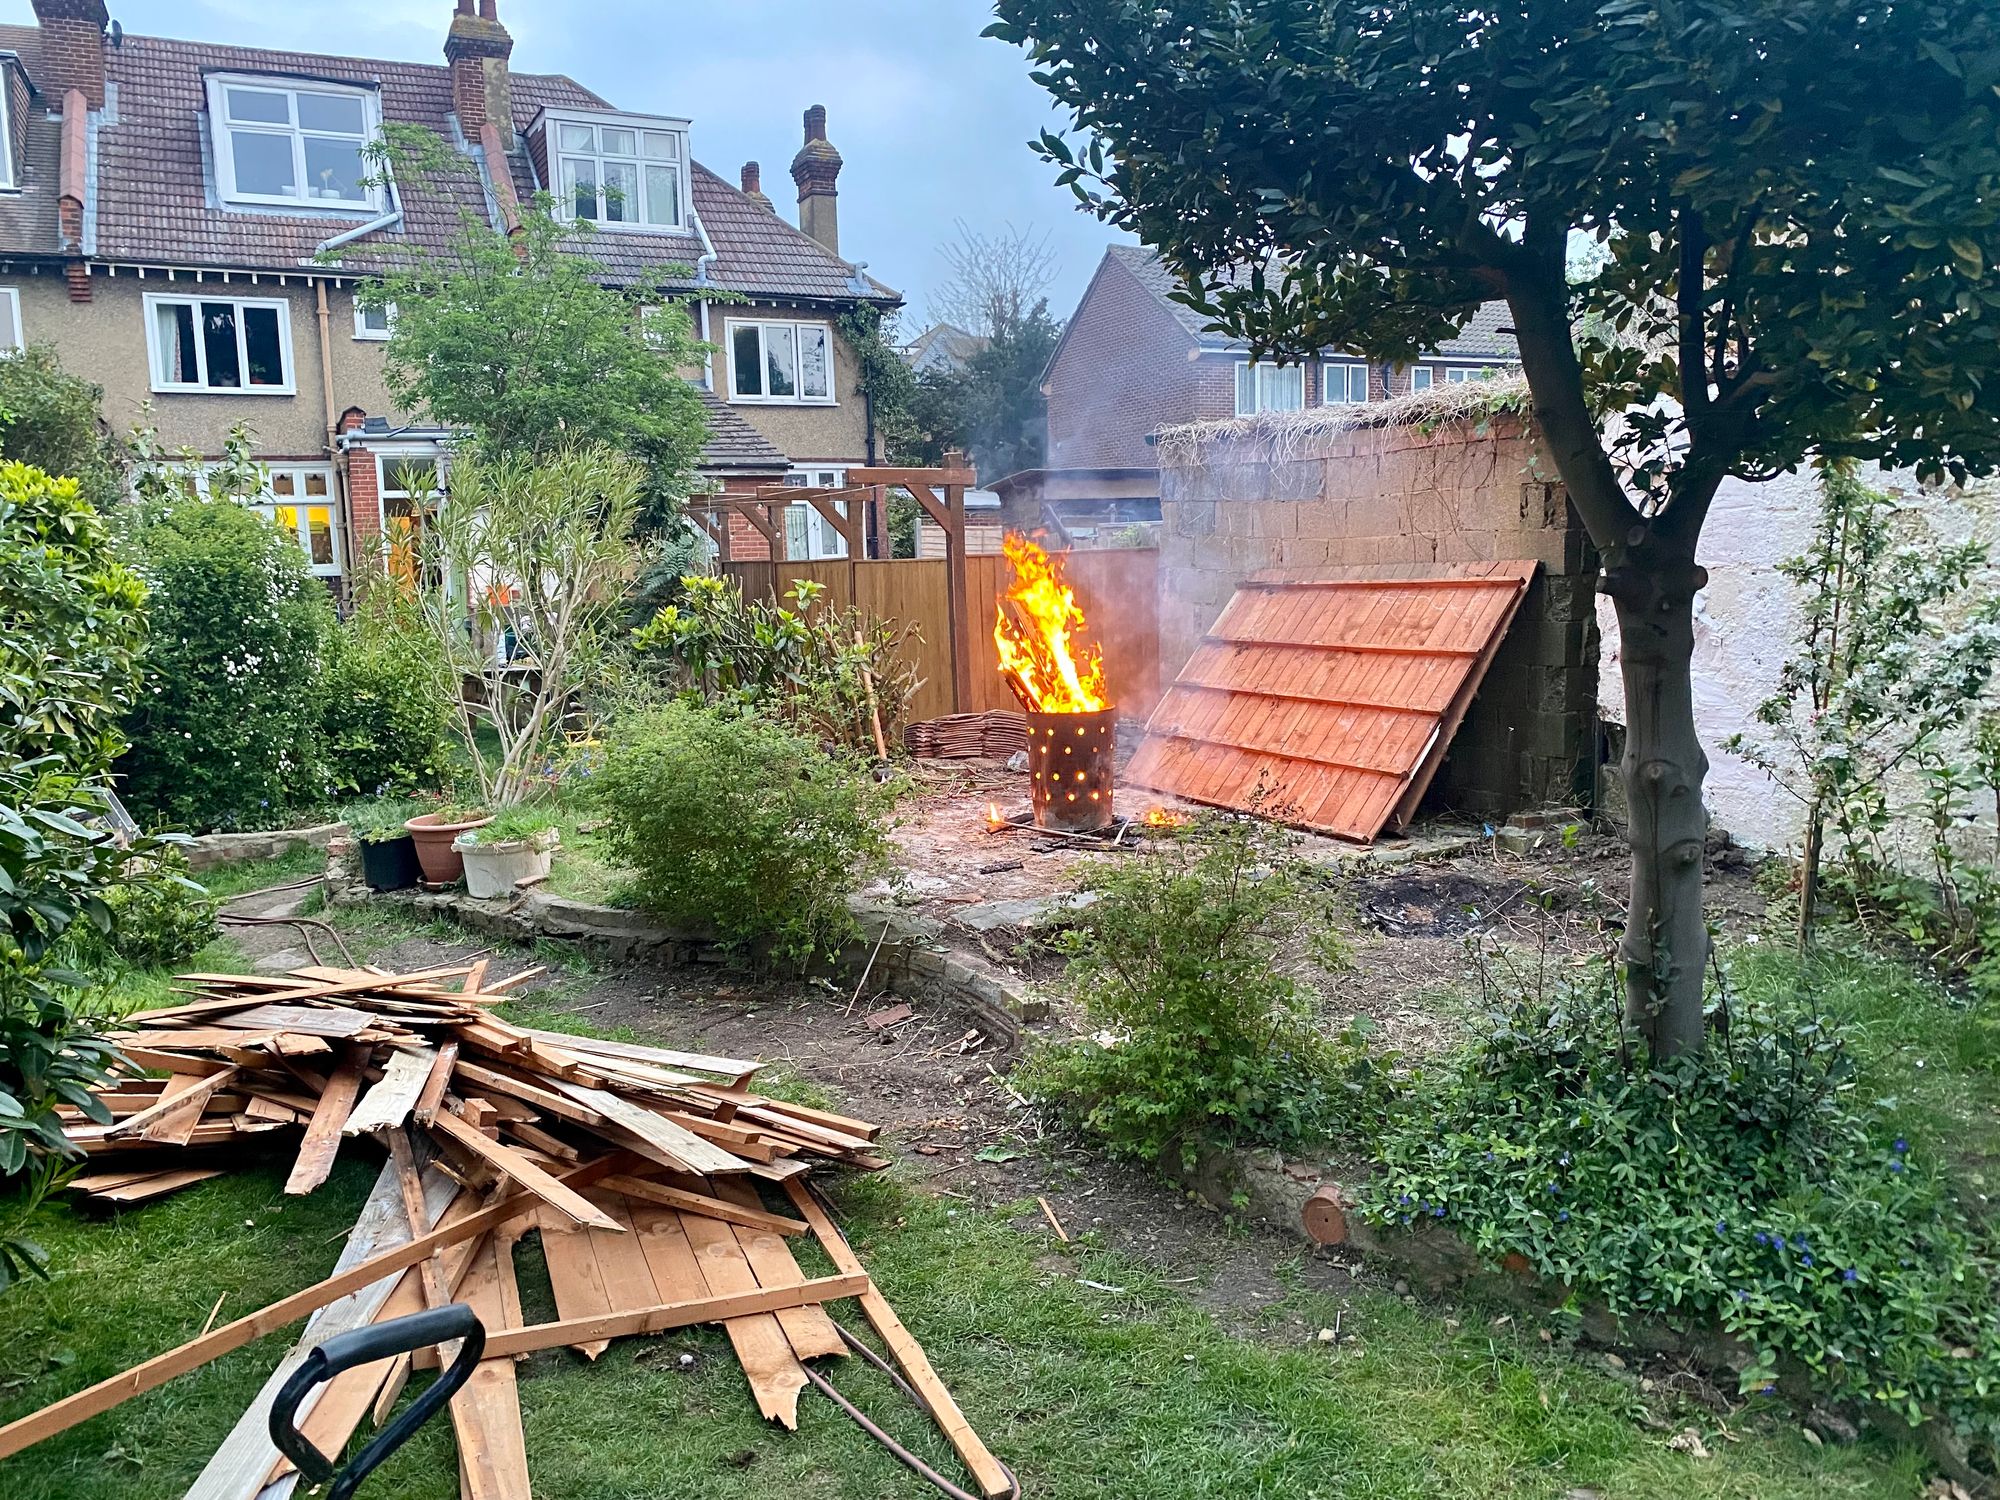
Cookie demolished the old shed with a sledge hammer...
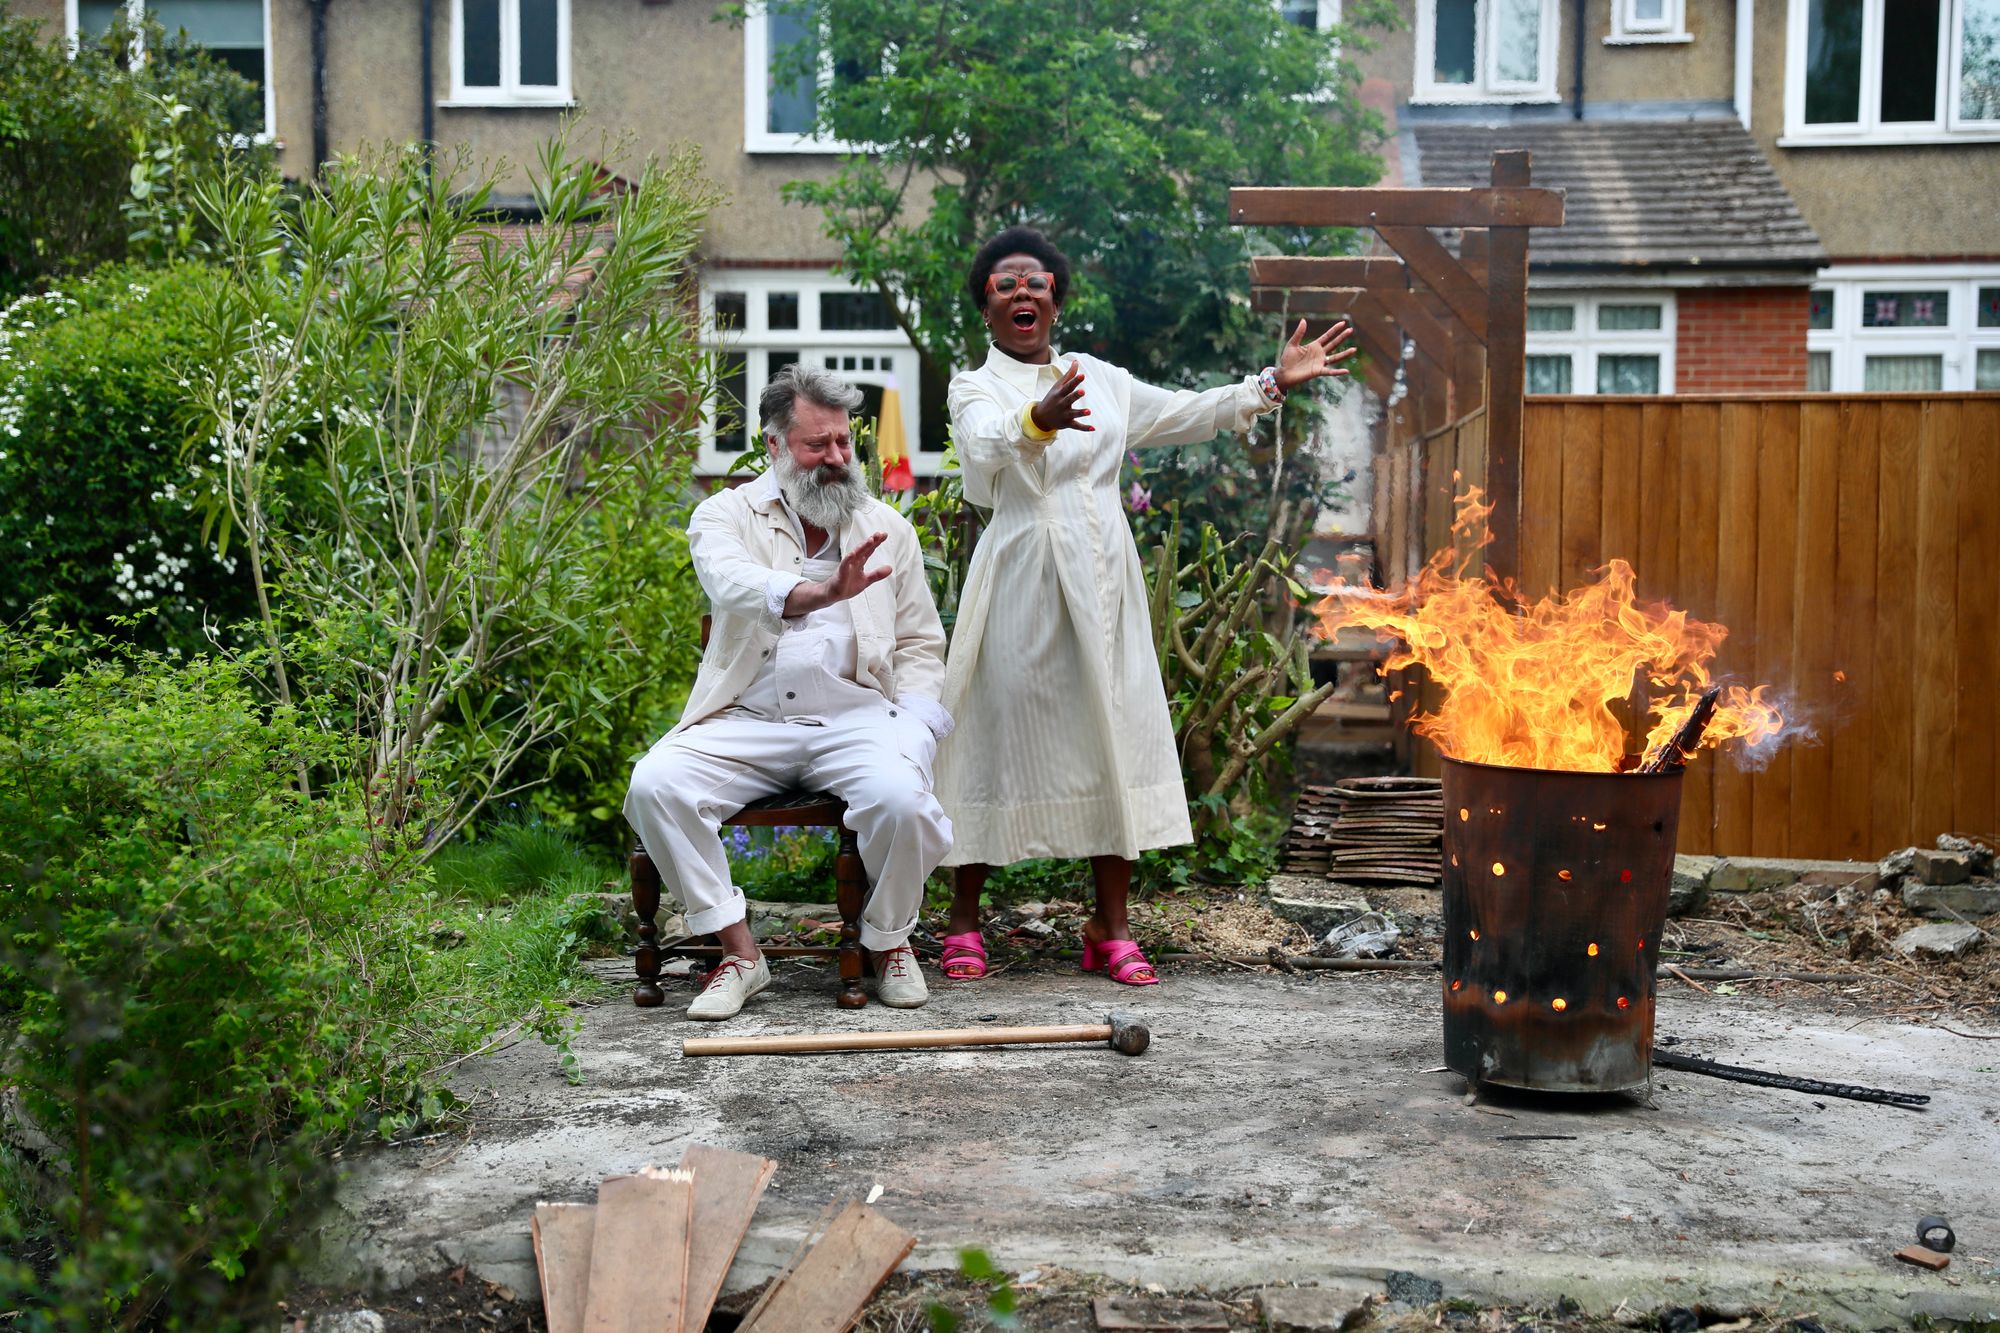
...and we both had a lot of fun burning it!
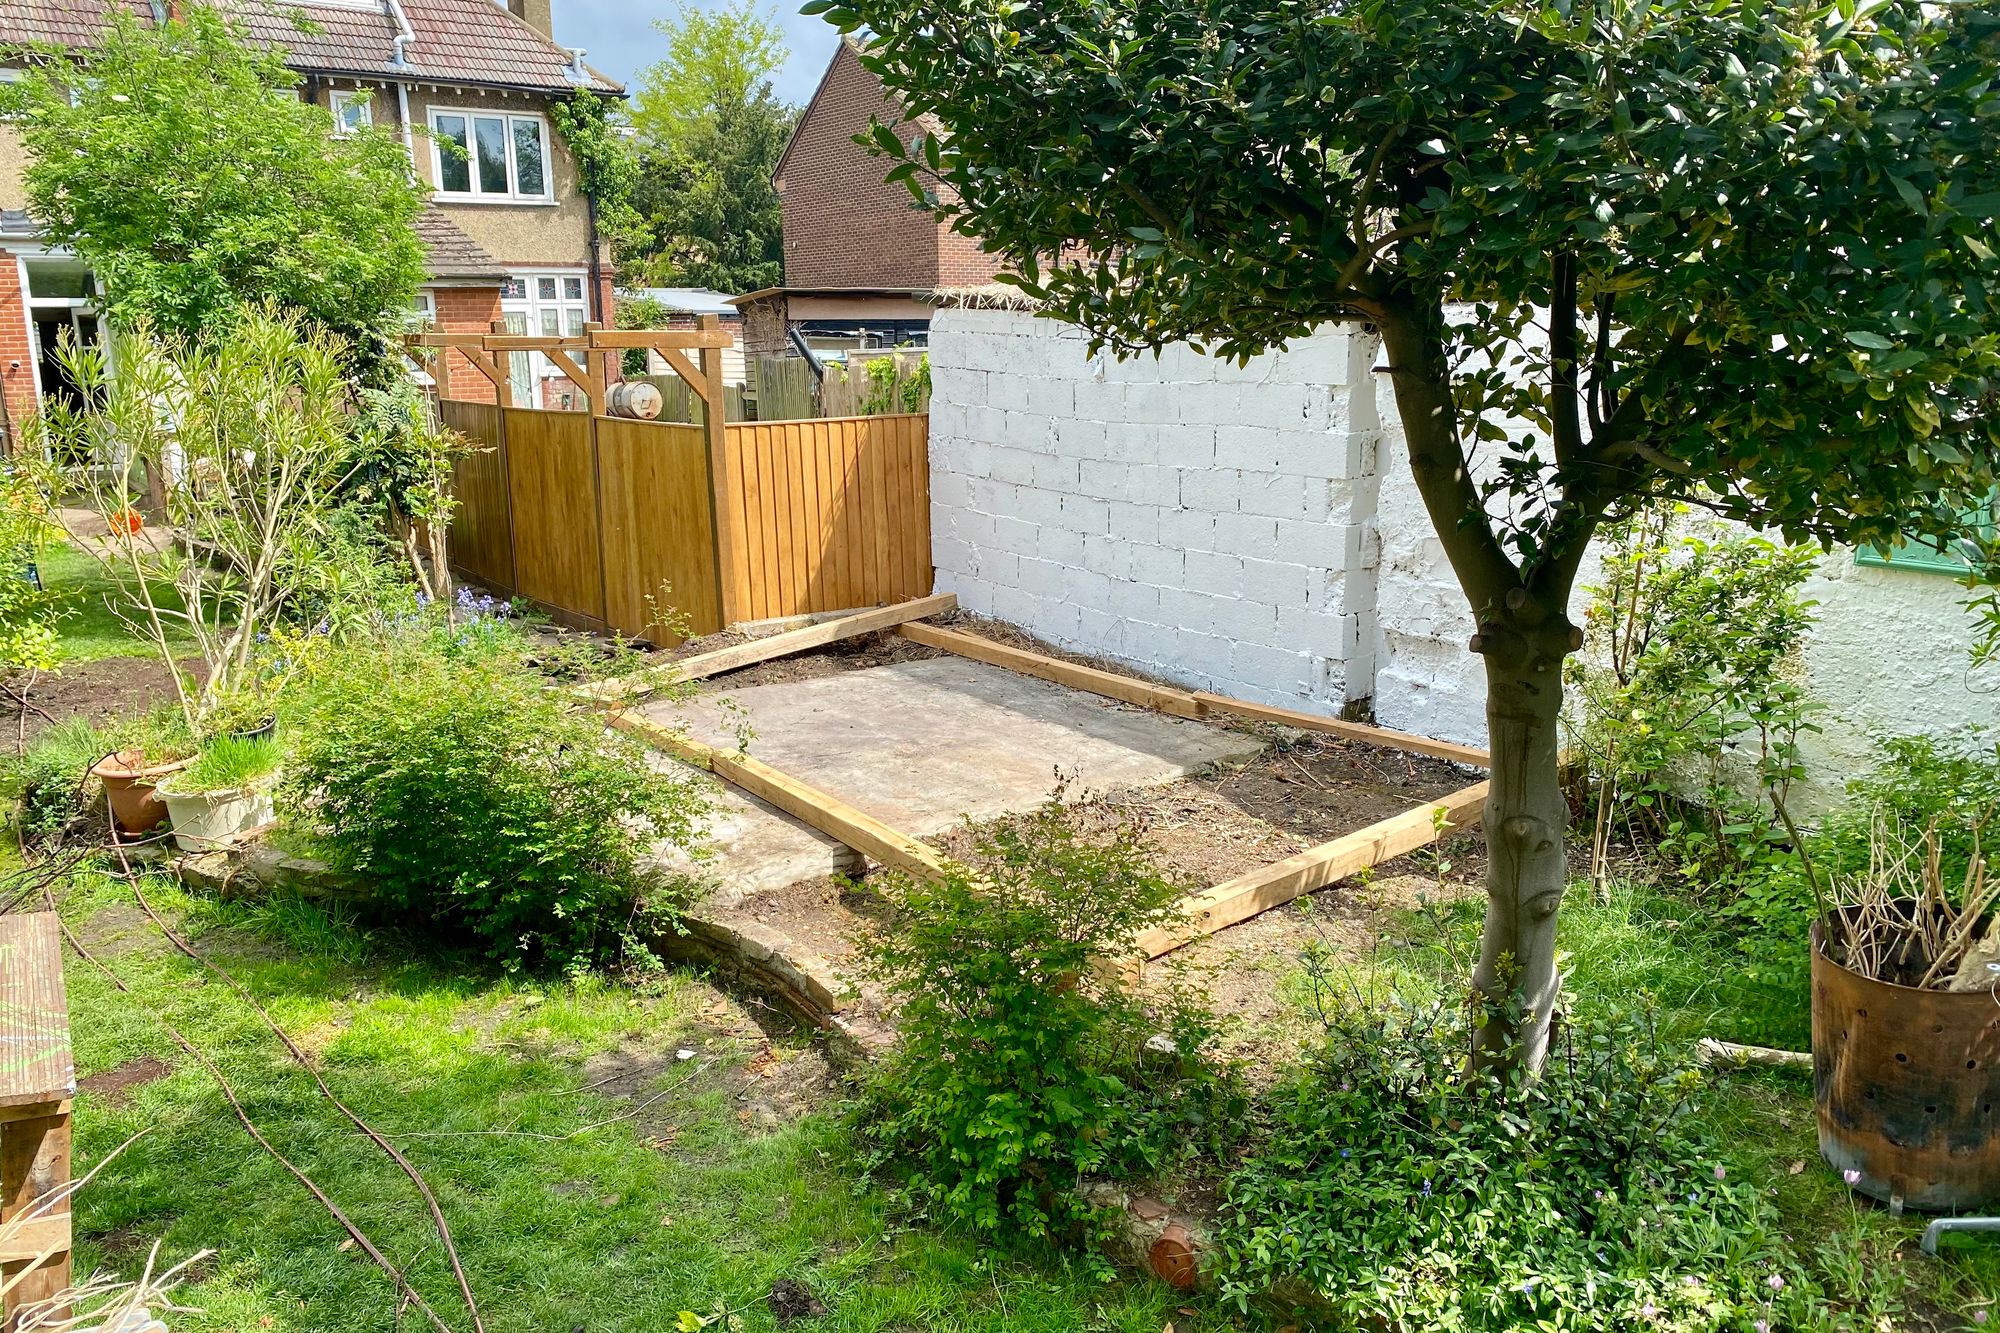
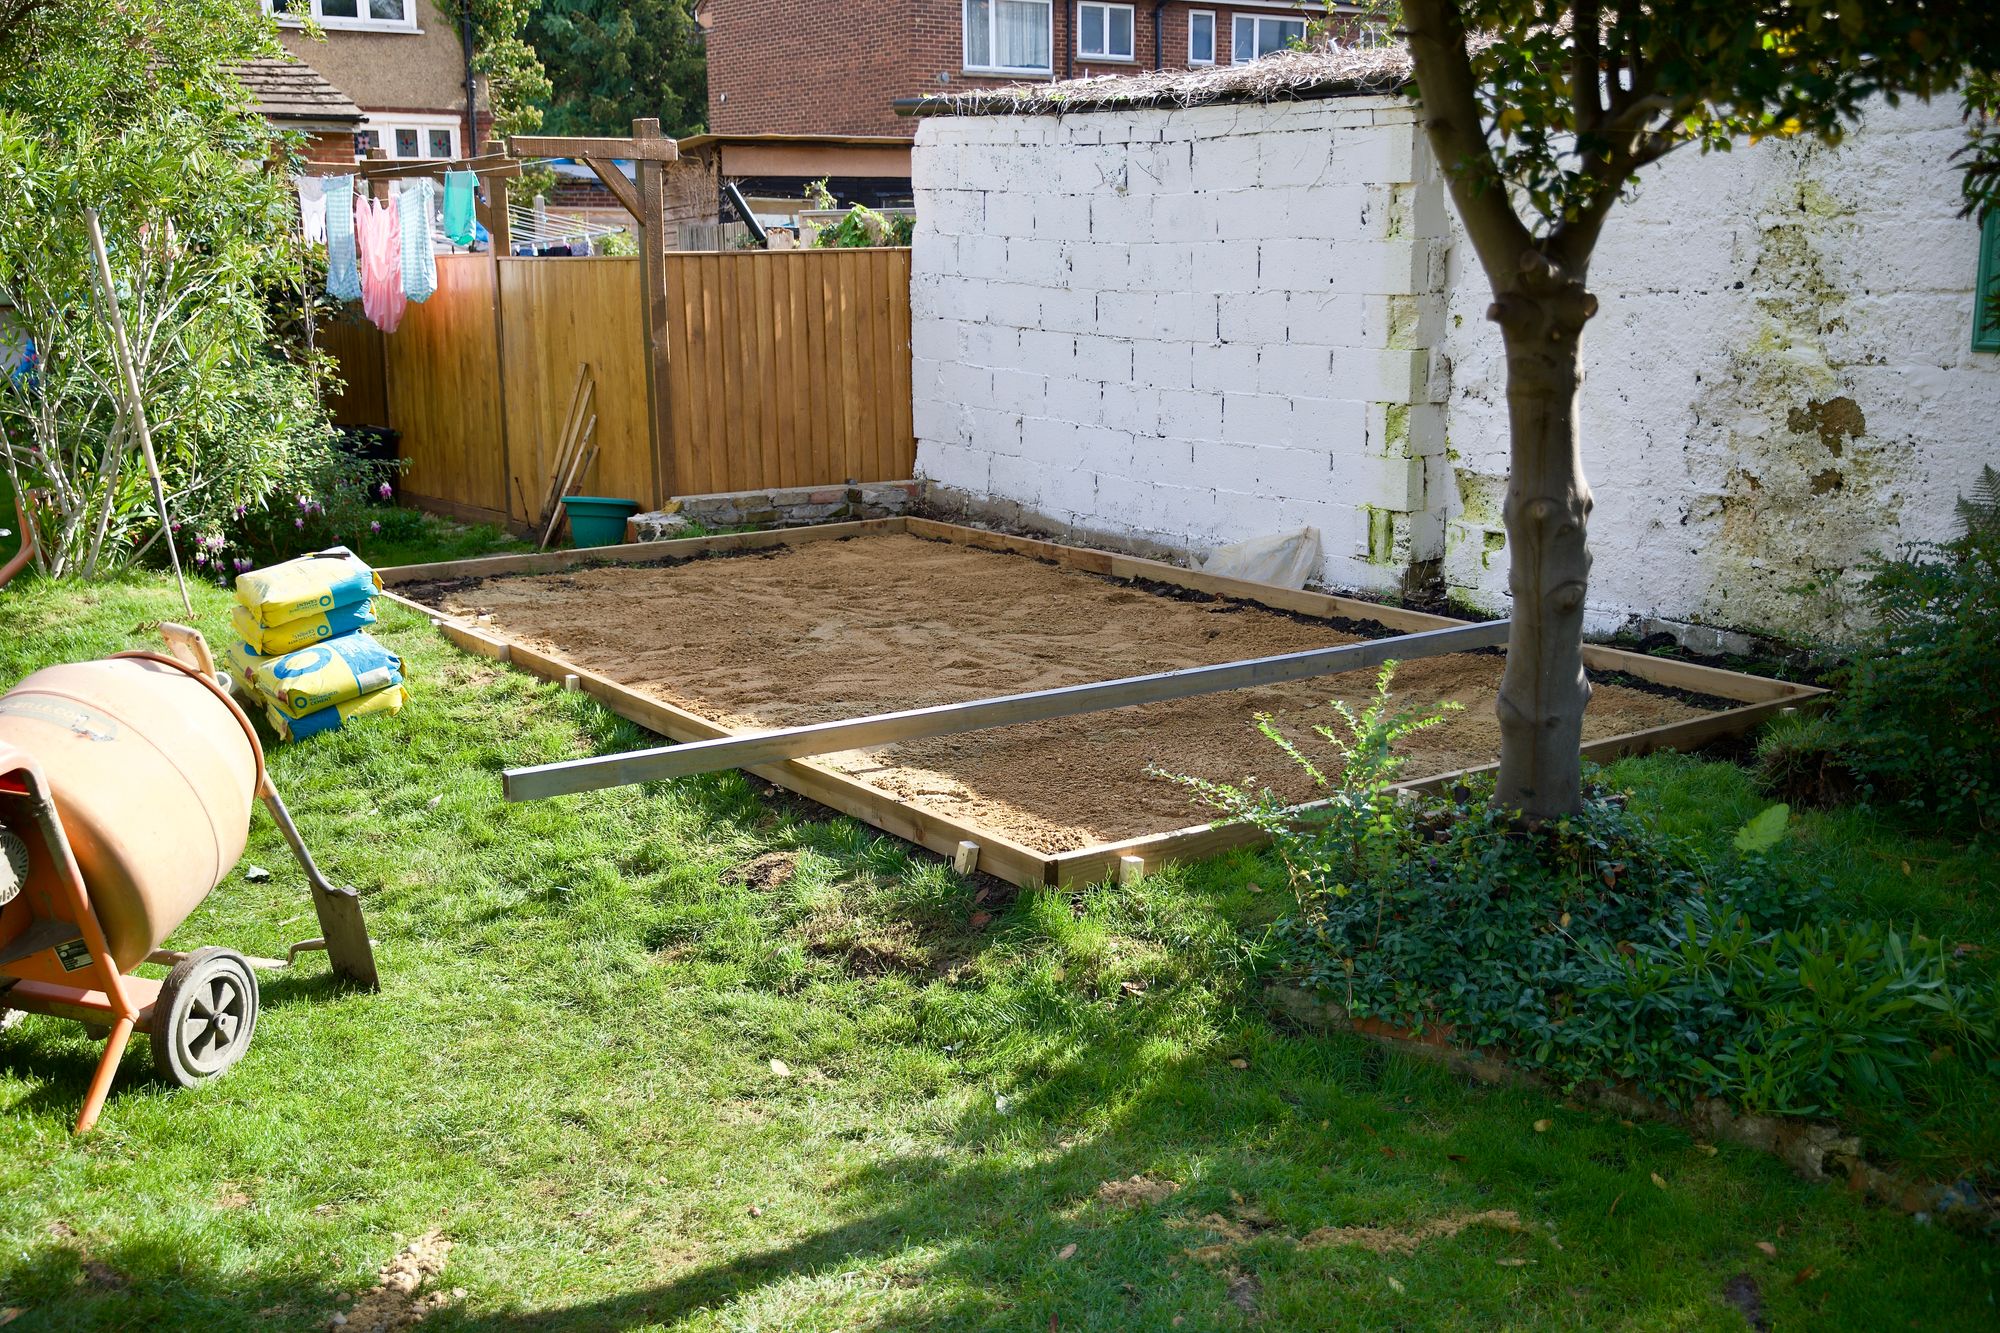
Once the site was cleared we could start thinking about size and shape of the new shed.

In the meantime the space became an alfresco patio for dining in the garden.
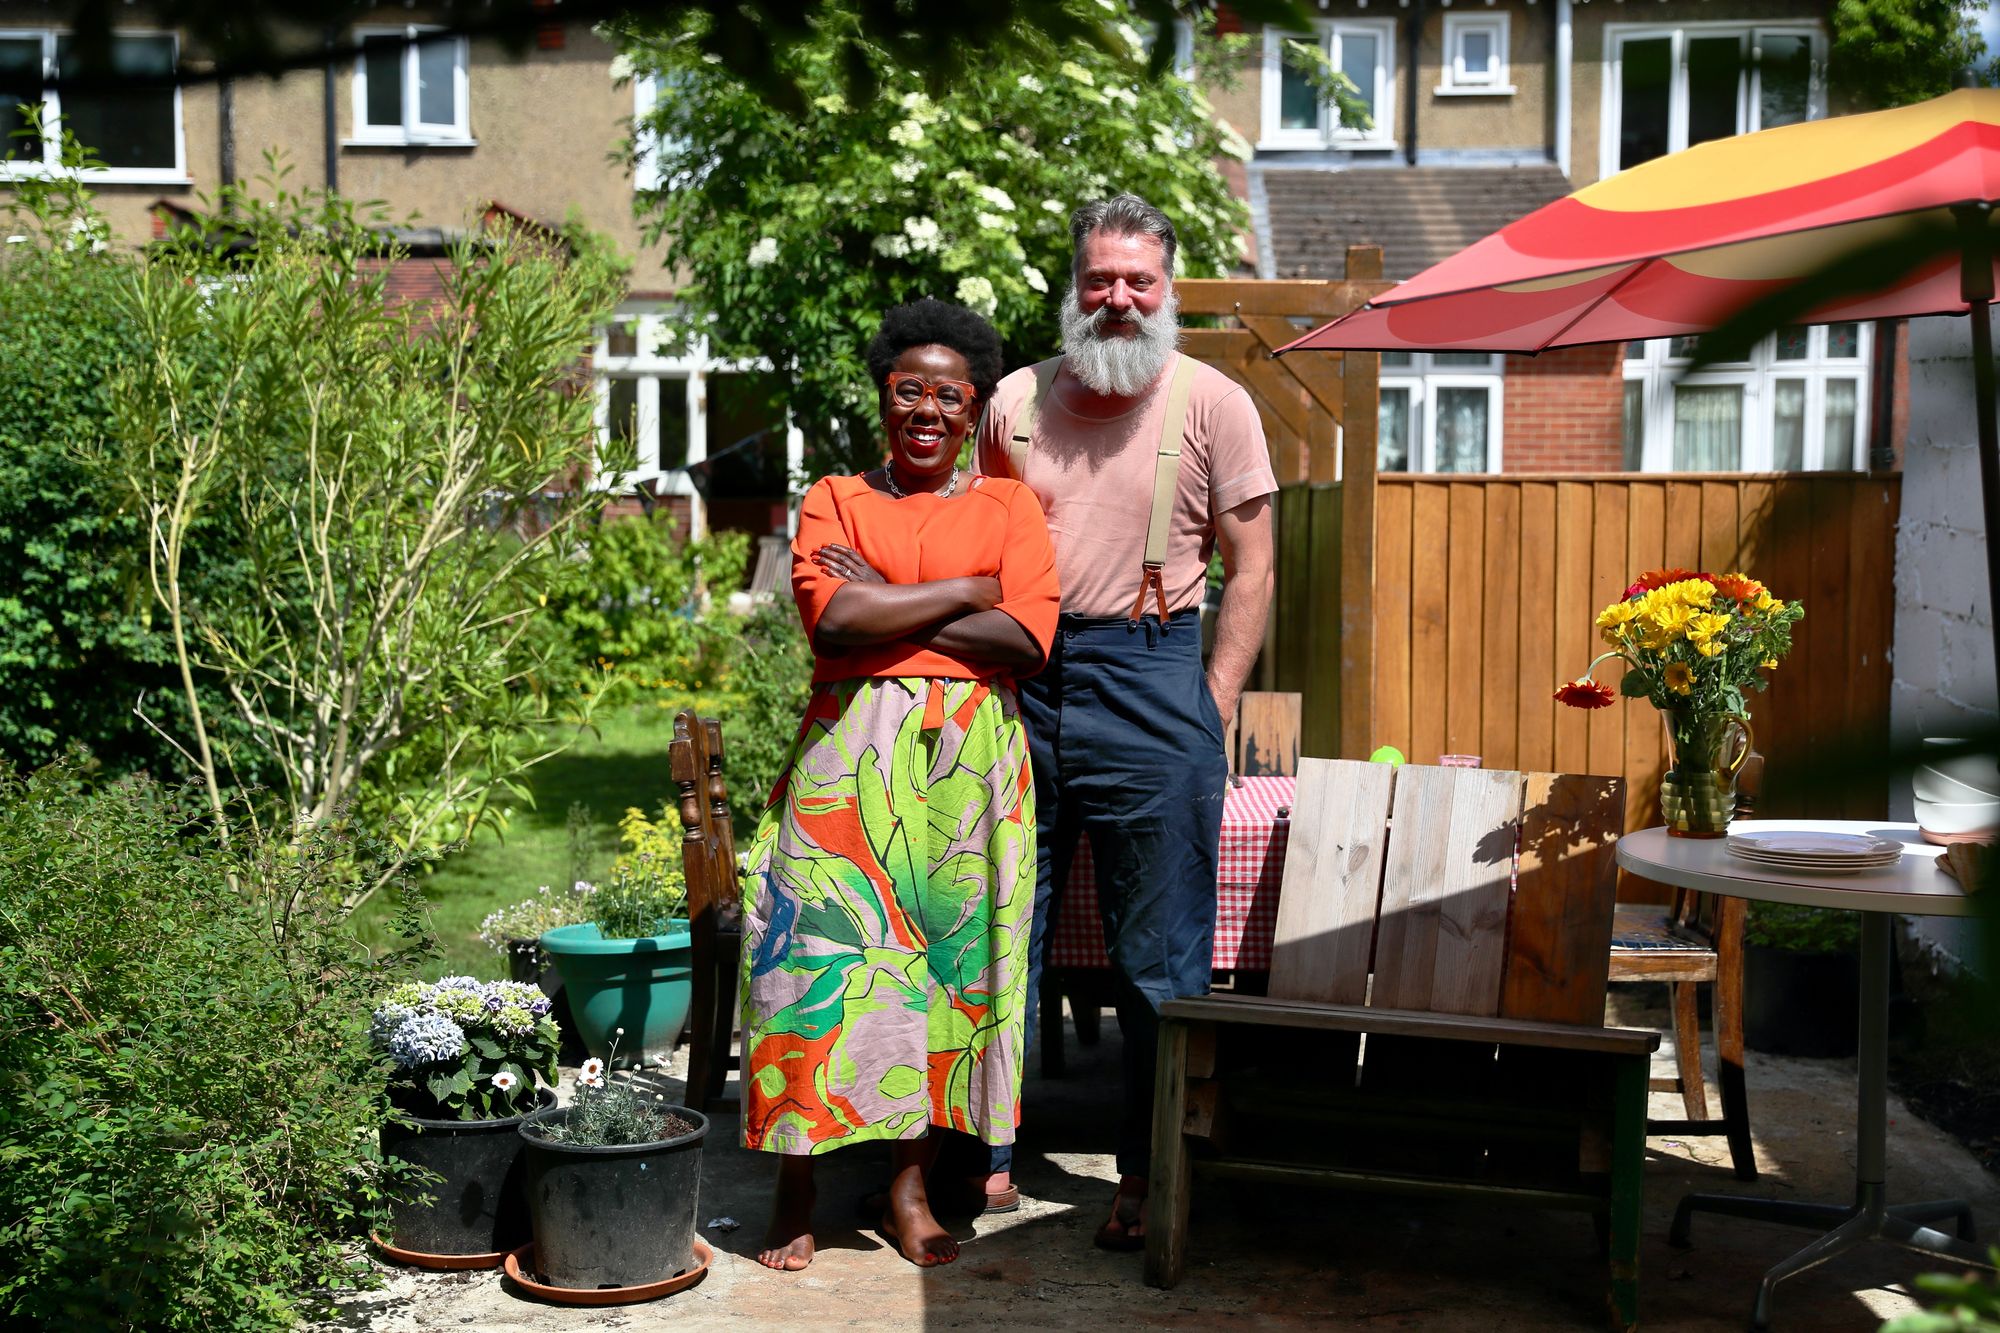
We very nearly decided to NOT build the shed after enjoying the new open space in the middle of the garden.
Summer time
We wanted to build the shed during the summer months, but lead times from the supplier, Crane Garden Buildings meant it was delayed until September. In retrospect this was quite fortunate as we made good use of the space for a huge paddling pool all summer long.
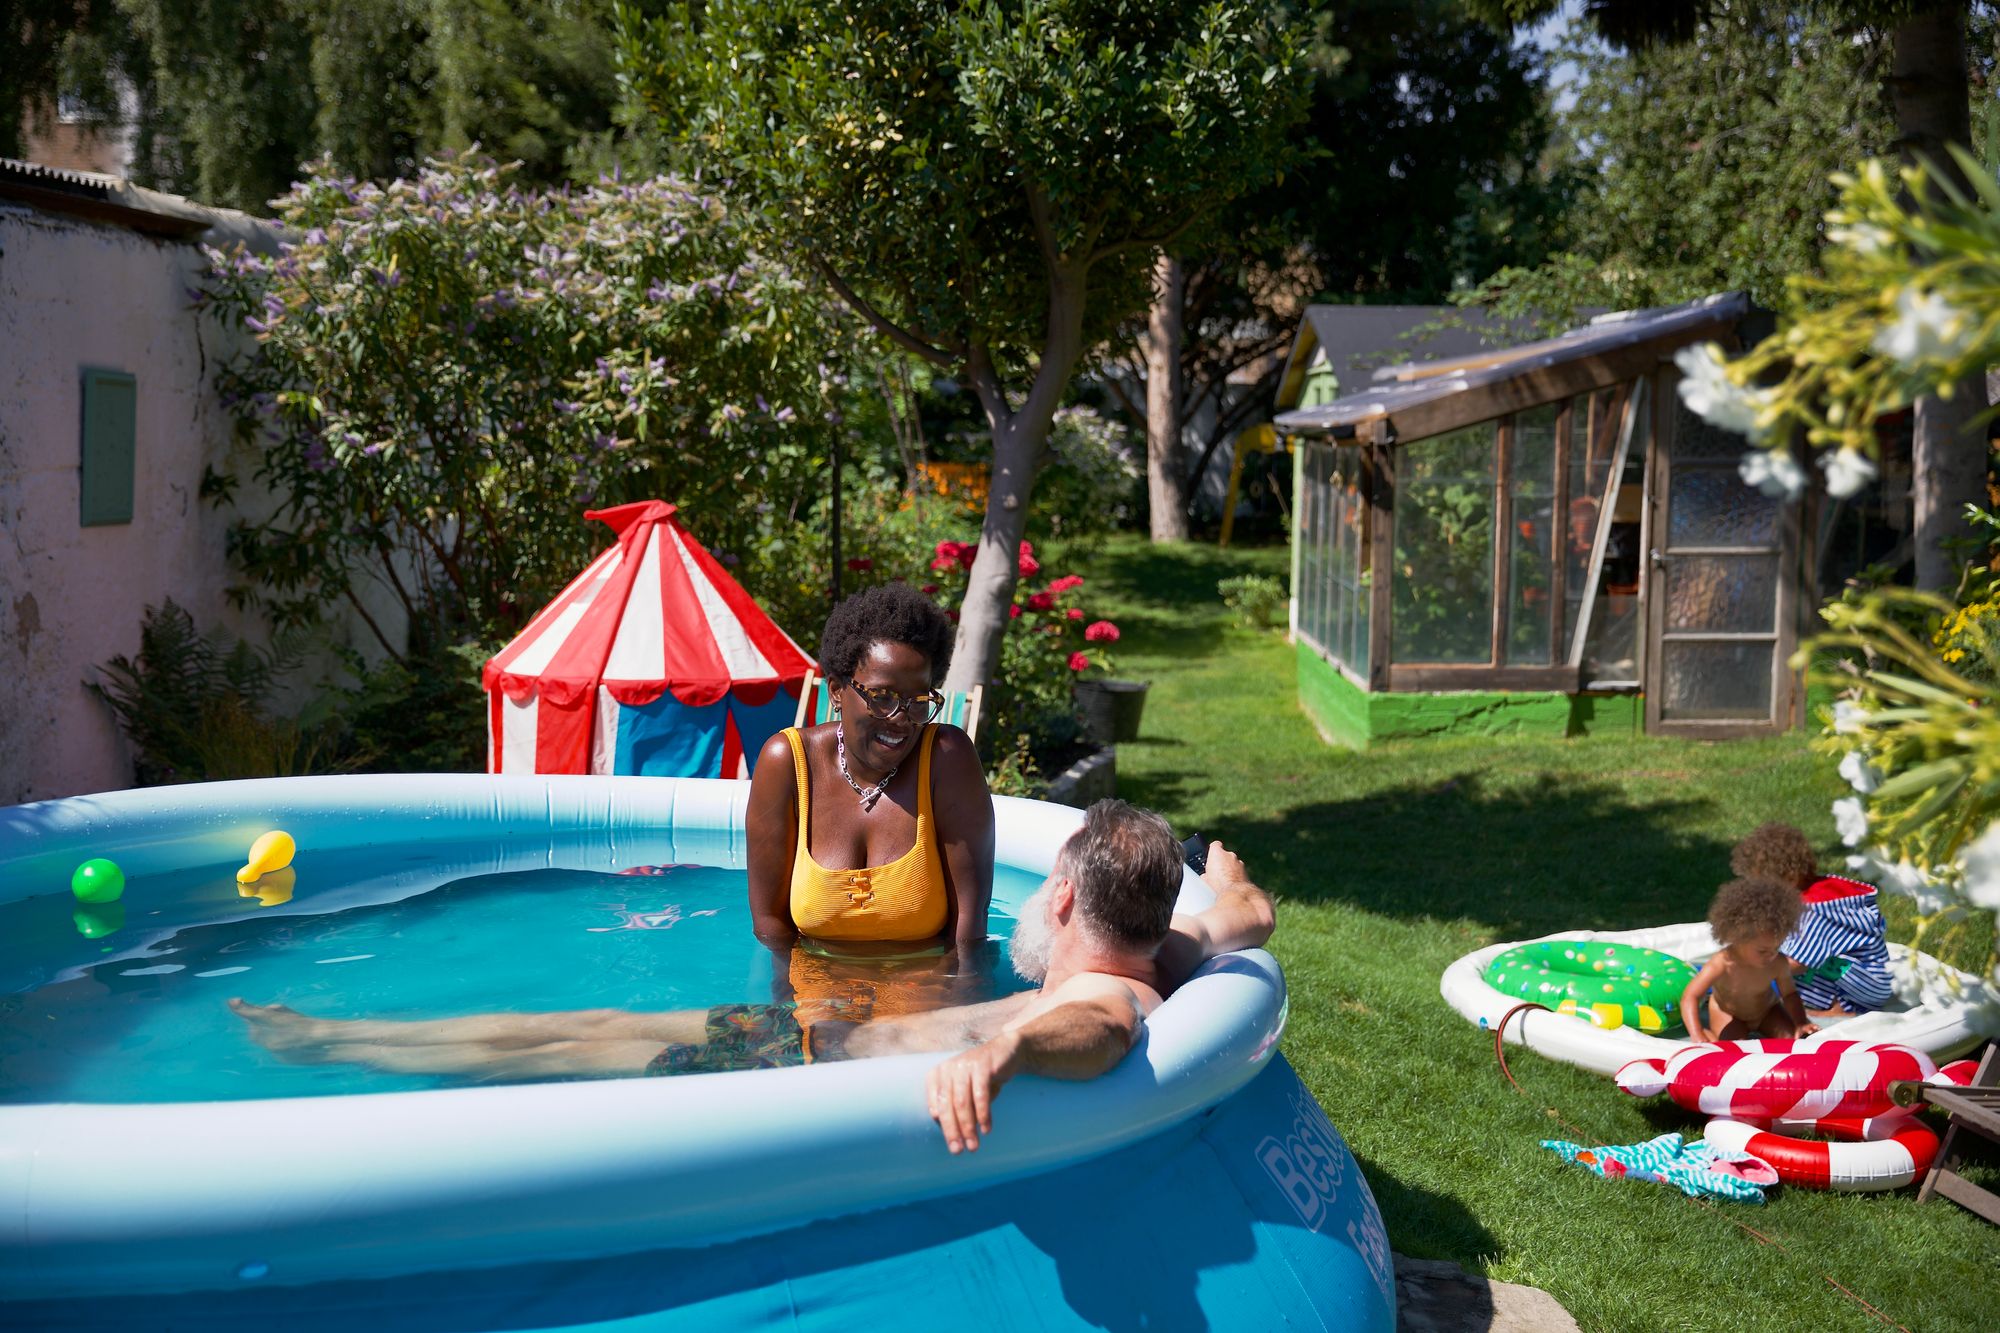
2022 was a record breaking year for summer heat, although our enormus paddling pool may of contributed to the hose pipe ban introduced at the end of the summer...
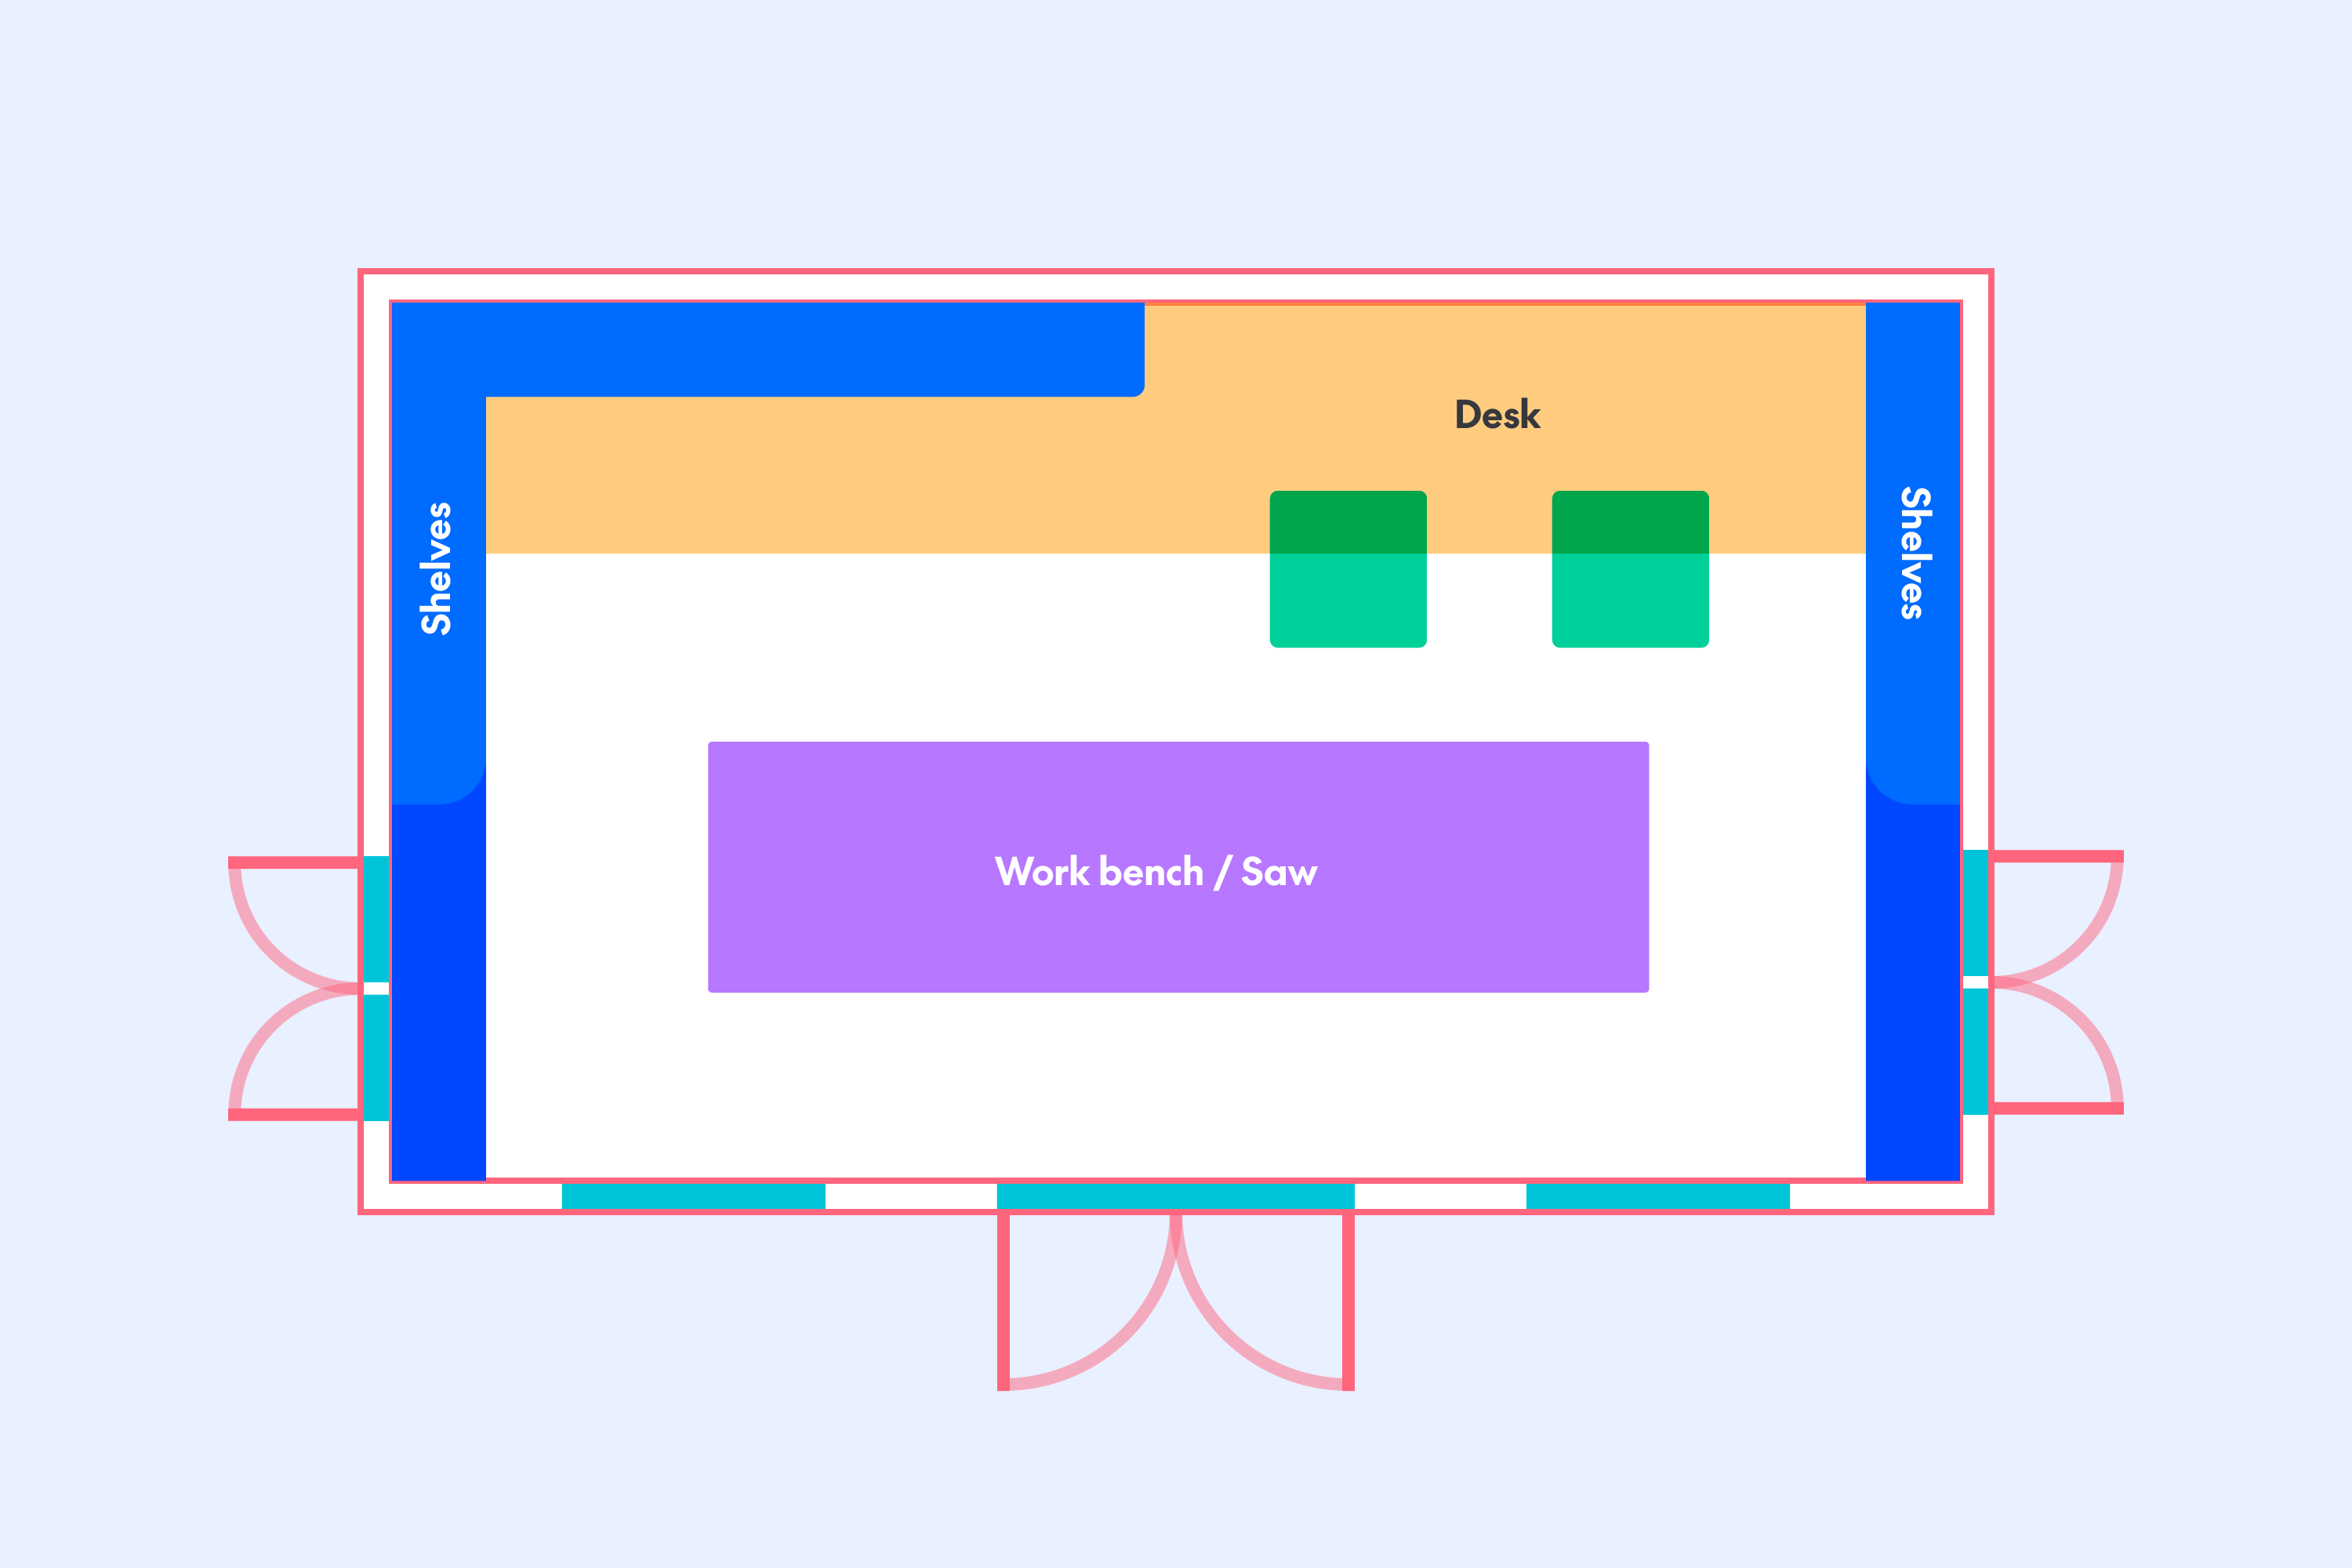
While we were waiting Cookie had time to think about different options for the layout inside. We wanted to create a building that could be a workshop in the shorterm, but perhaps evolve into a home office, a gym, or even a granny flat in the future.
Autumn
As the days started to get shorter, it suddenly felt like a race to get the new shed built and painted before the winter (and the rain) started.

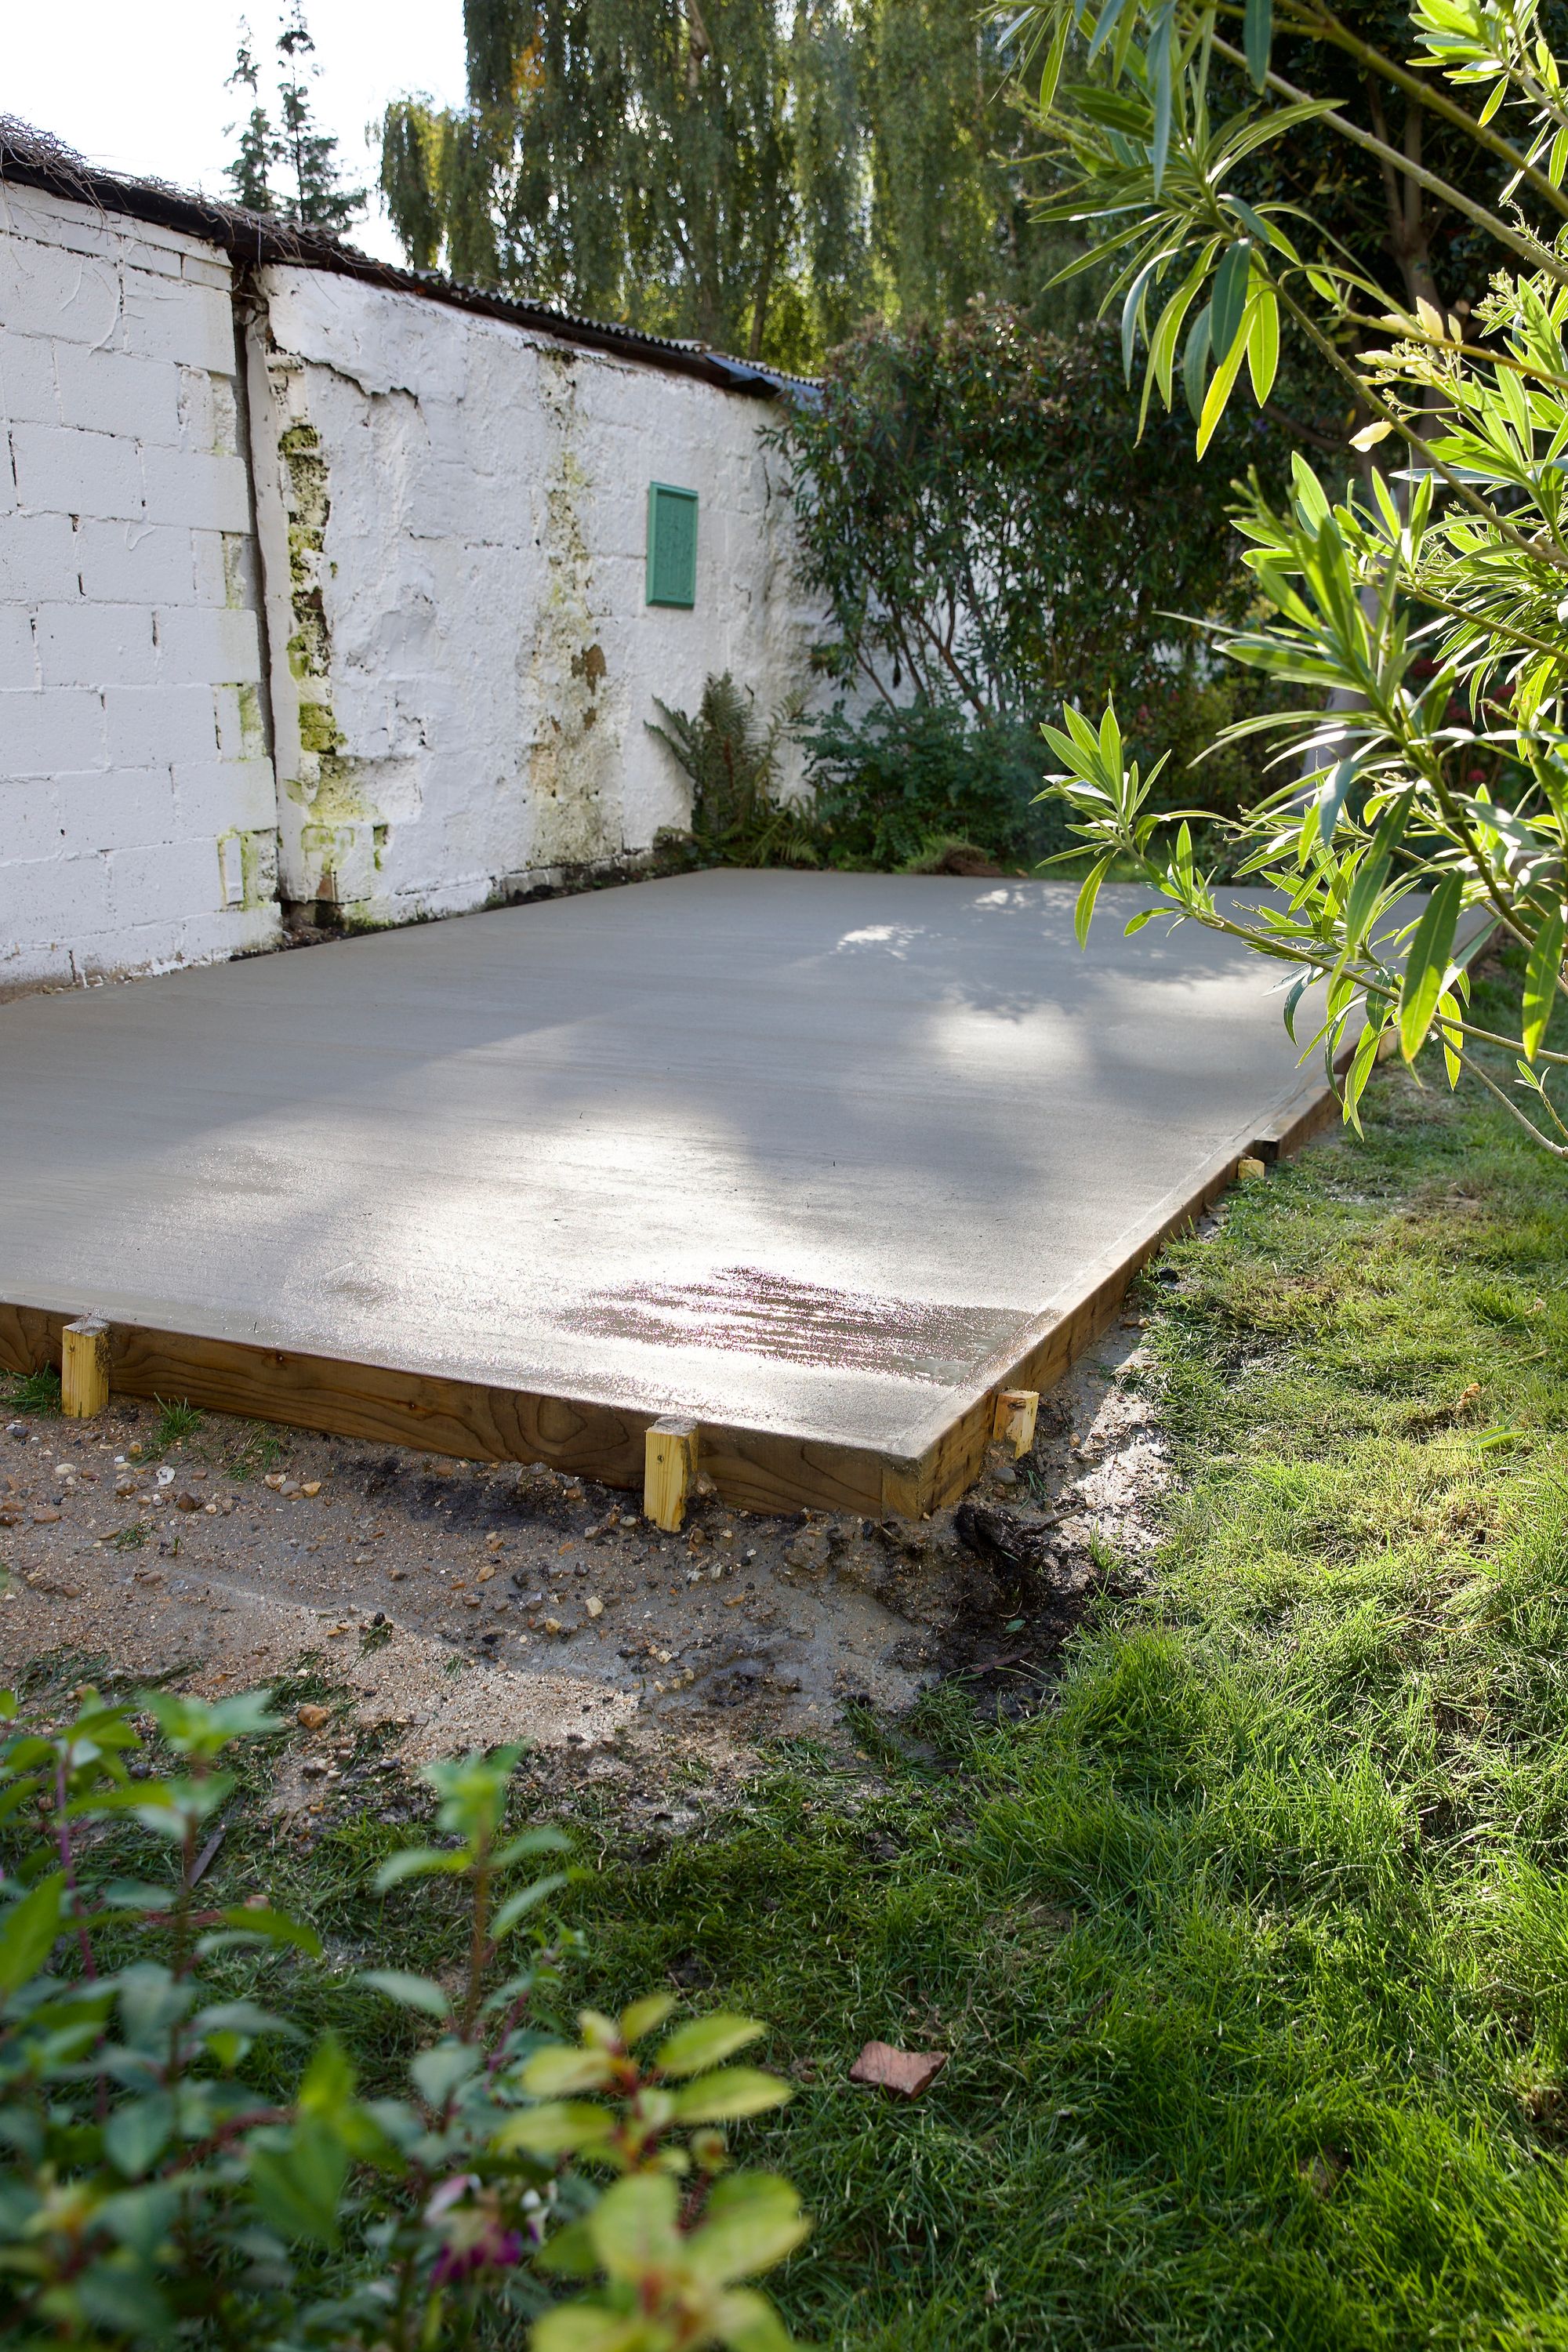
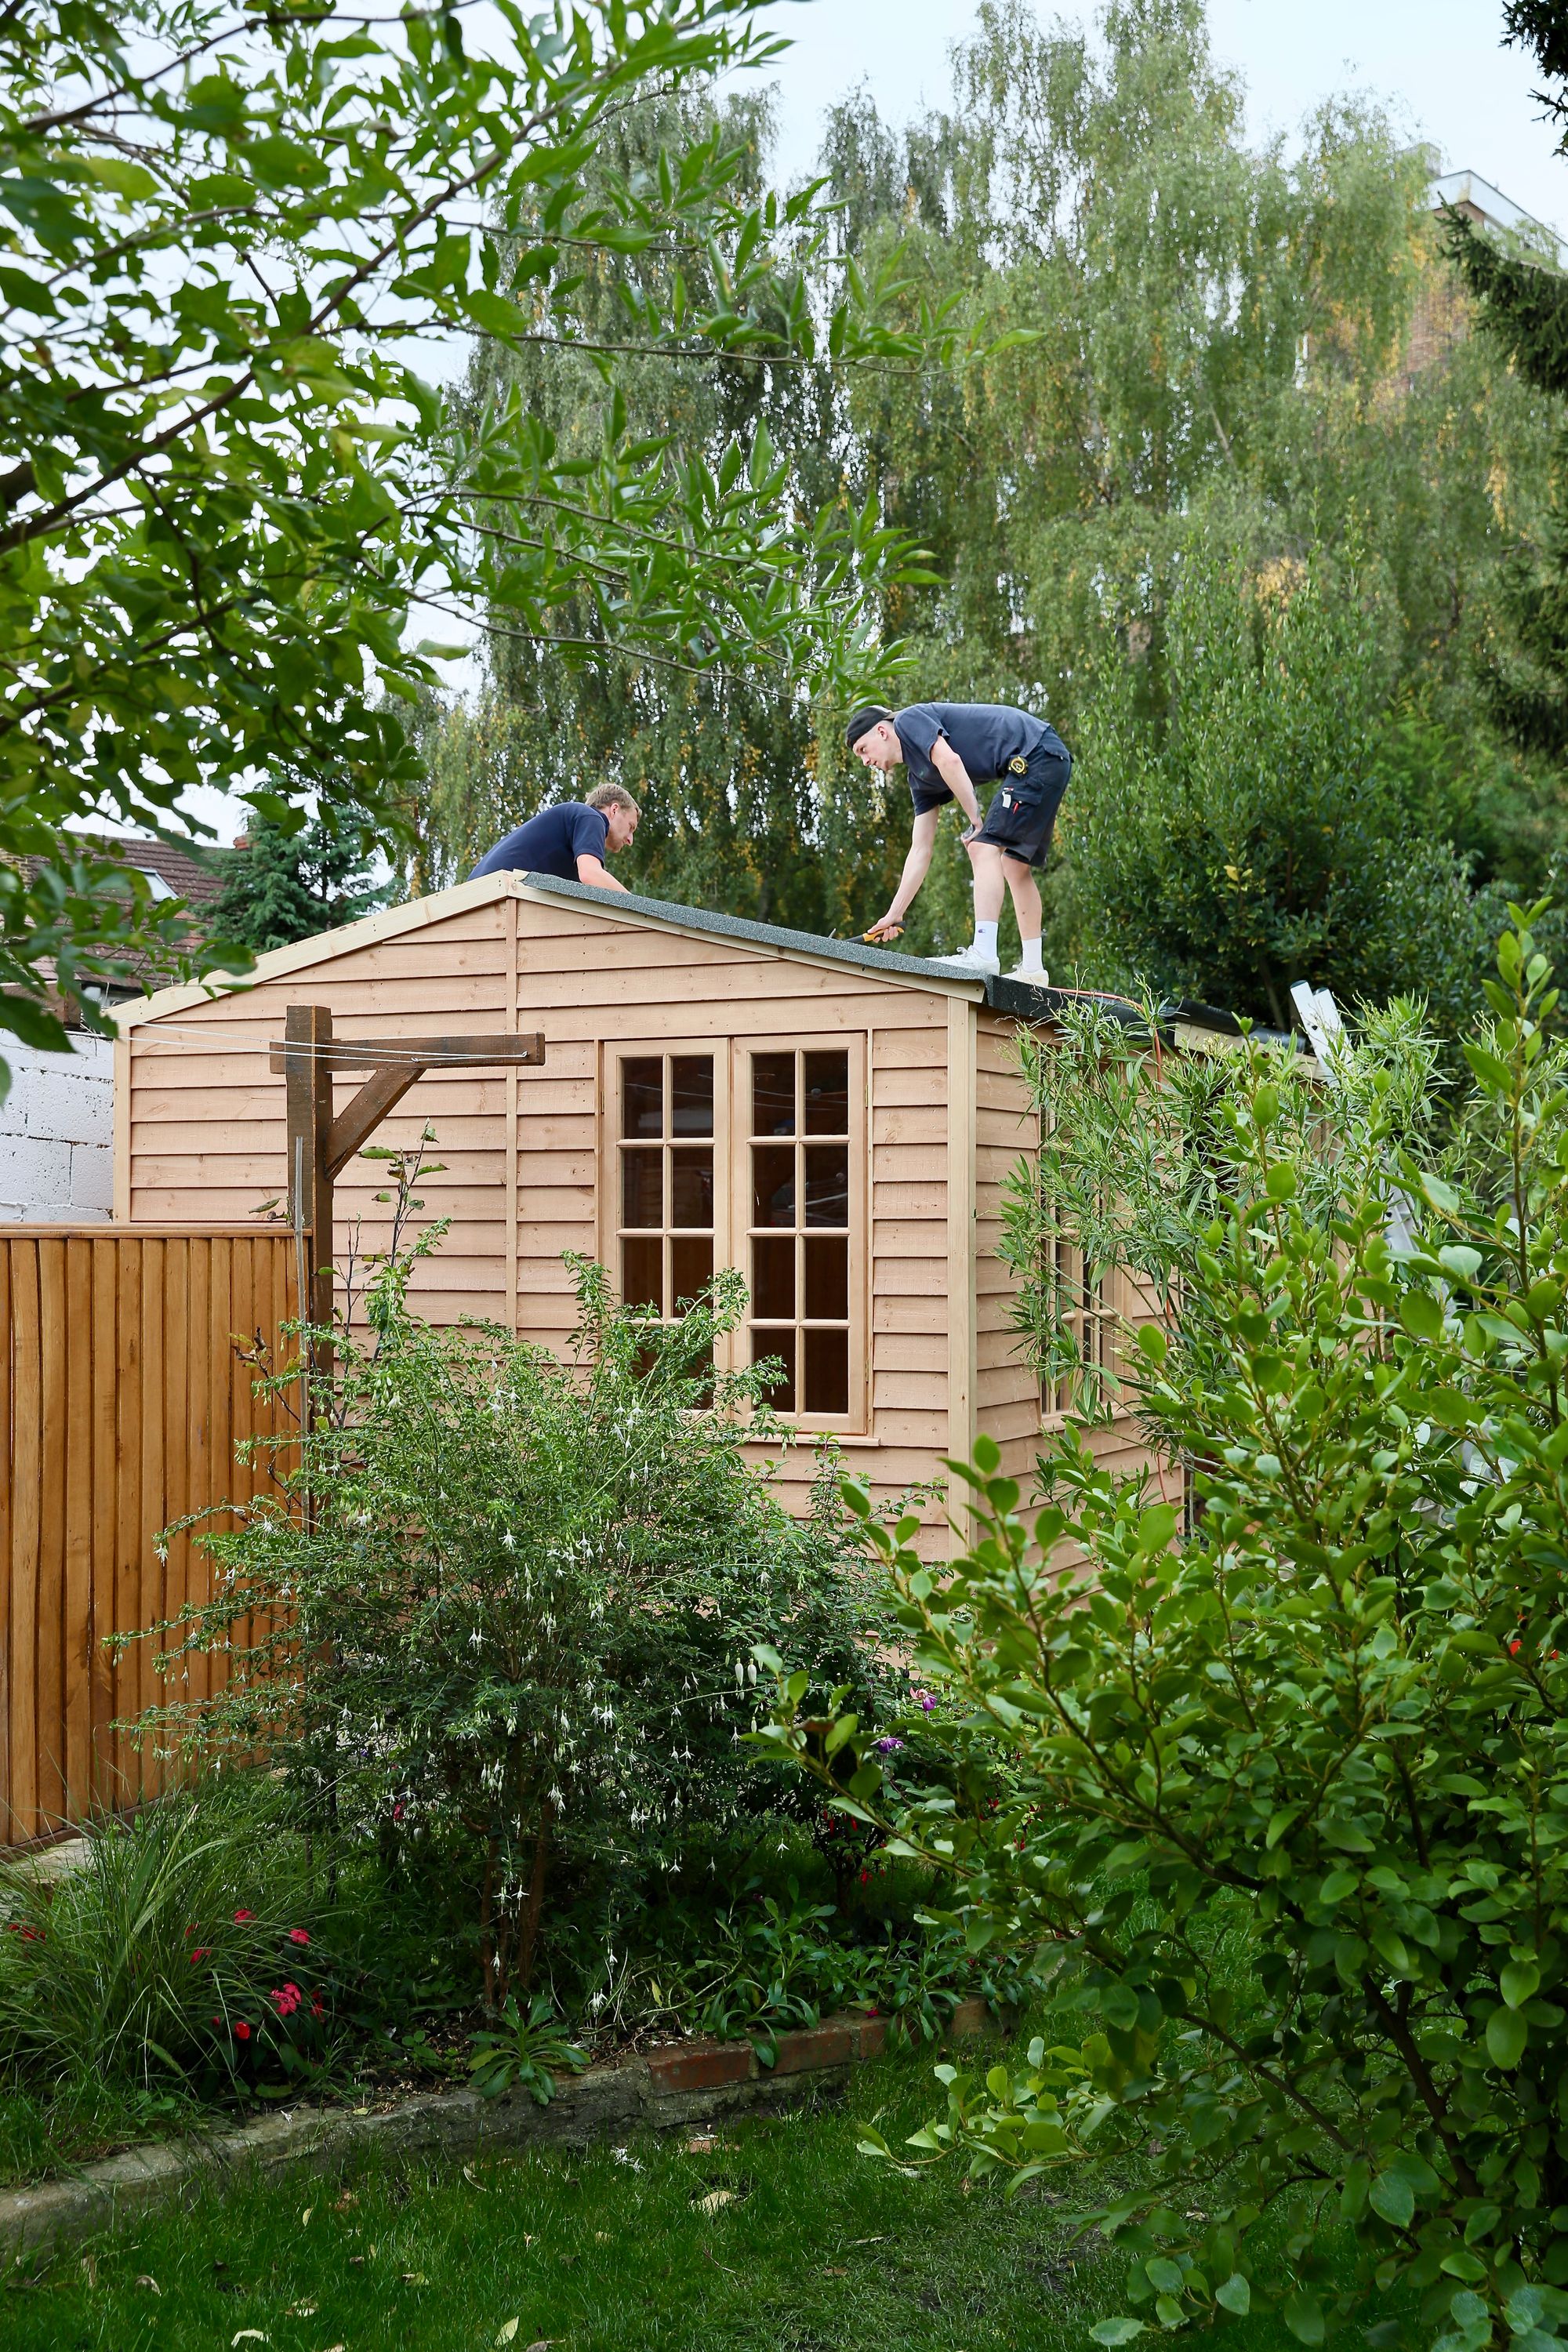
In september we started work on the new shed.
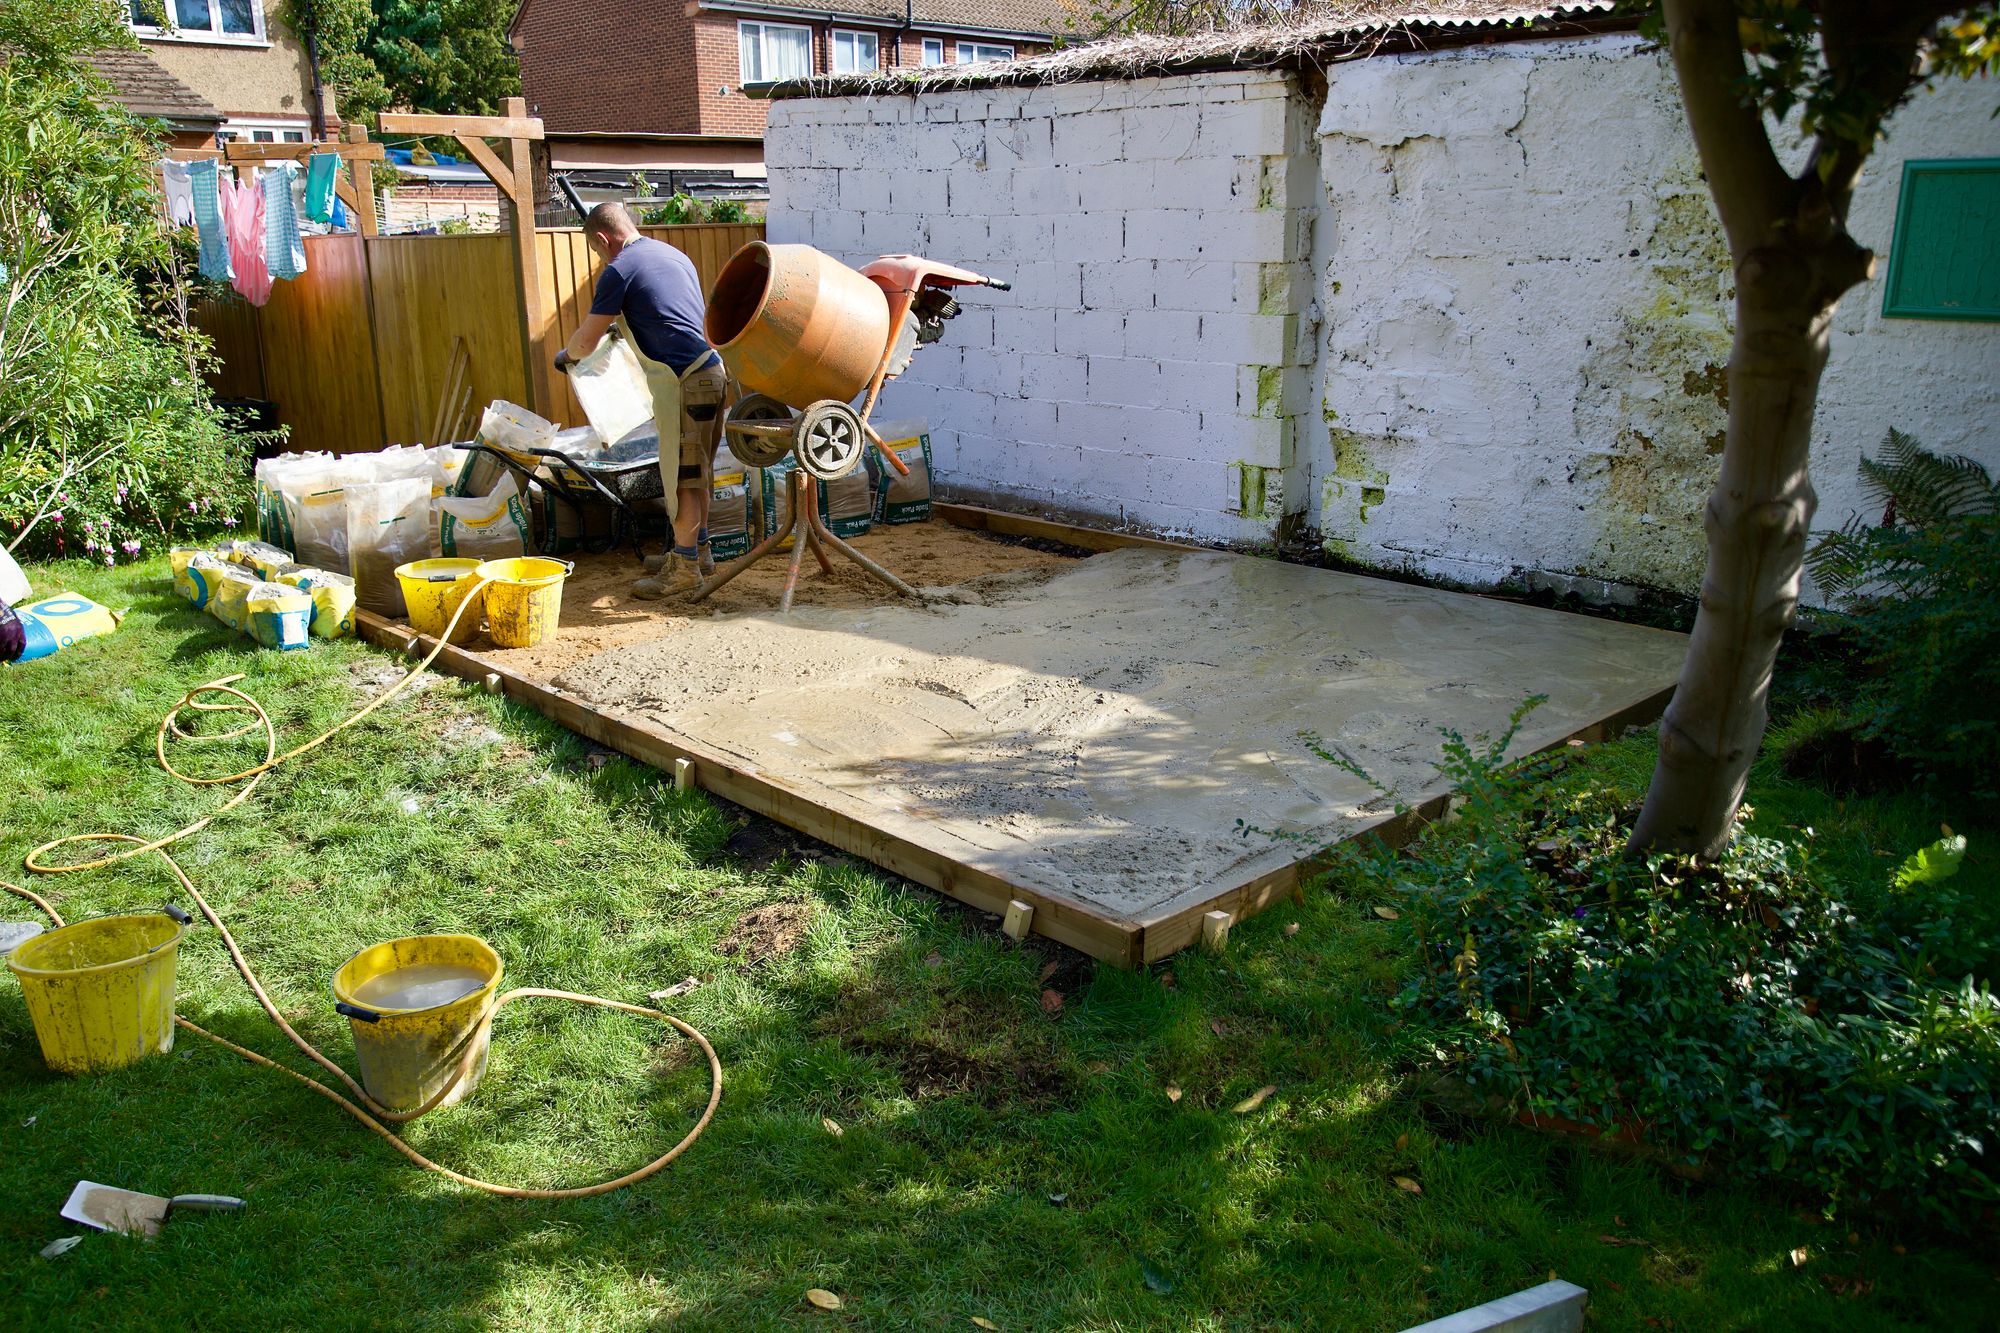
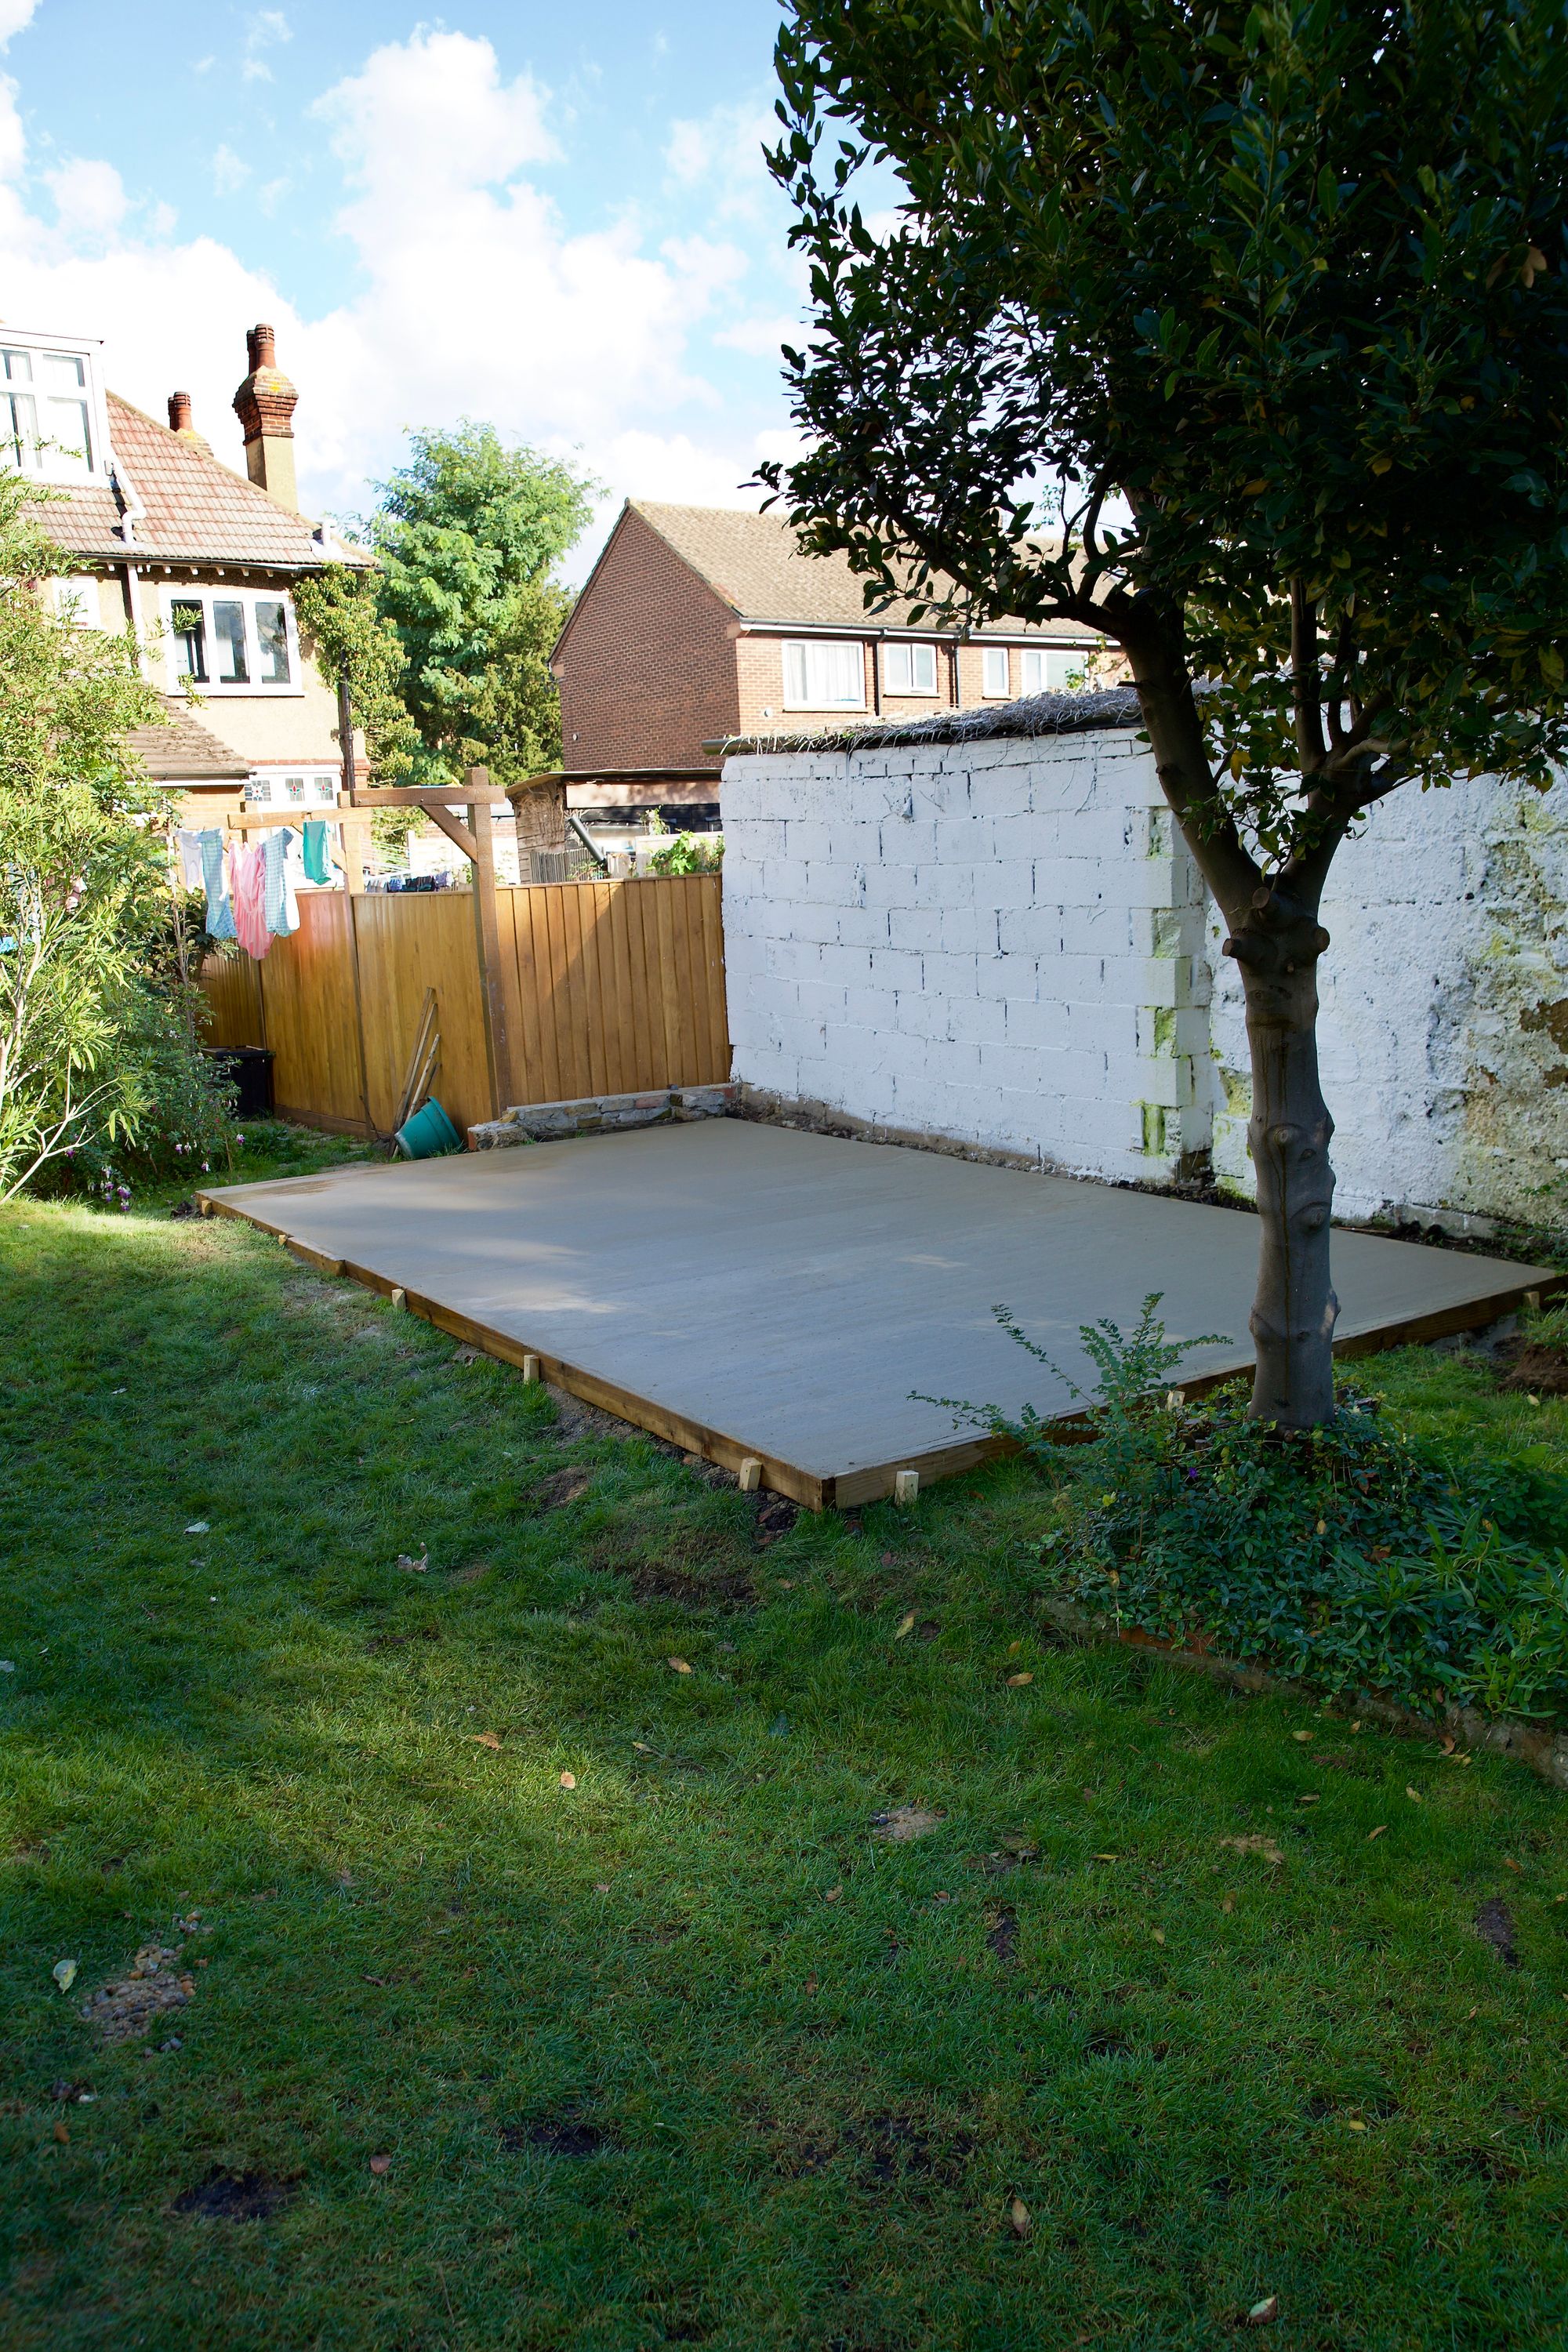
The concrete base was poured by professionals, not Cookie.
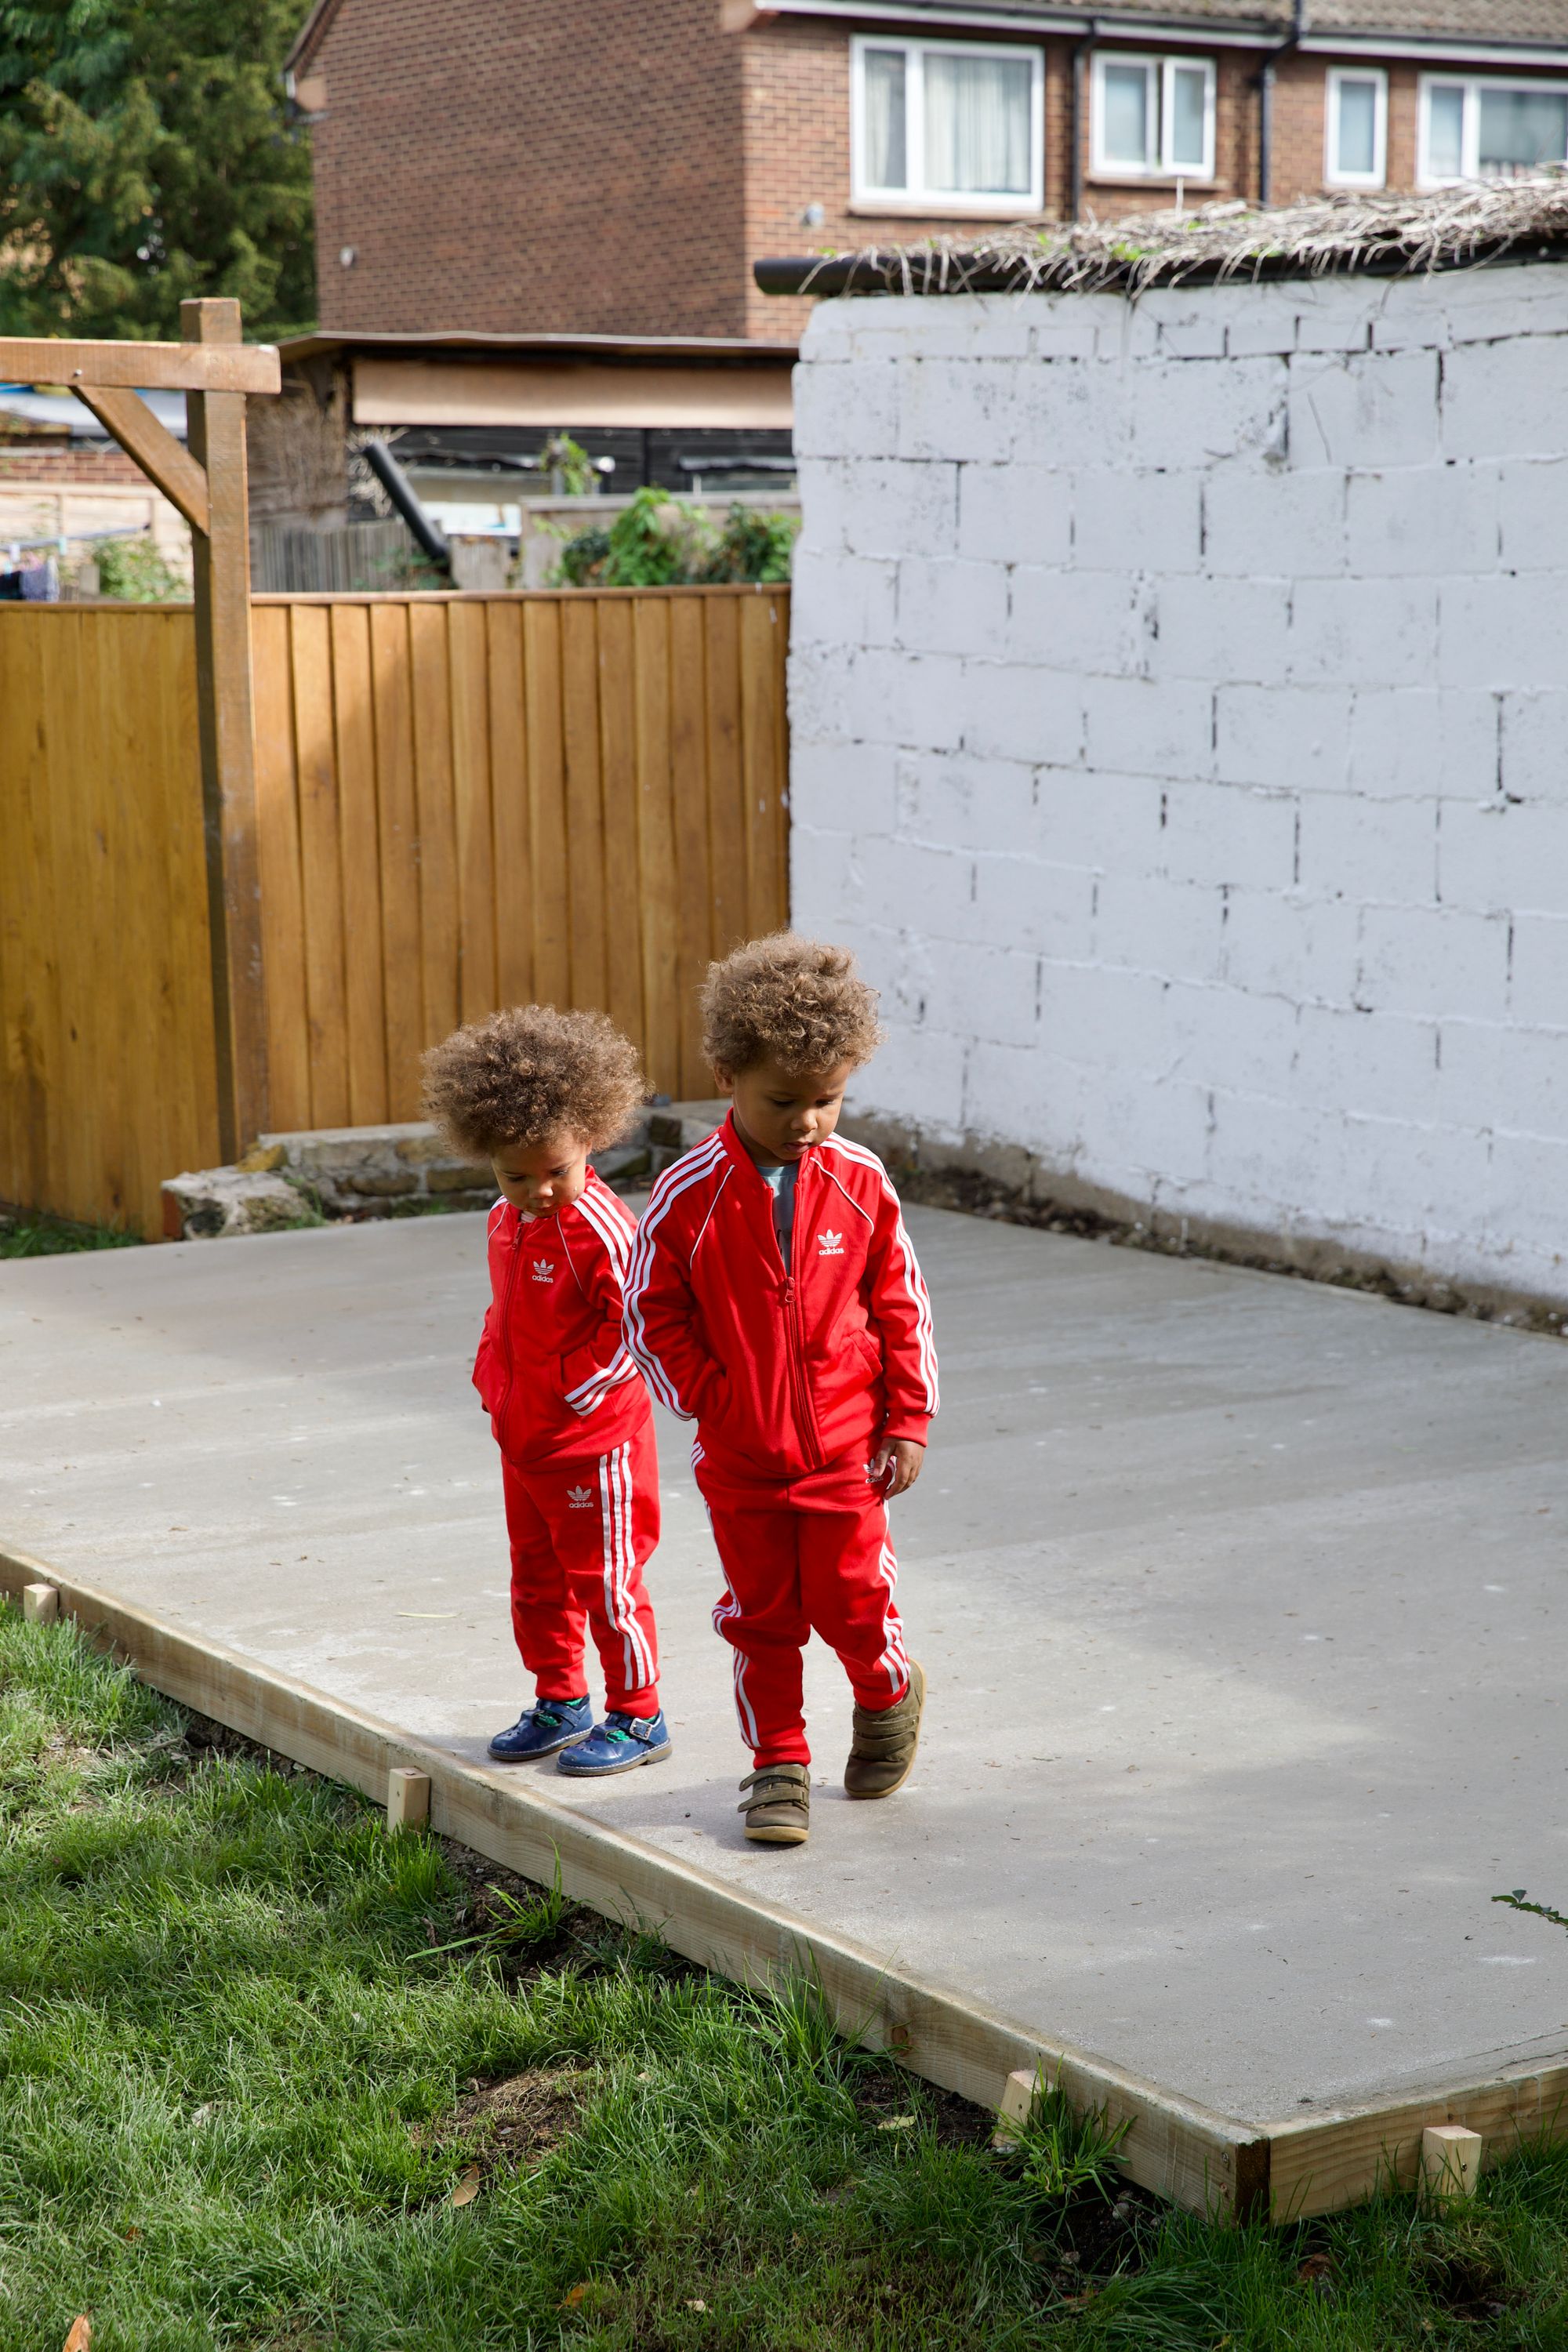
At first the children seemed unimpressed...
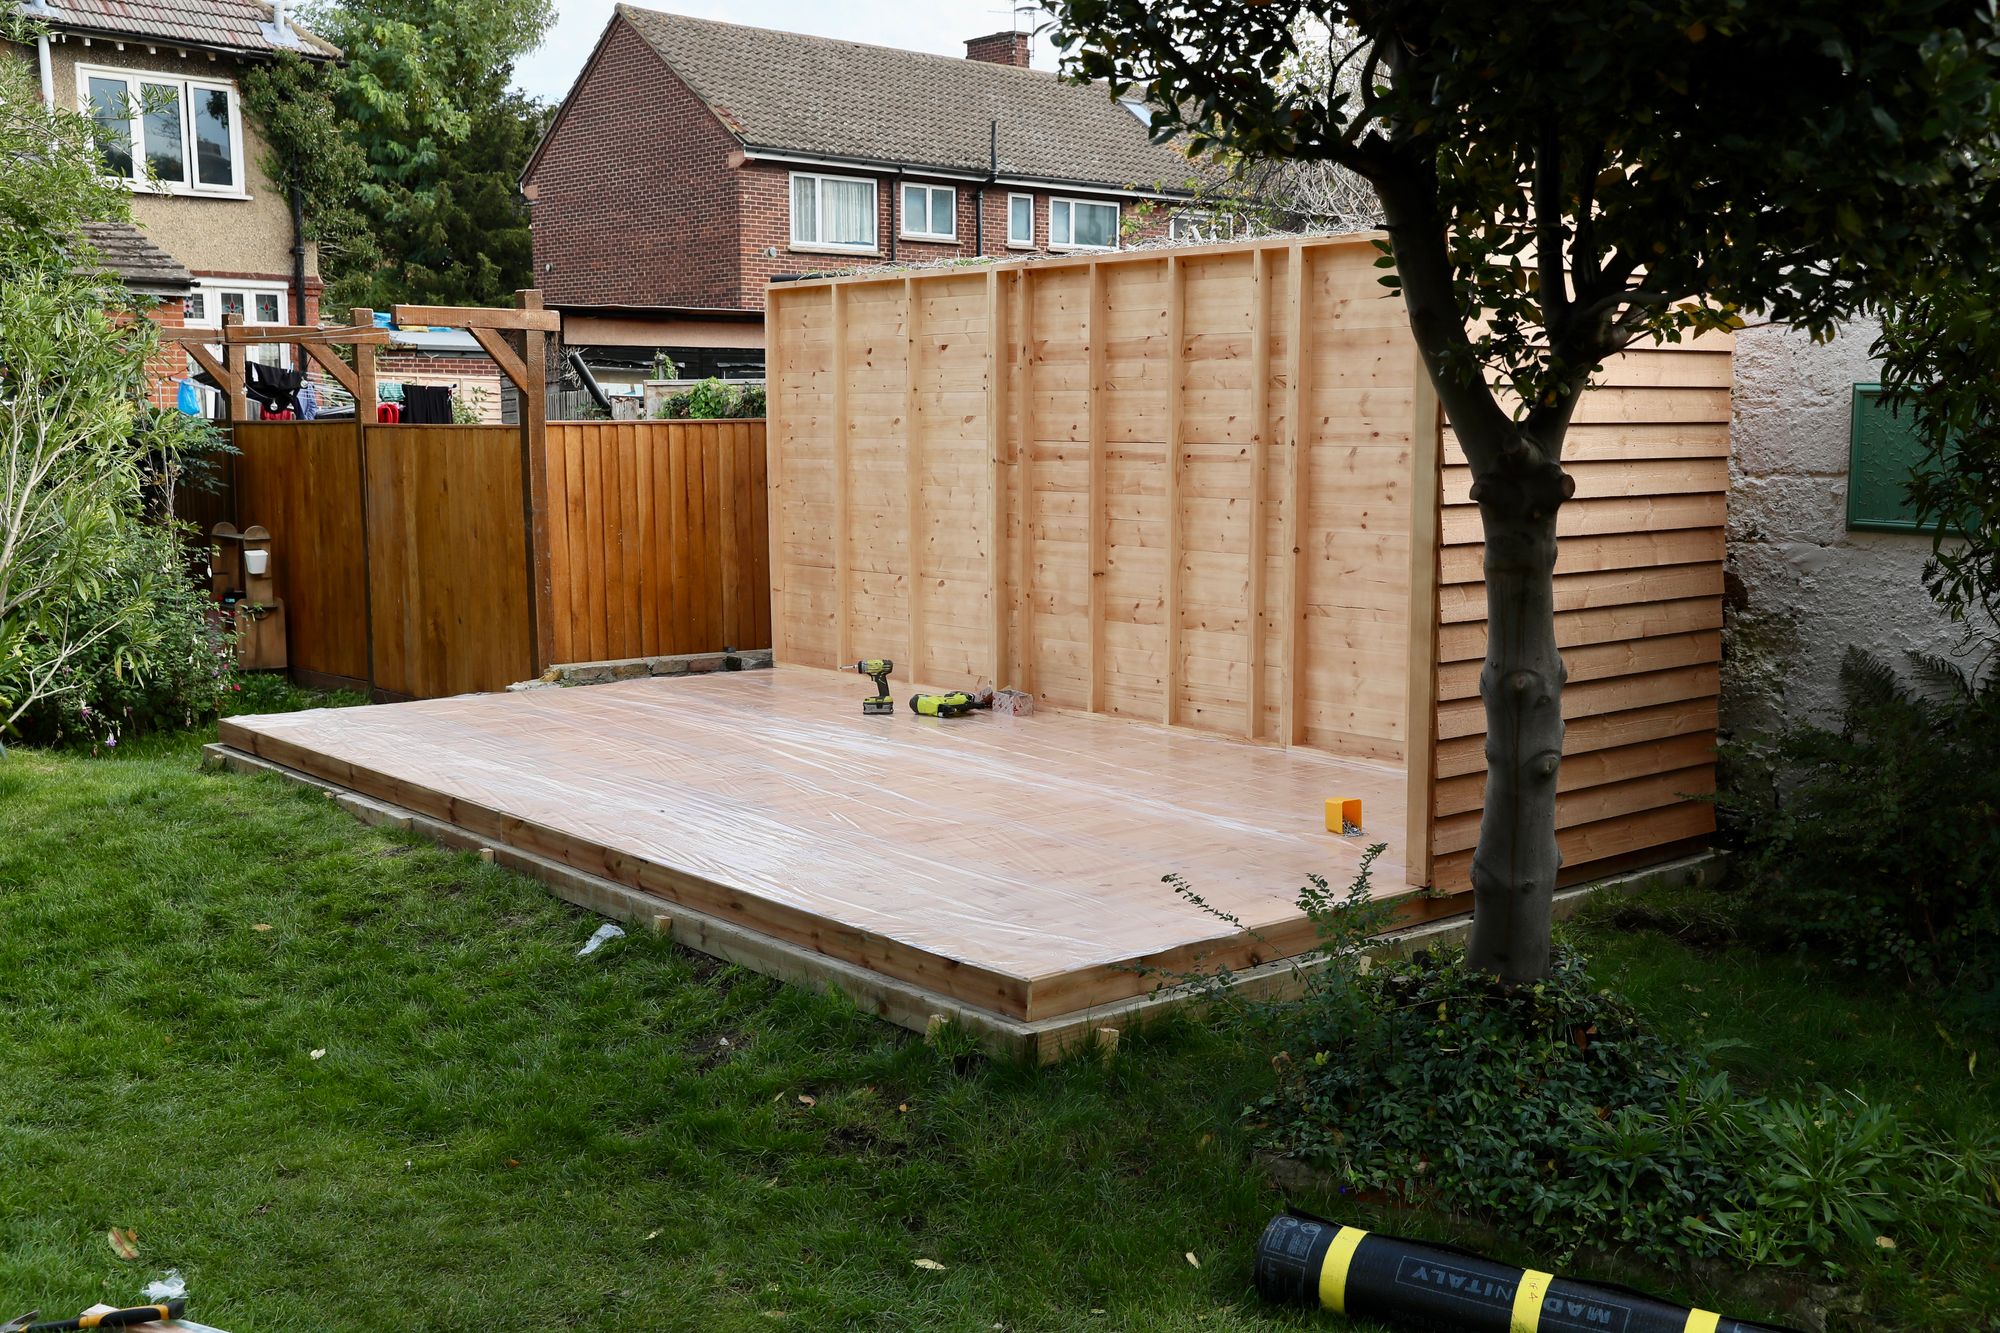
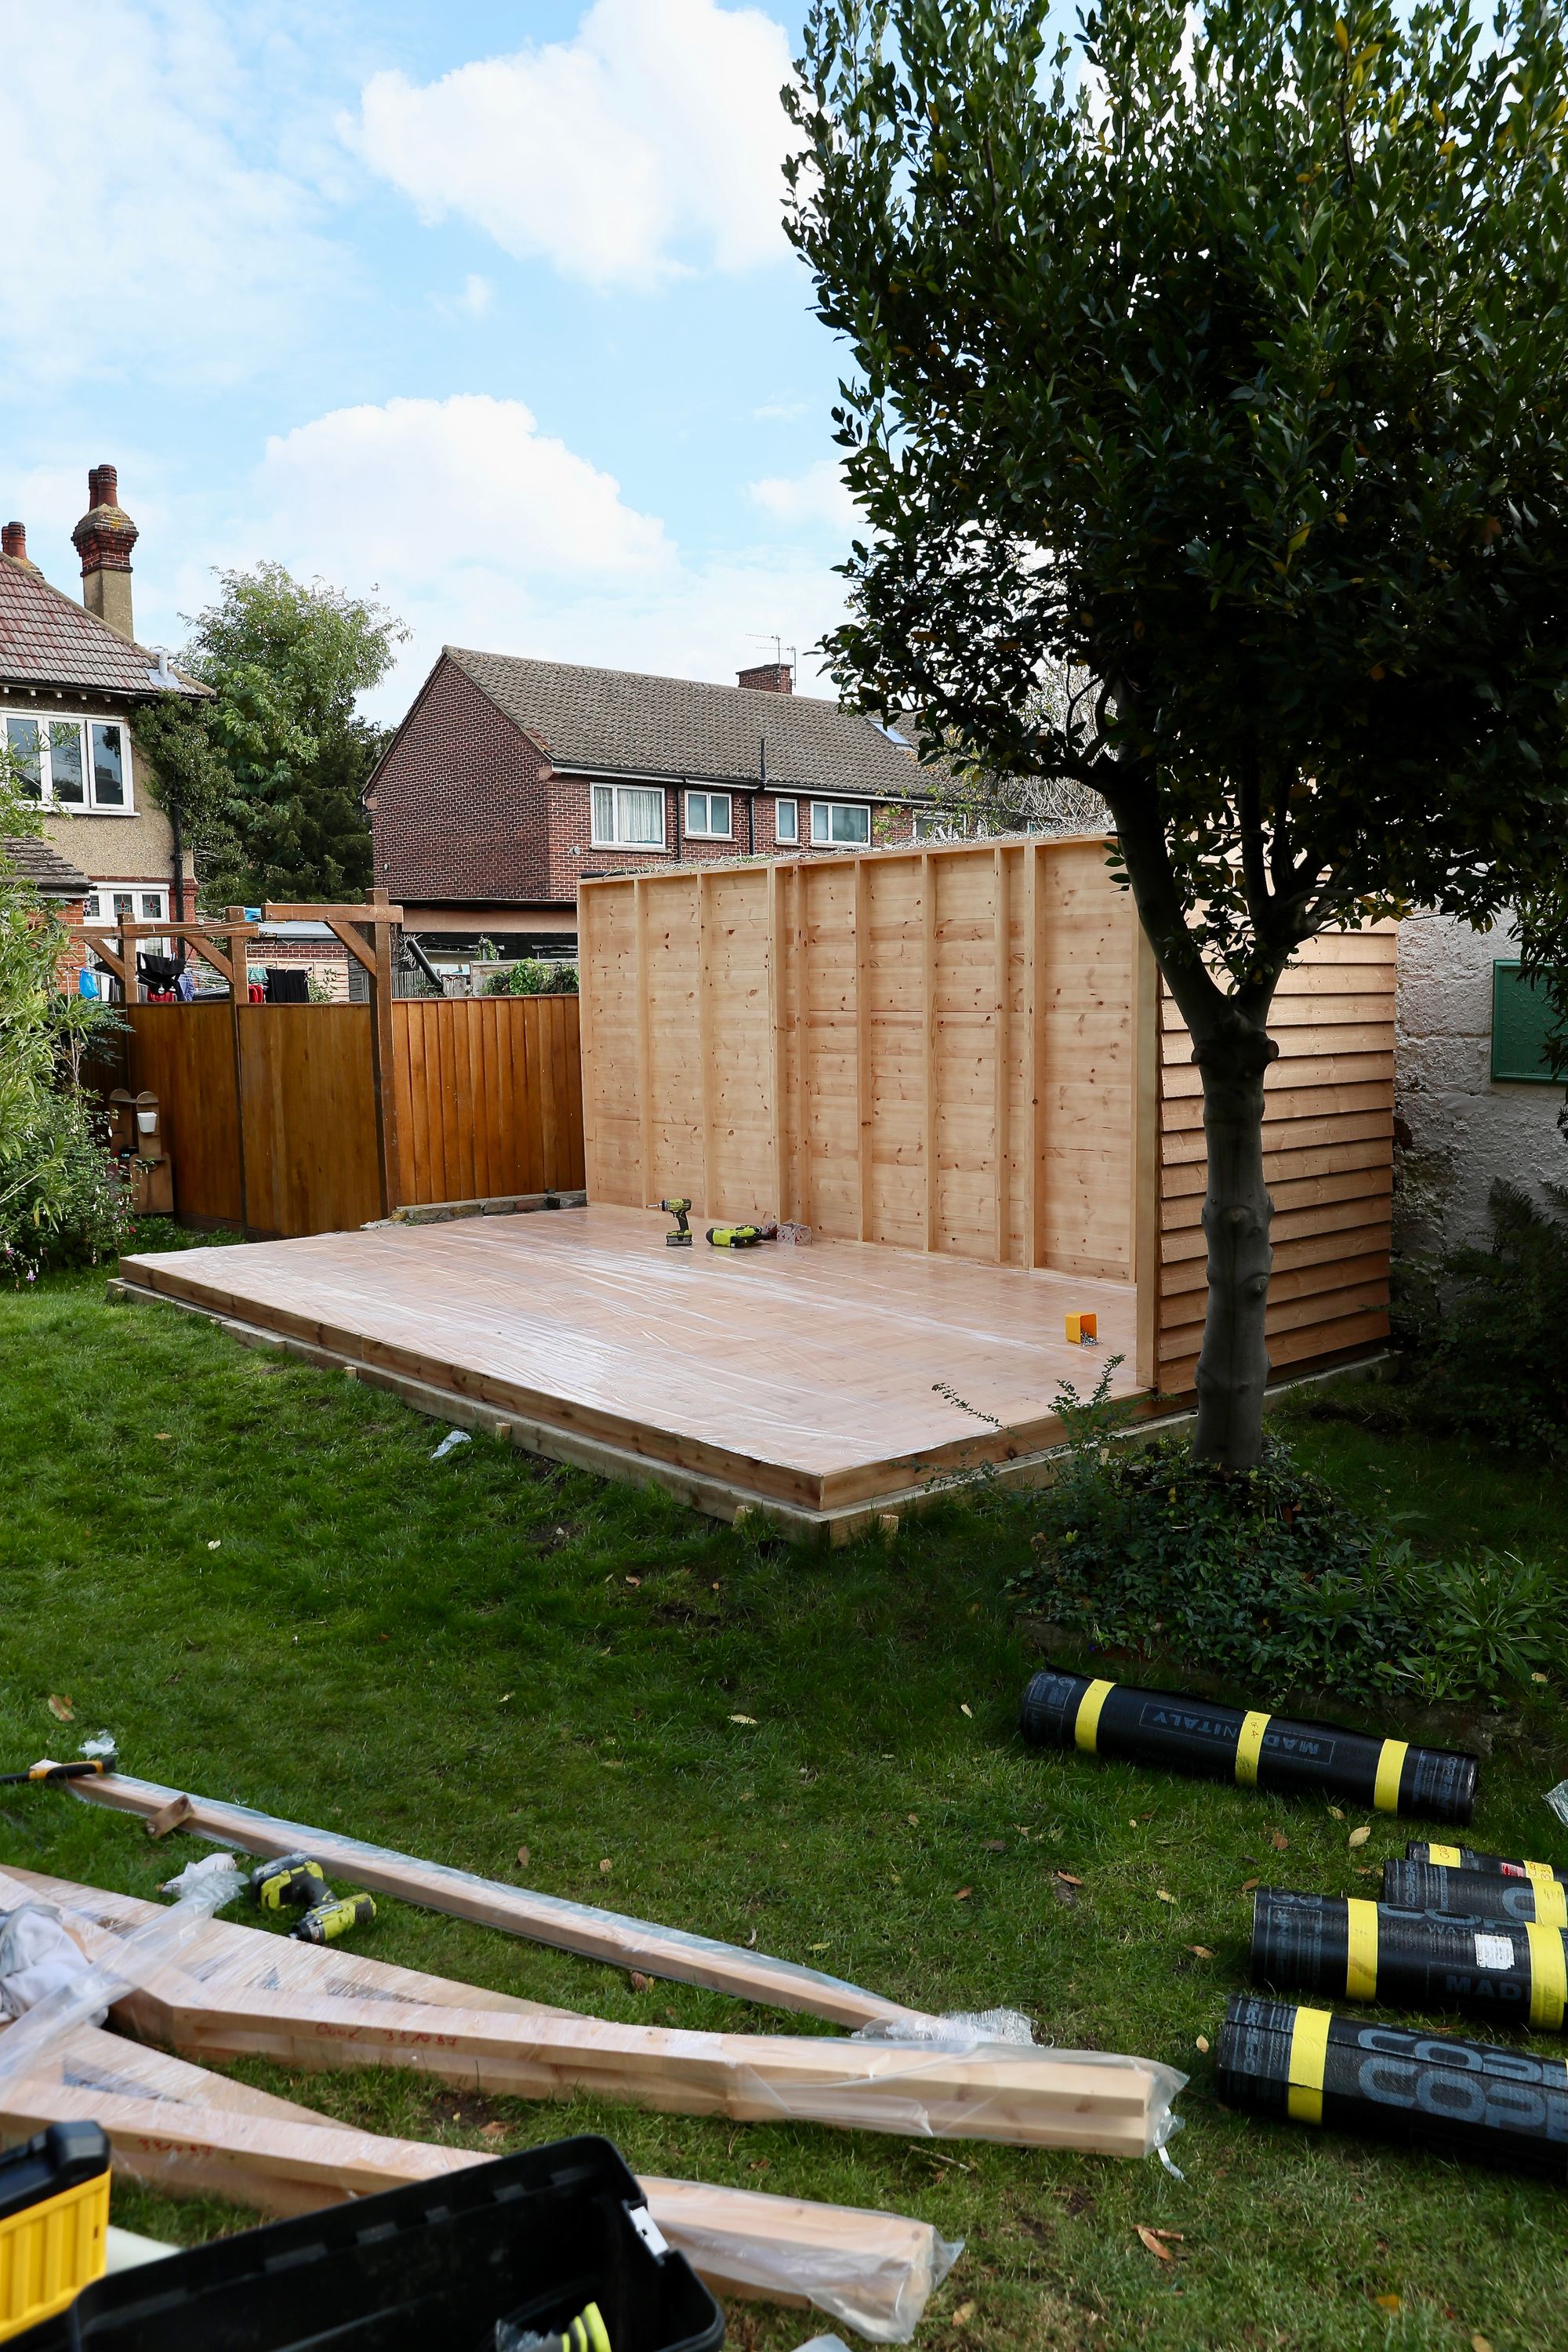
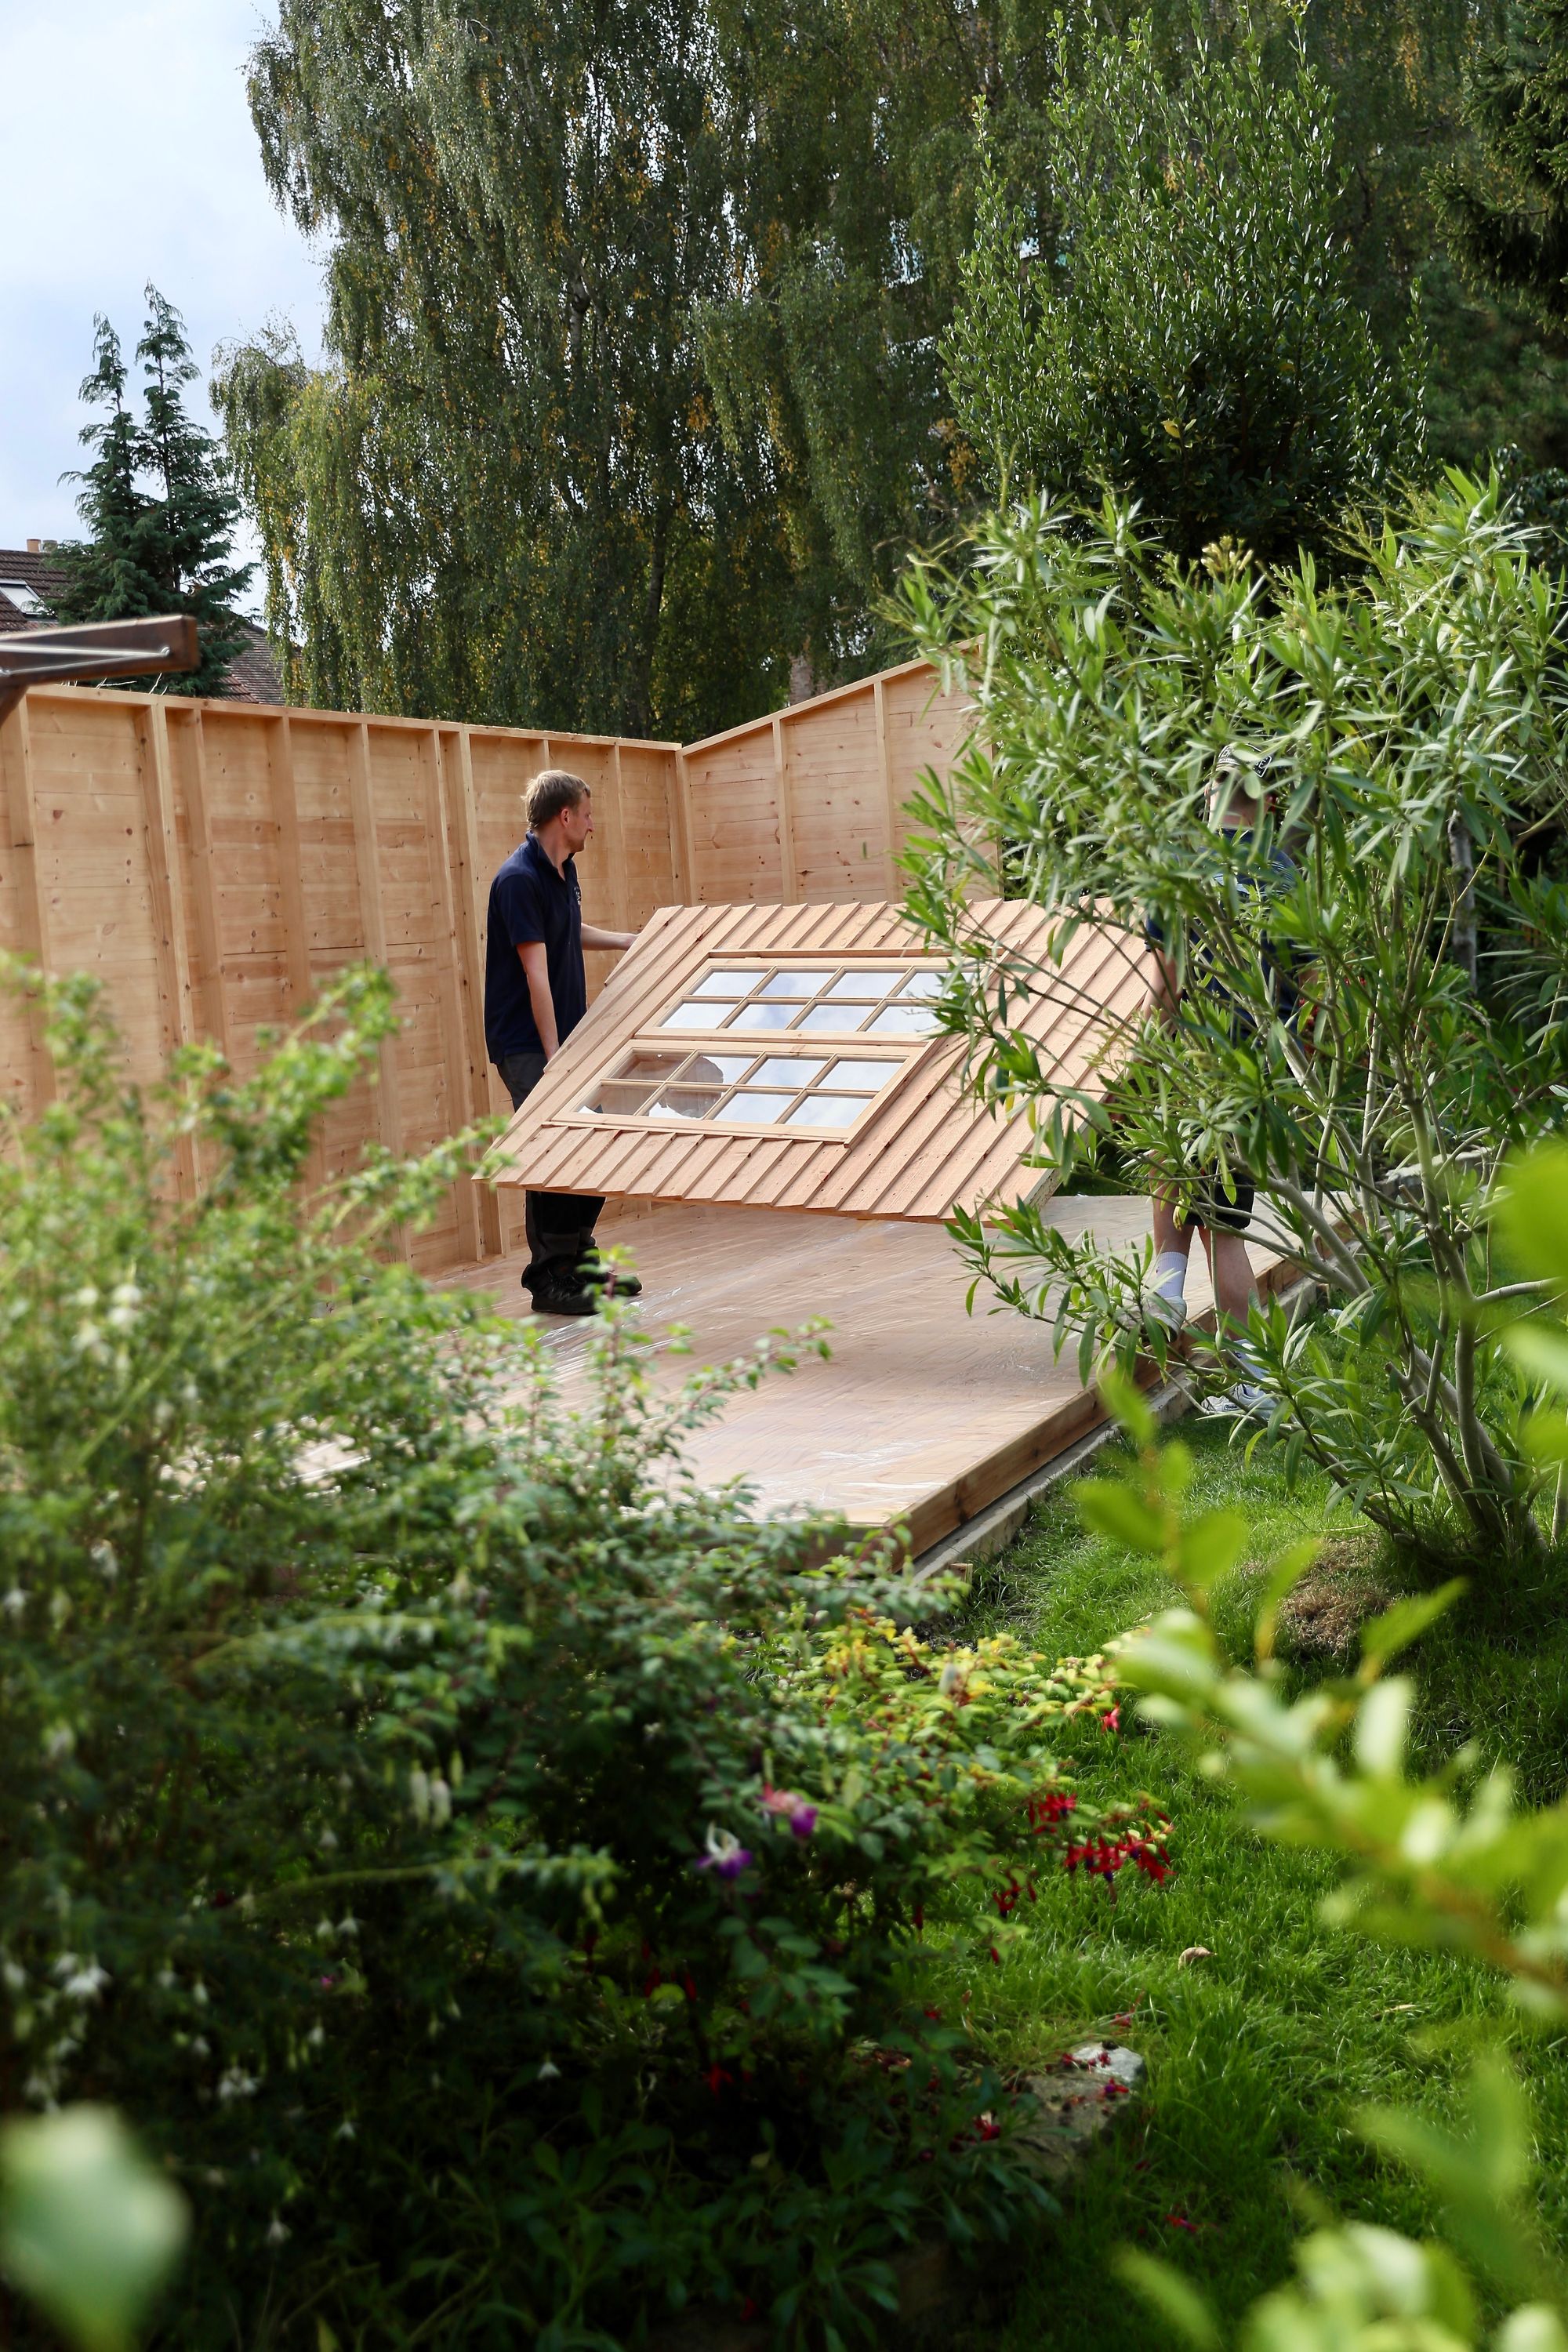
After letting the concrete base dry for a few weeks, Crane Garden Buildings came and installed the prefab shell in October.
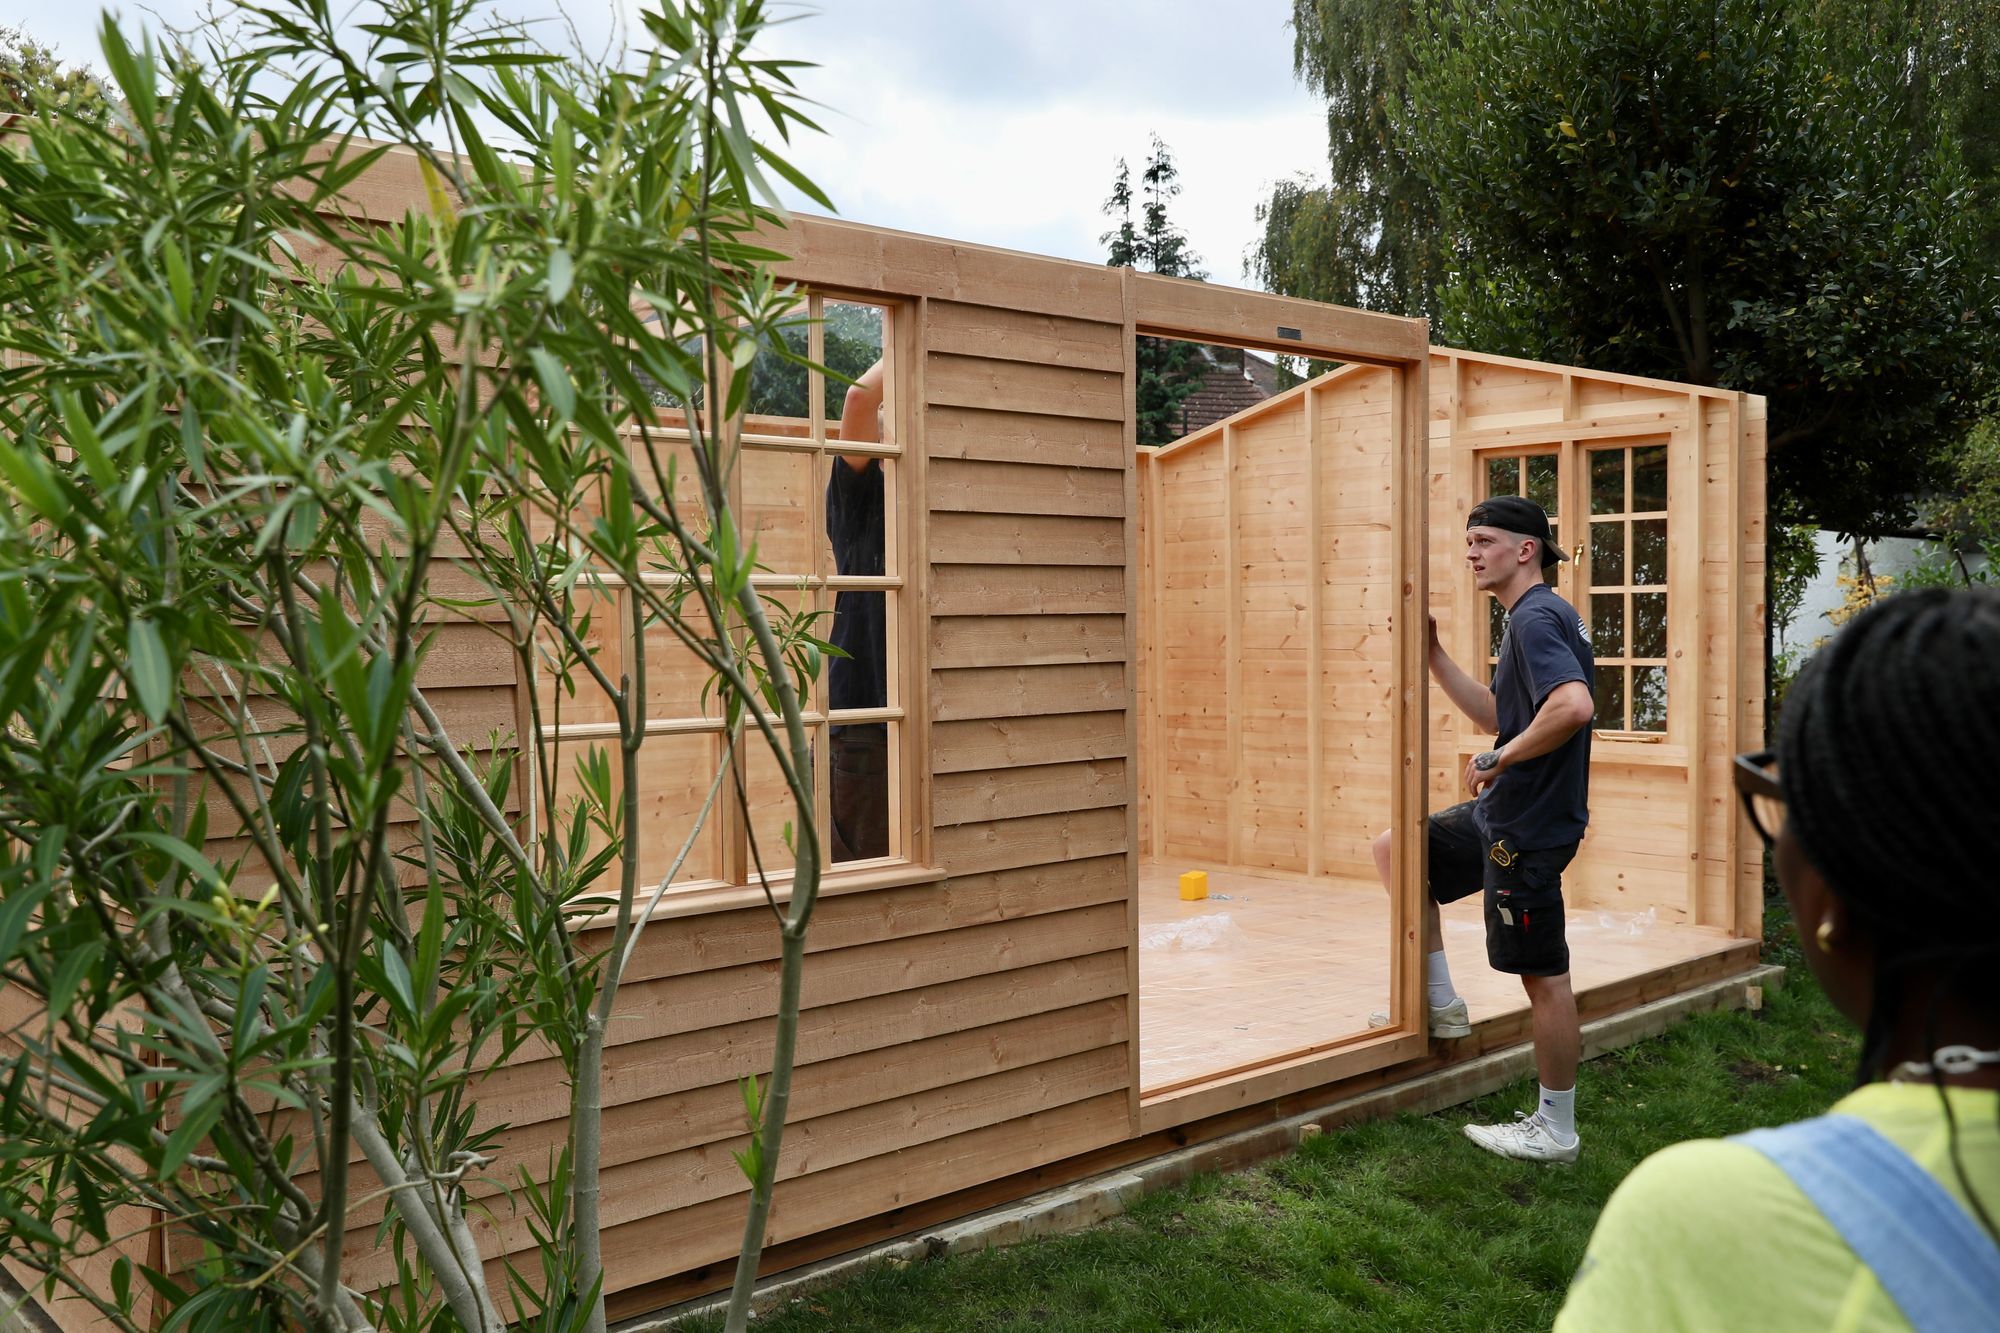
Panel by panel, it went up super fast.
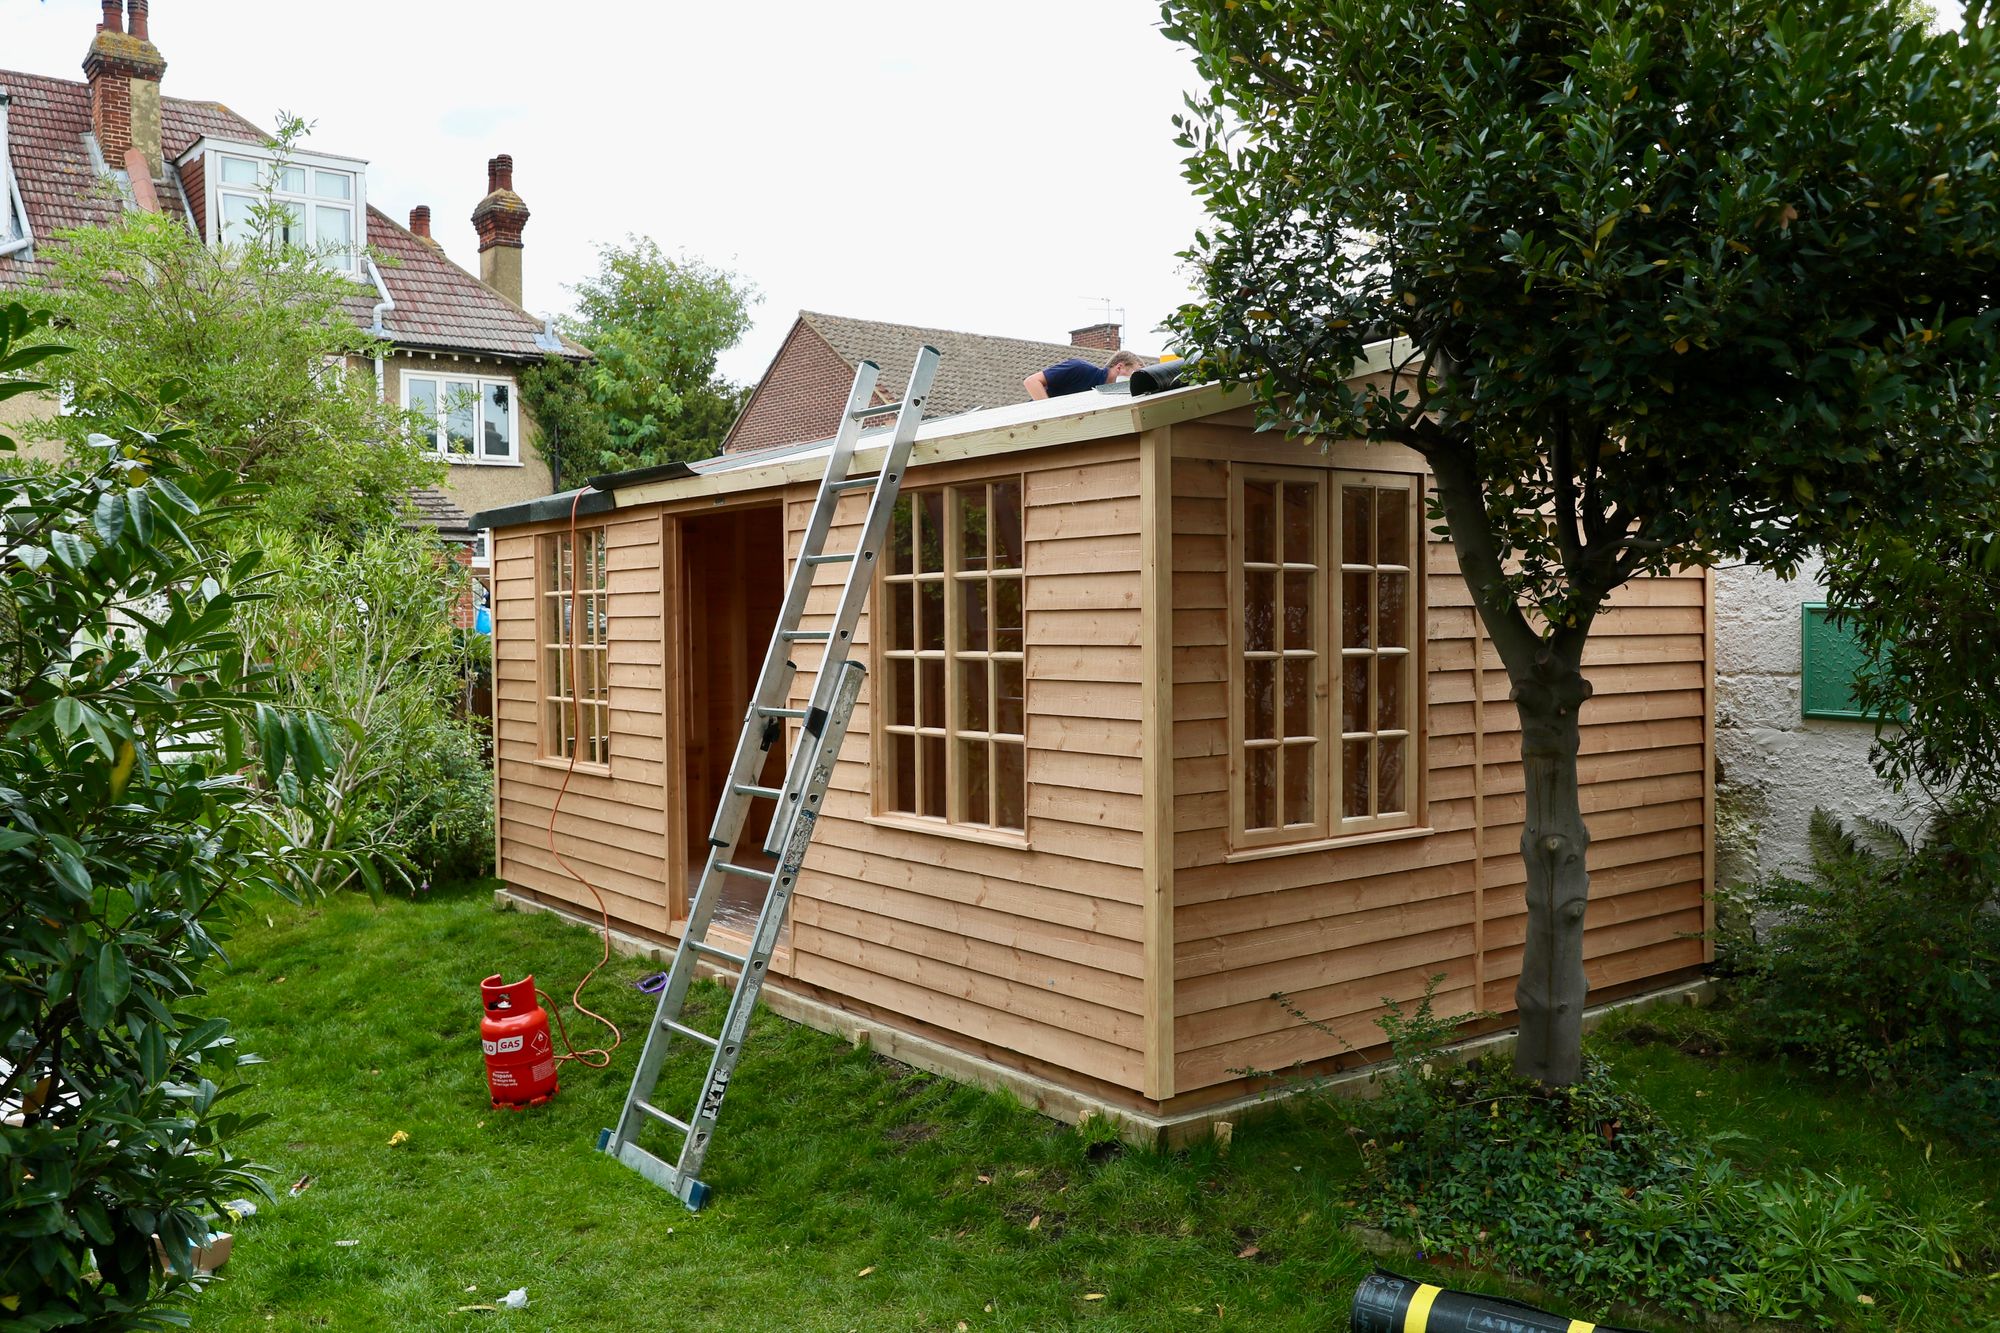
Whole shed built in a single day!
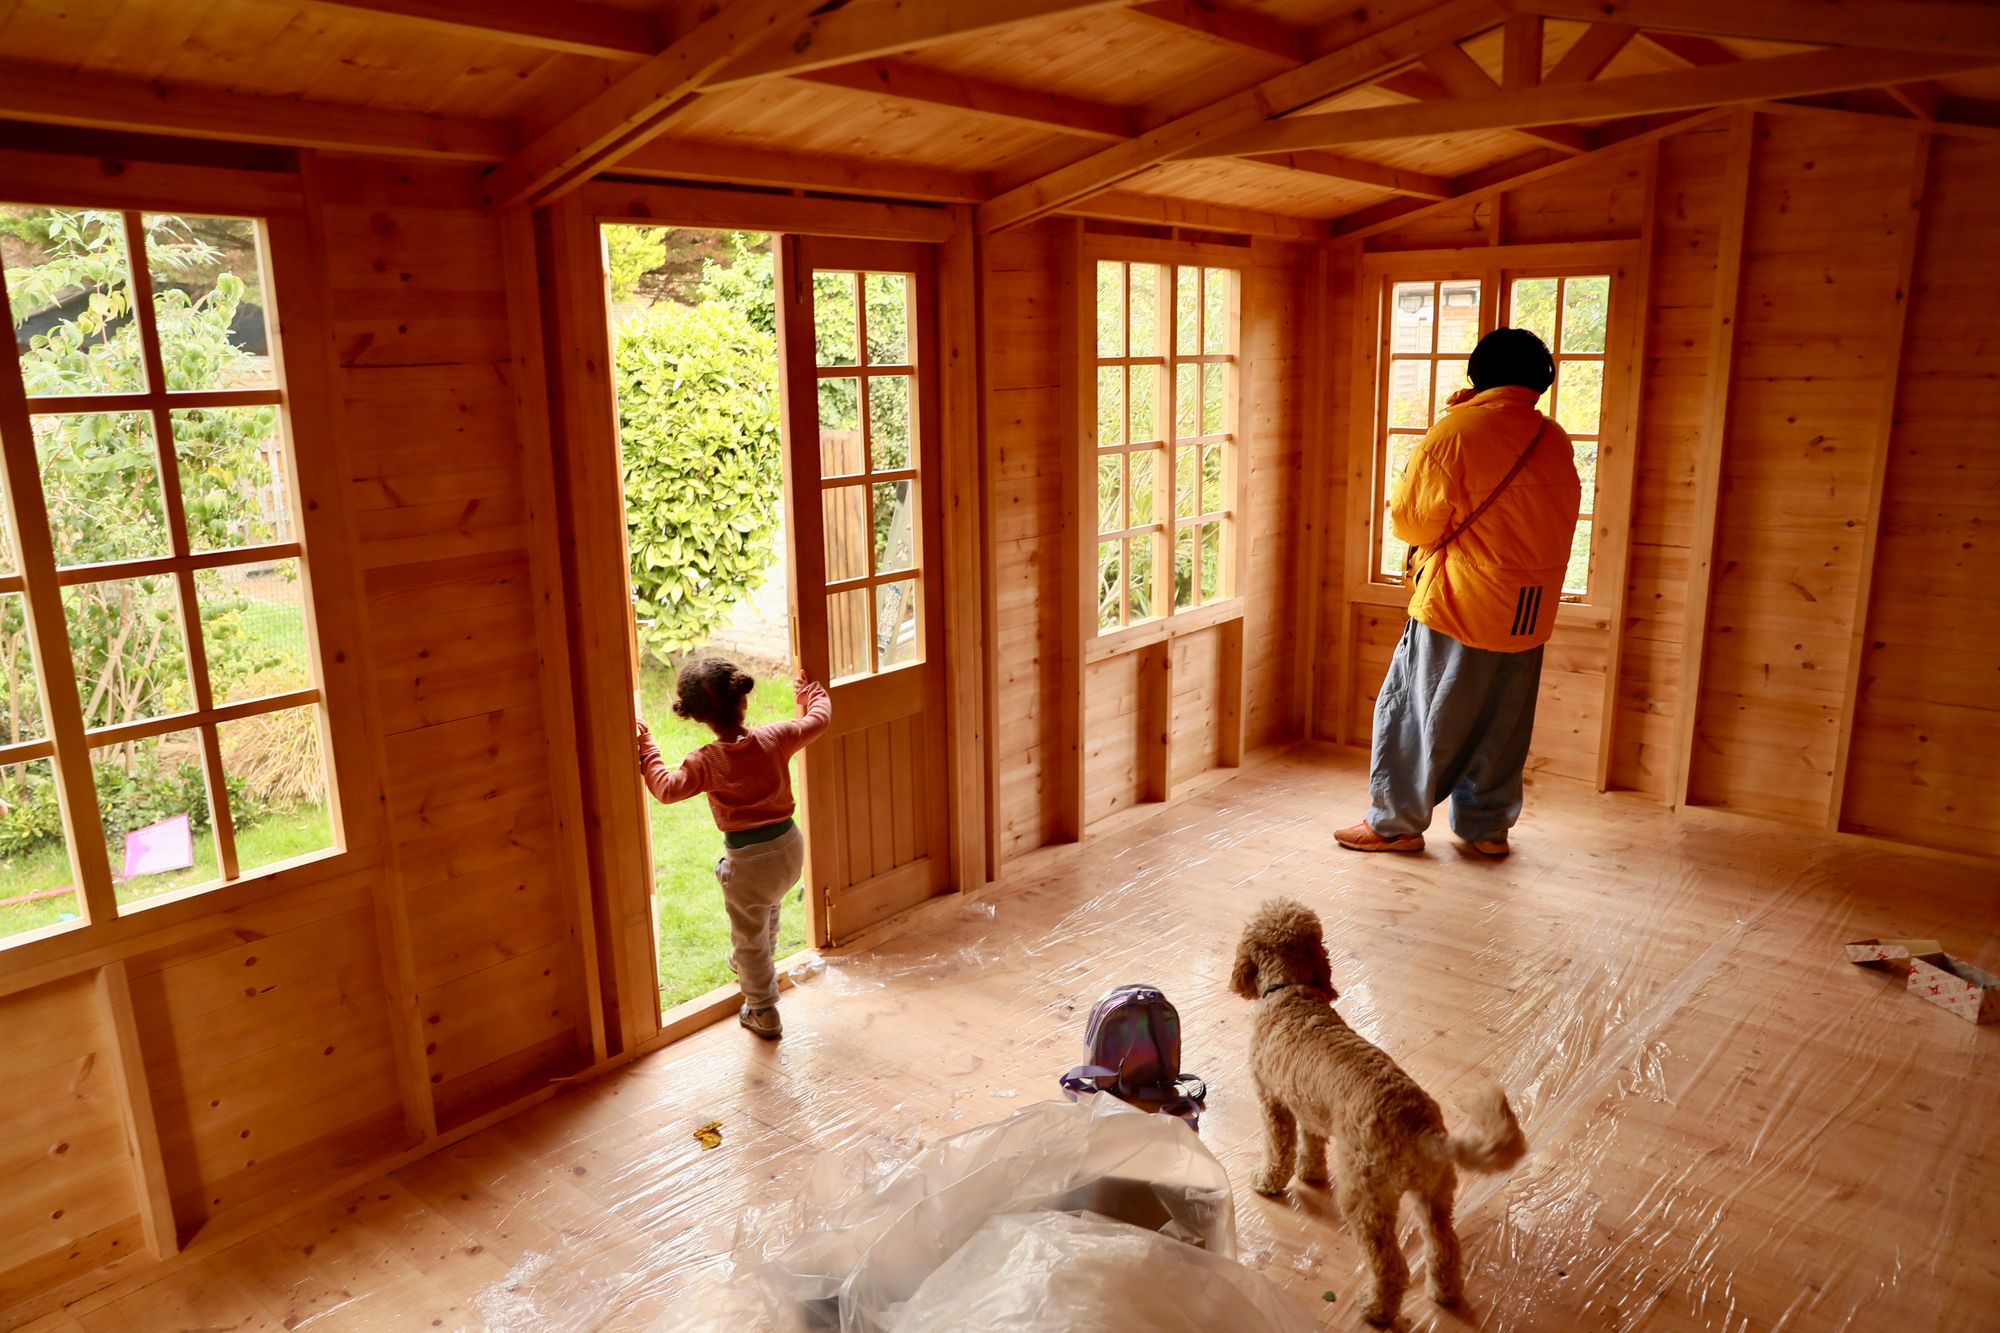
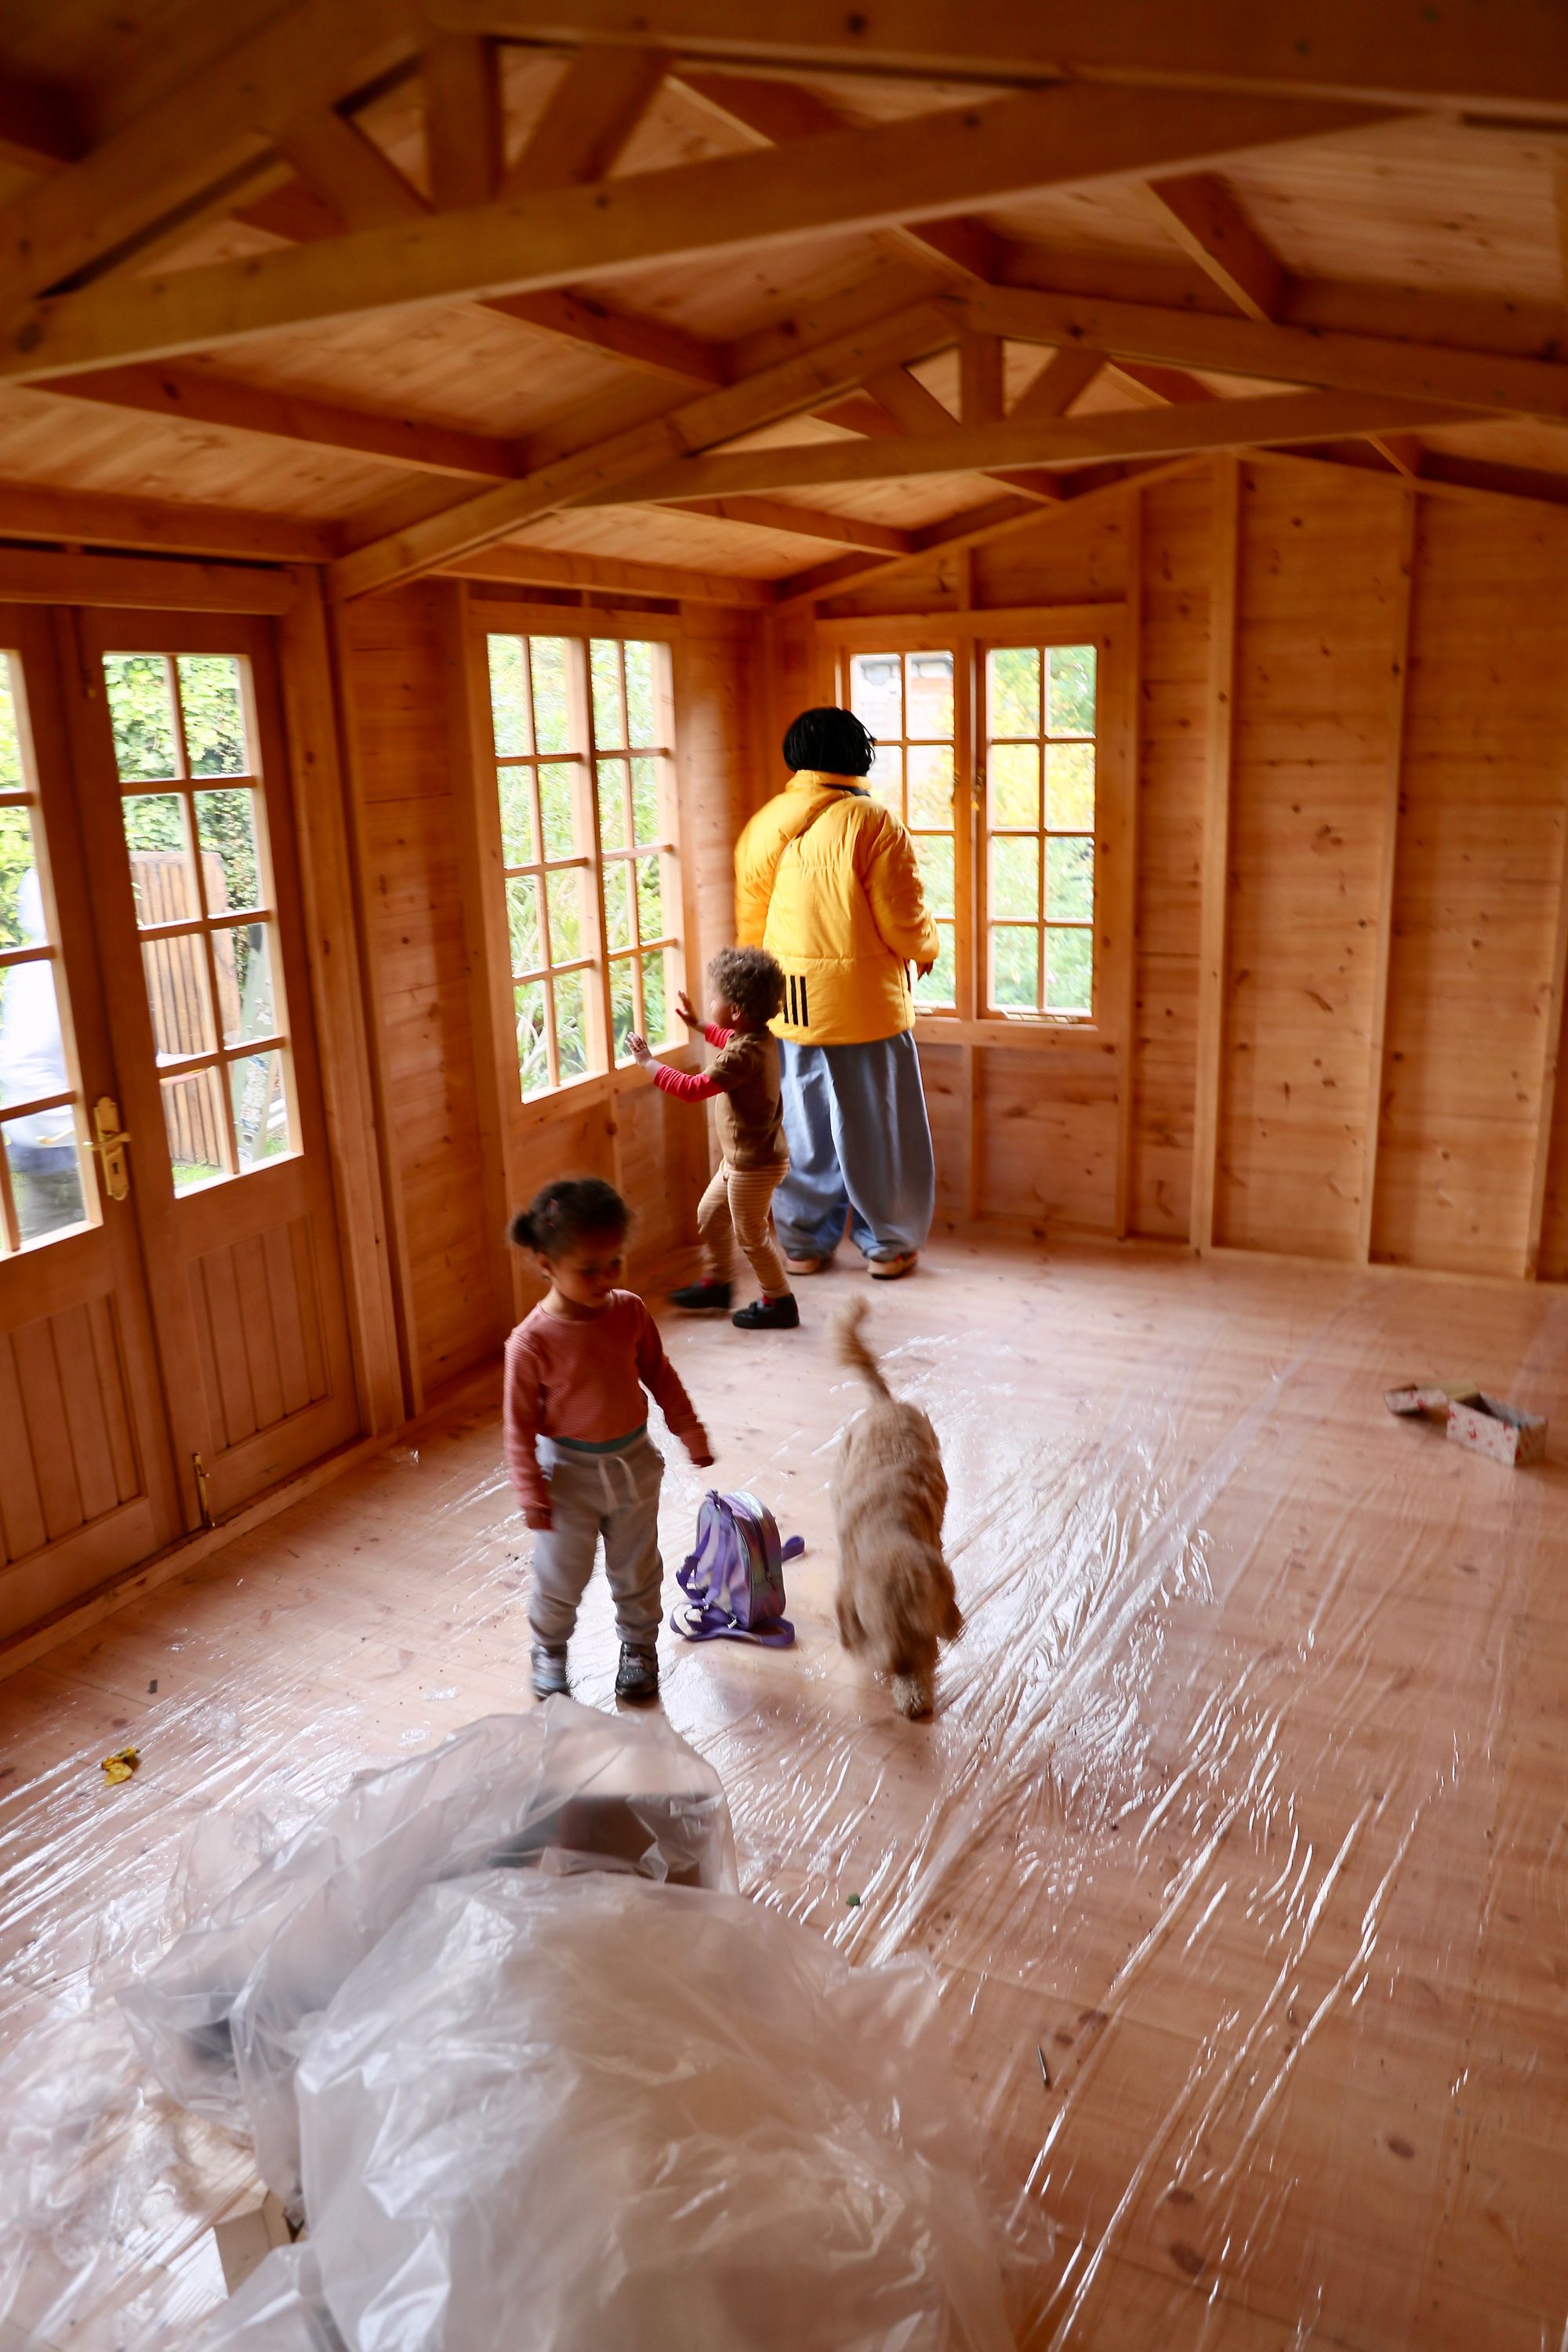
The first visit to what the kids now call "The New House".

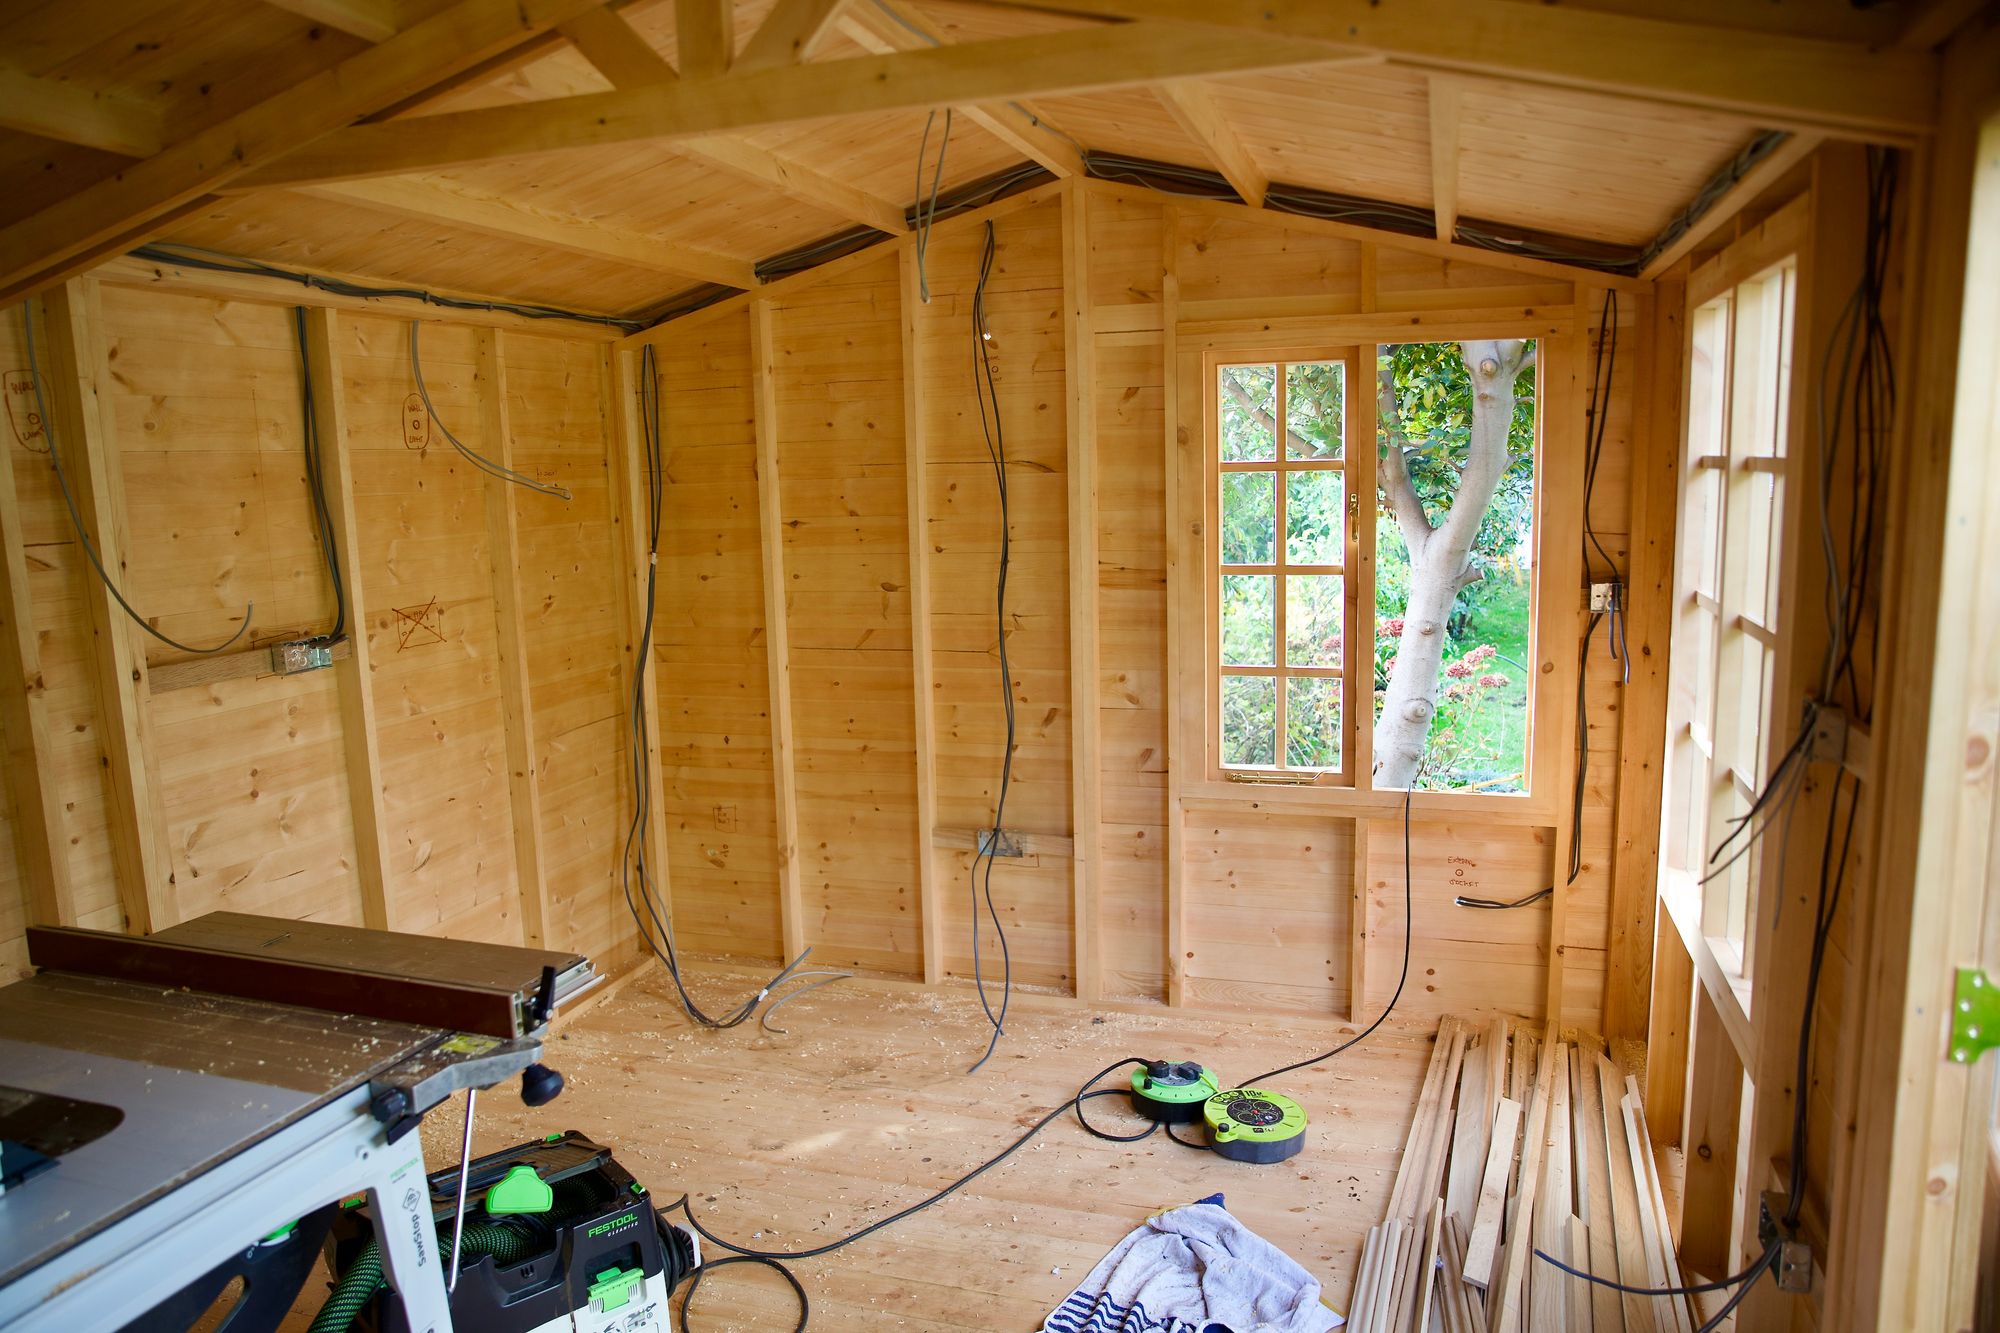
We started the electrics first fix a few days after installation.
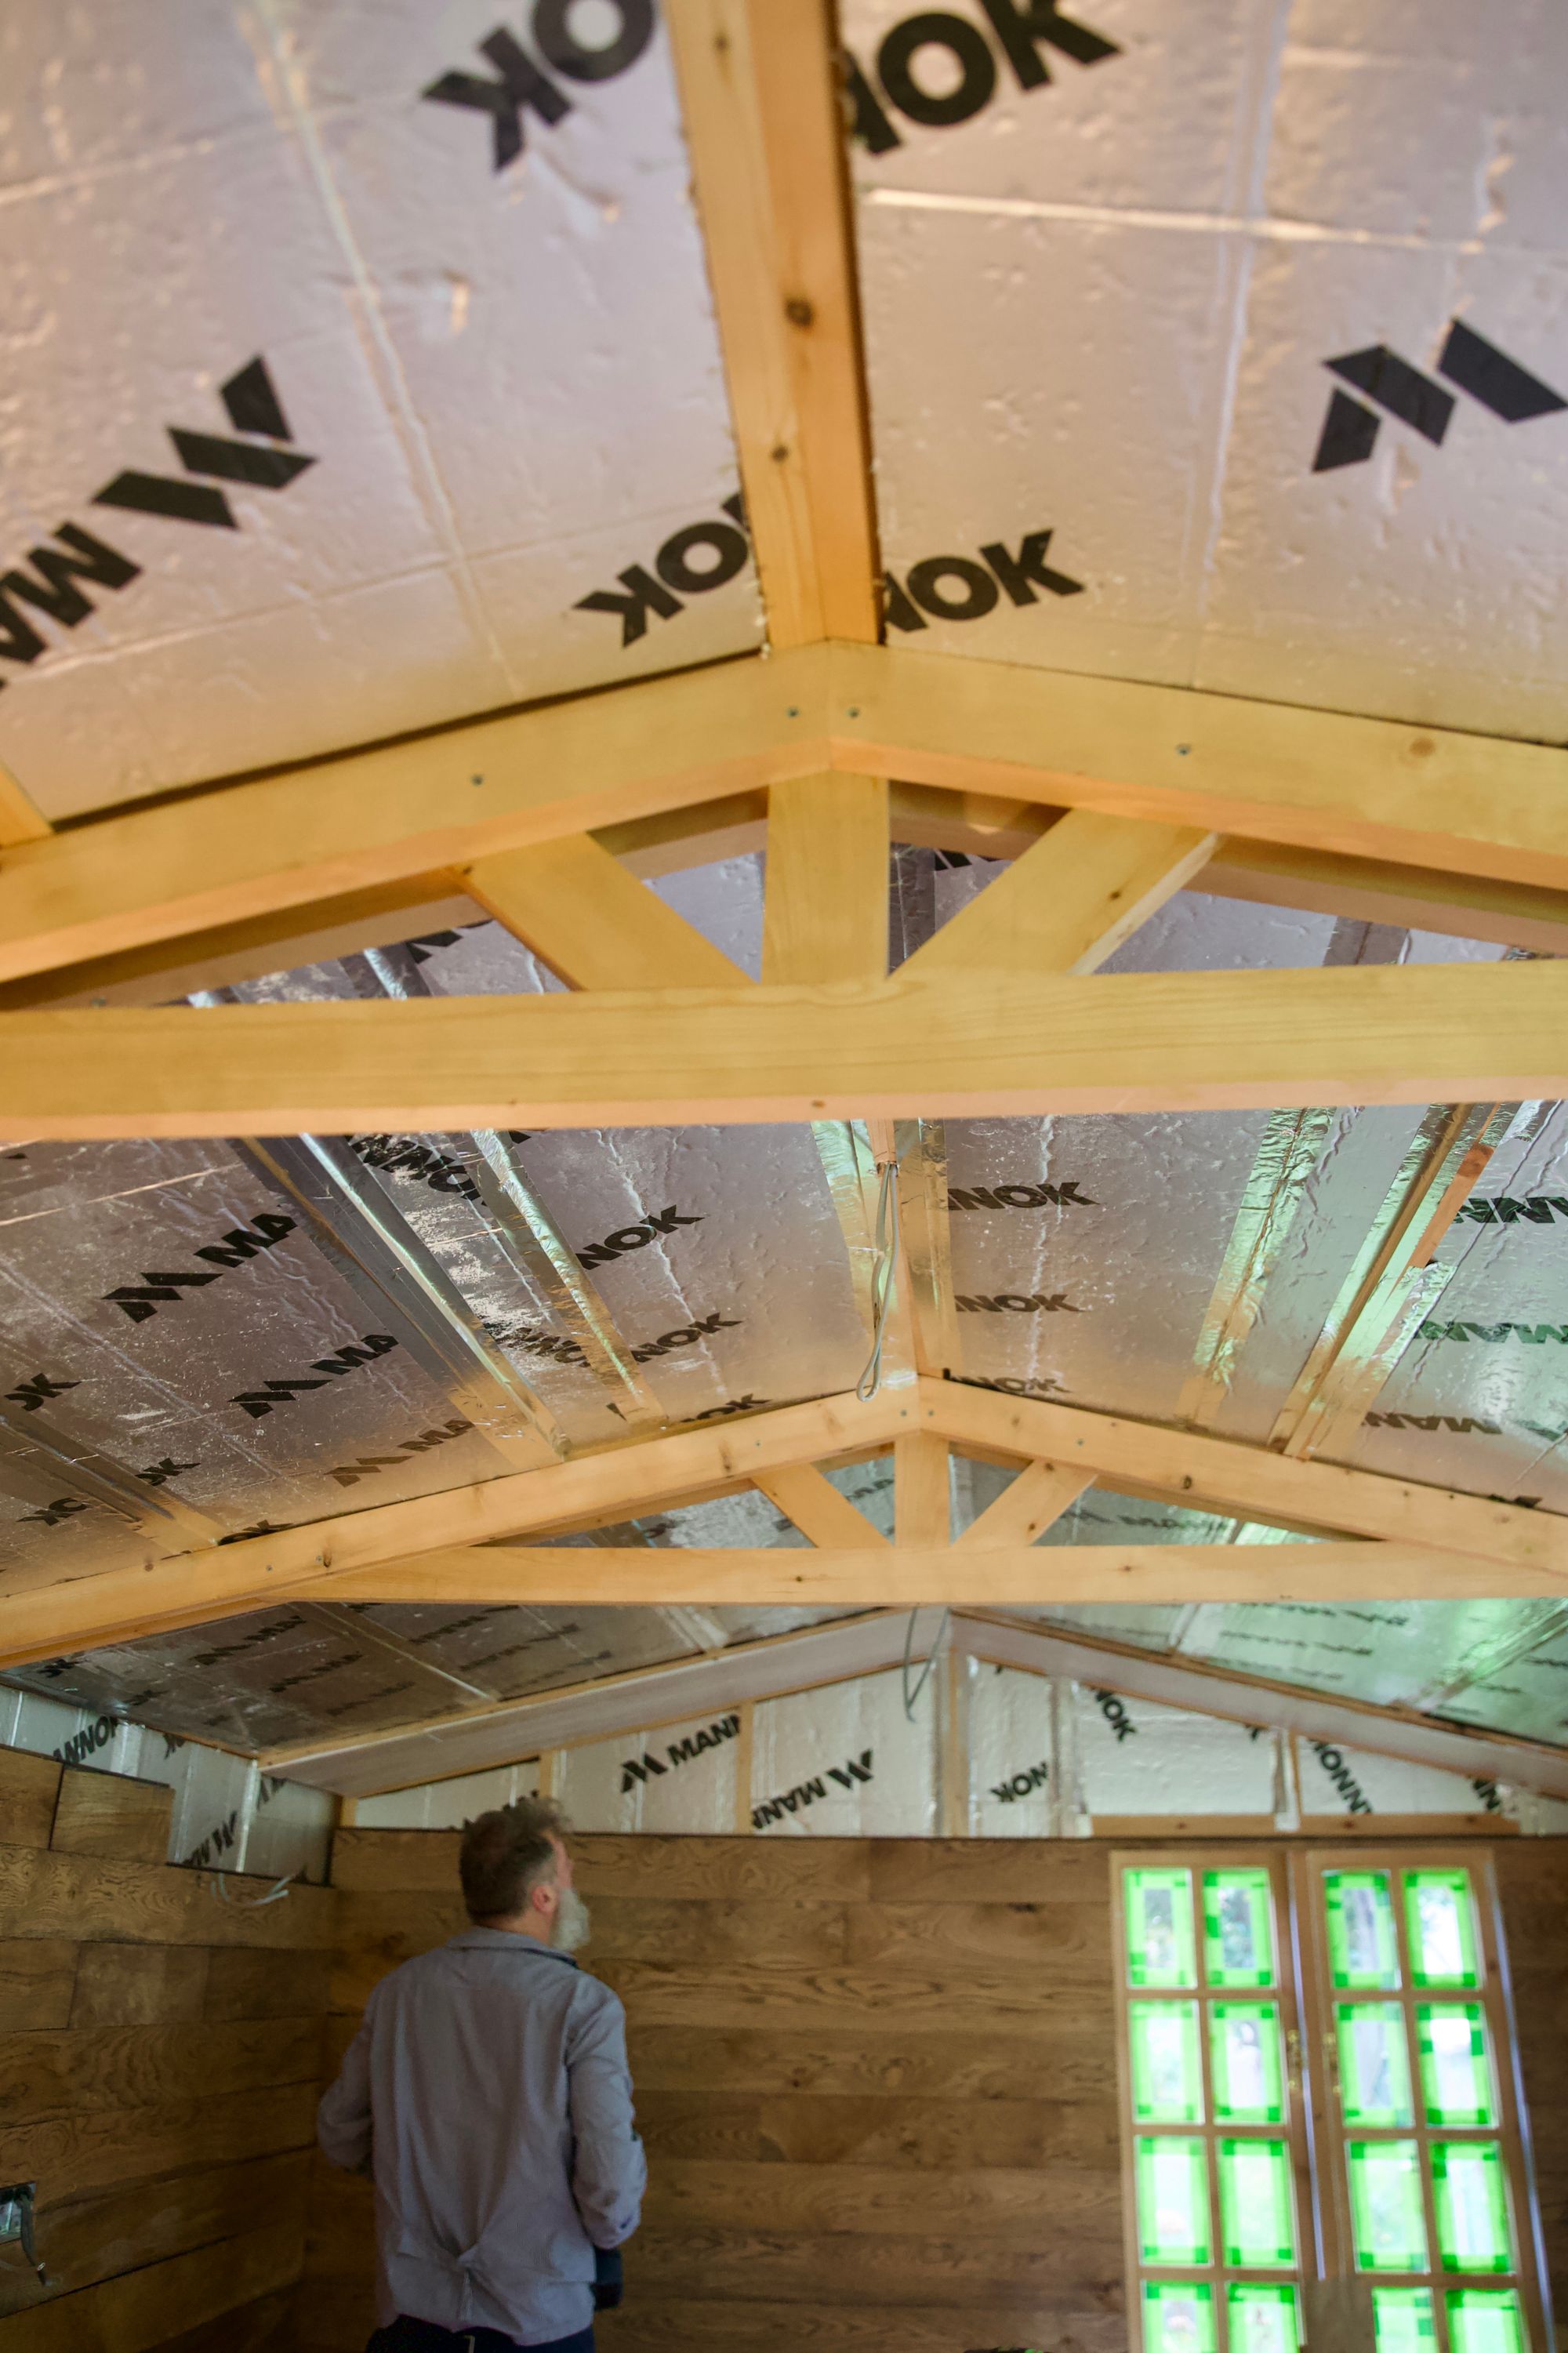
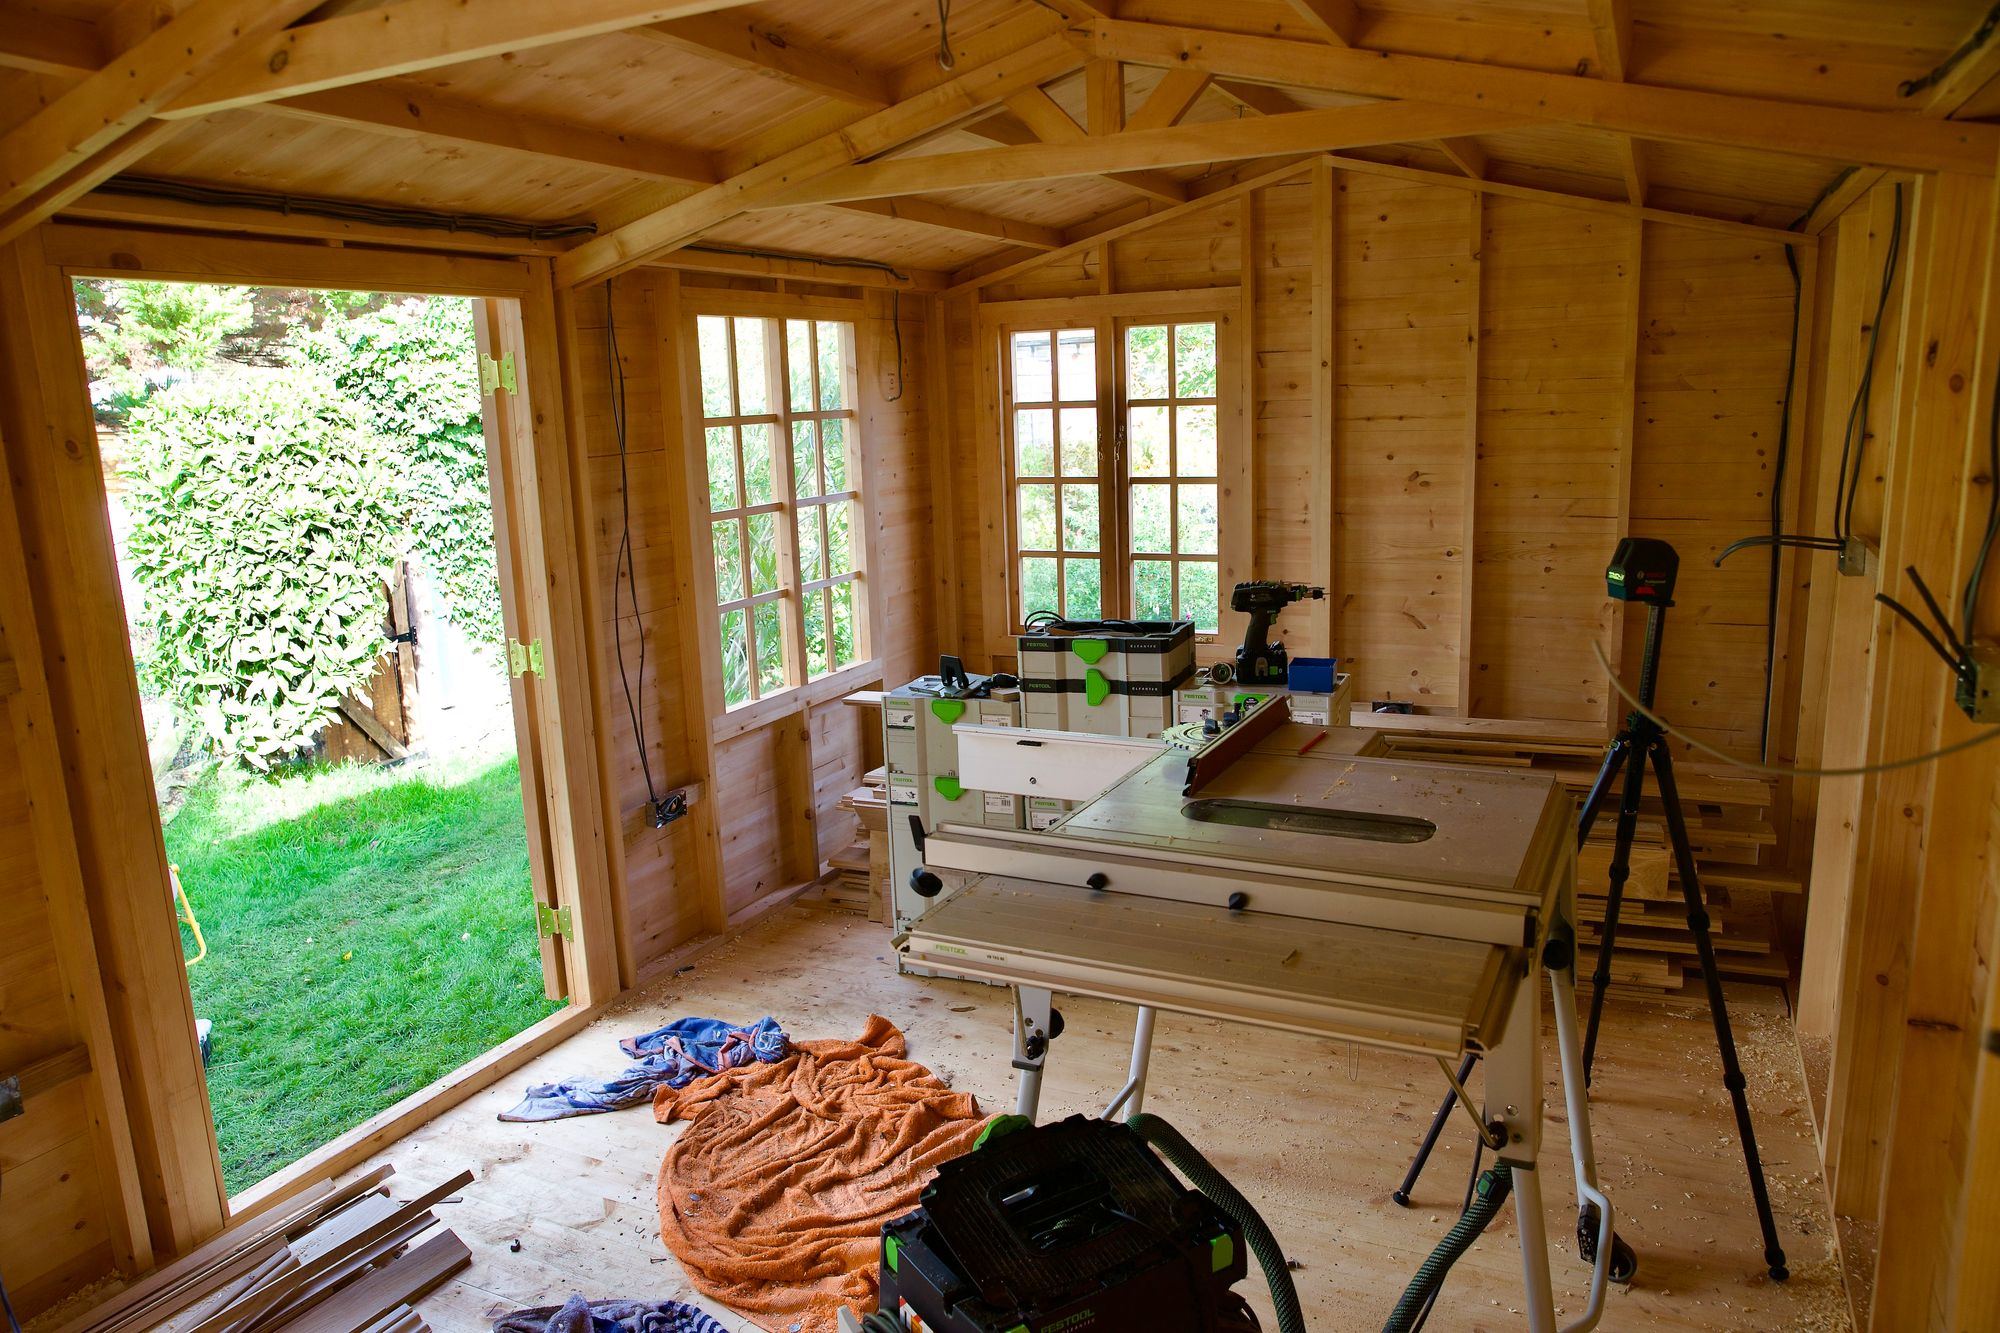
Cookie insulated the shed himself with 50mm PIR insulation boards.
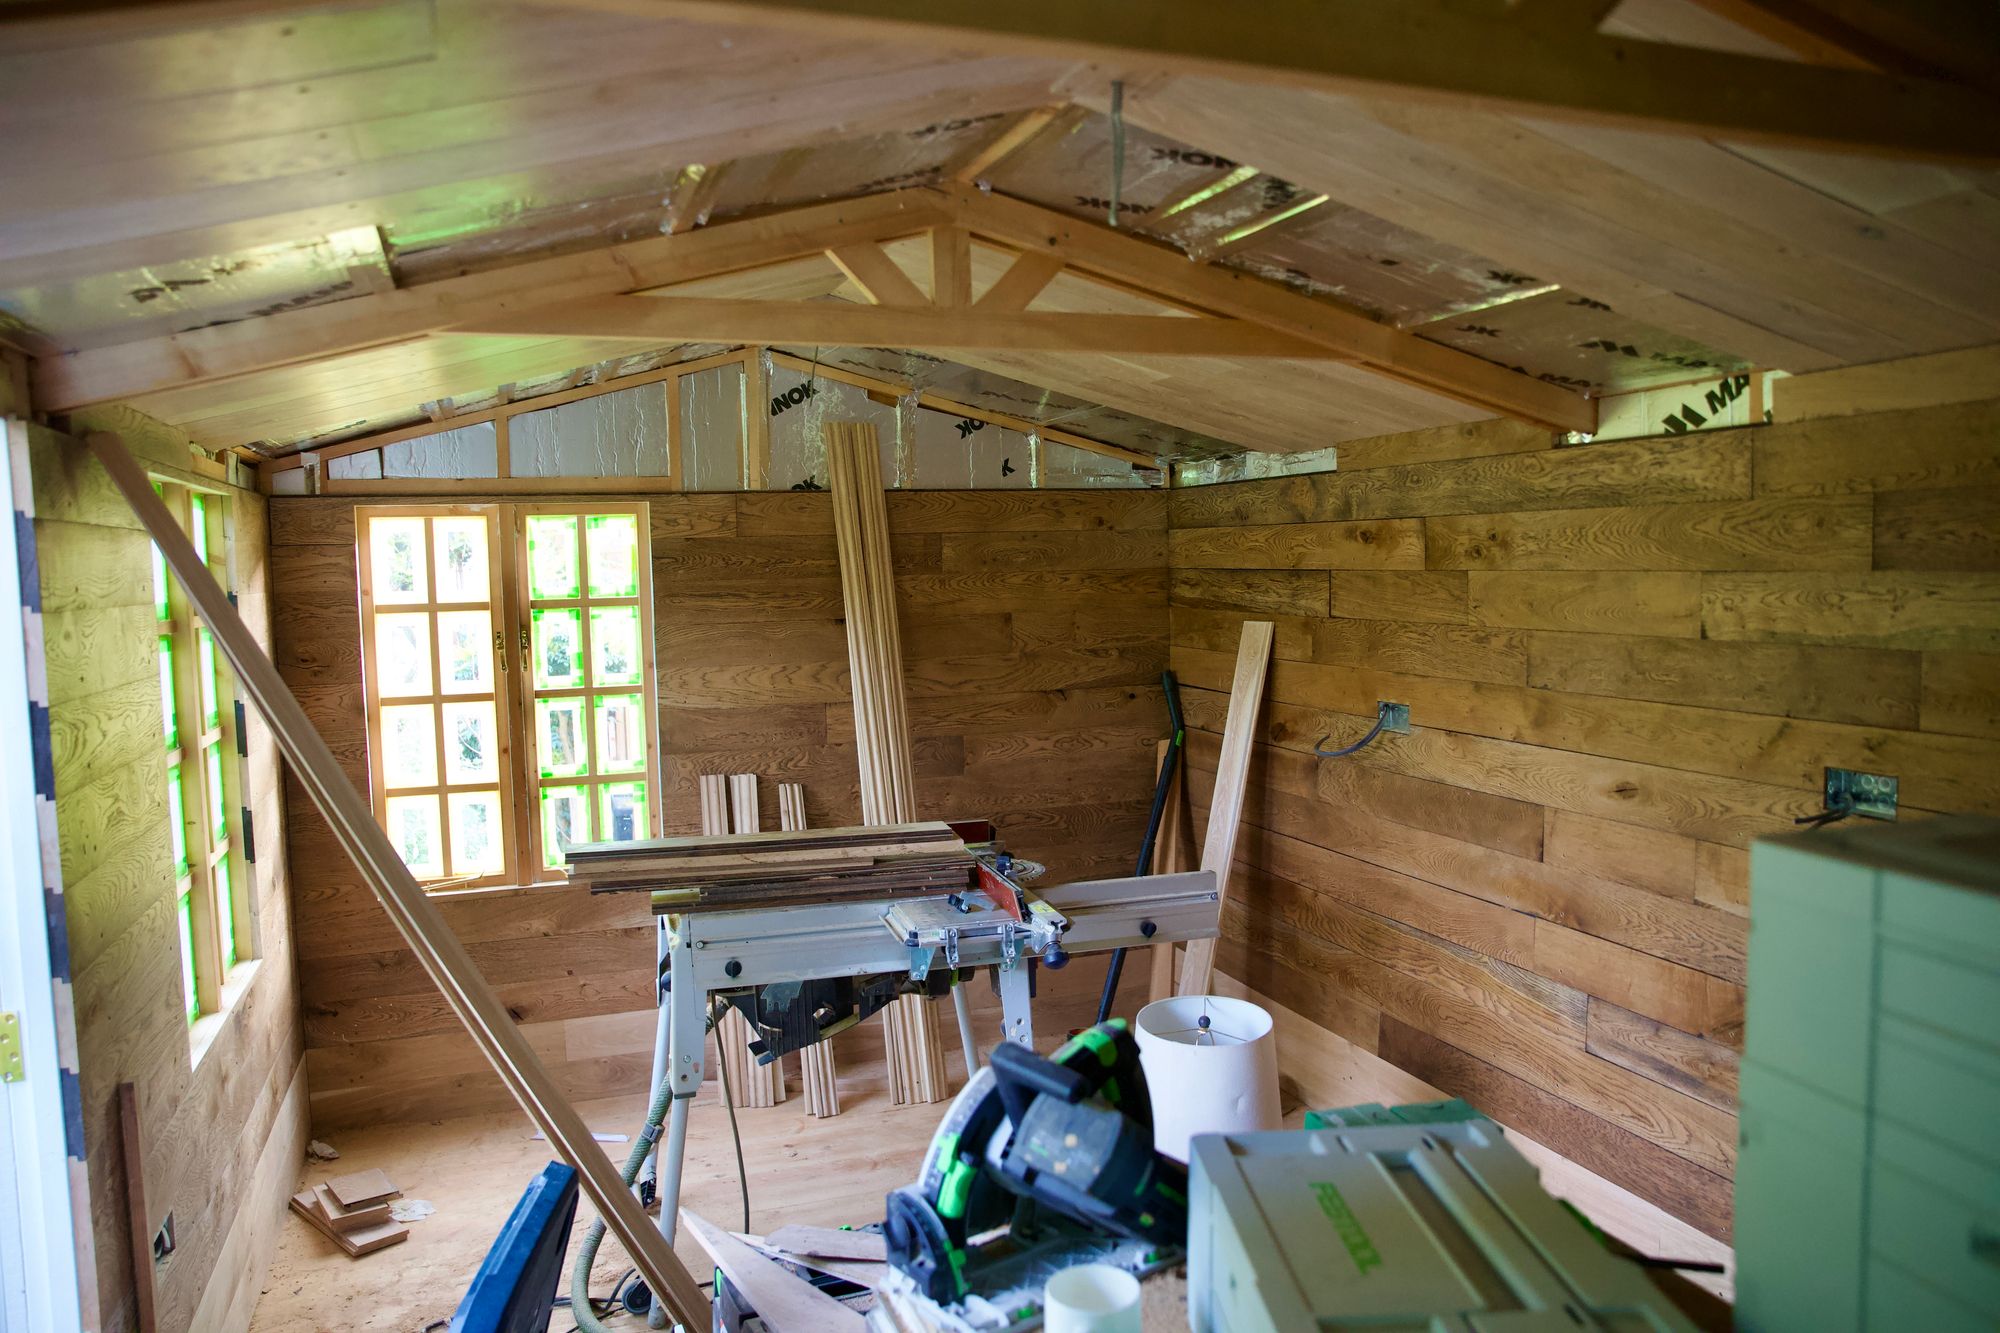
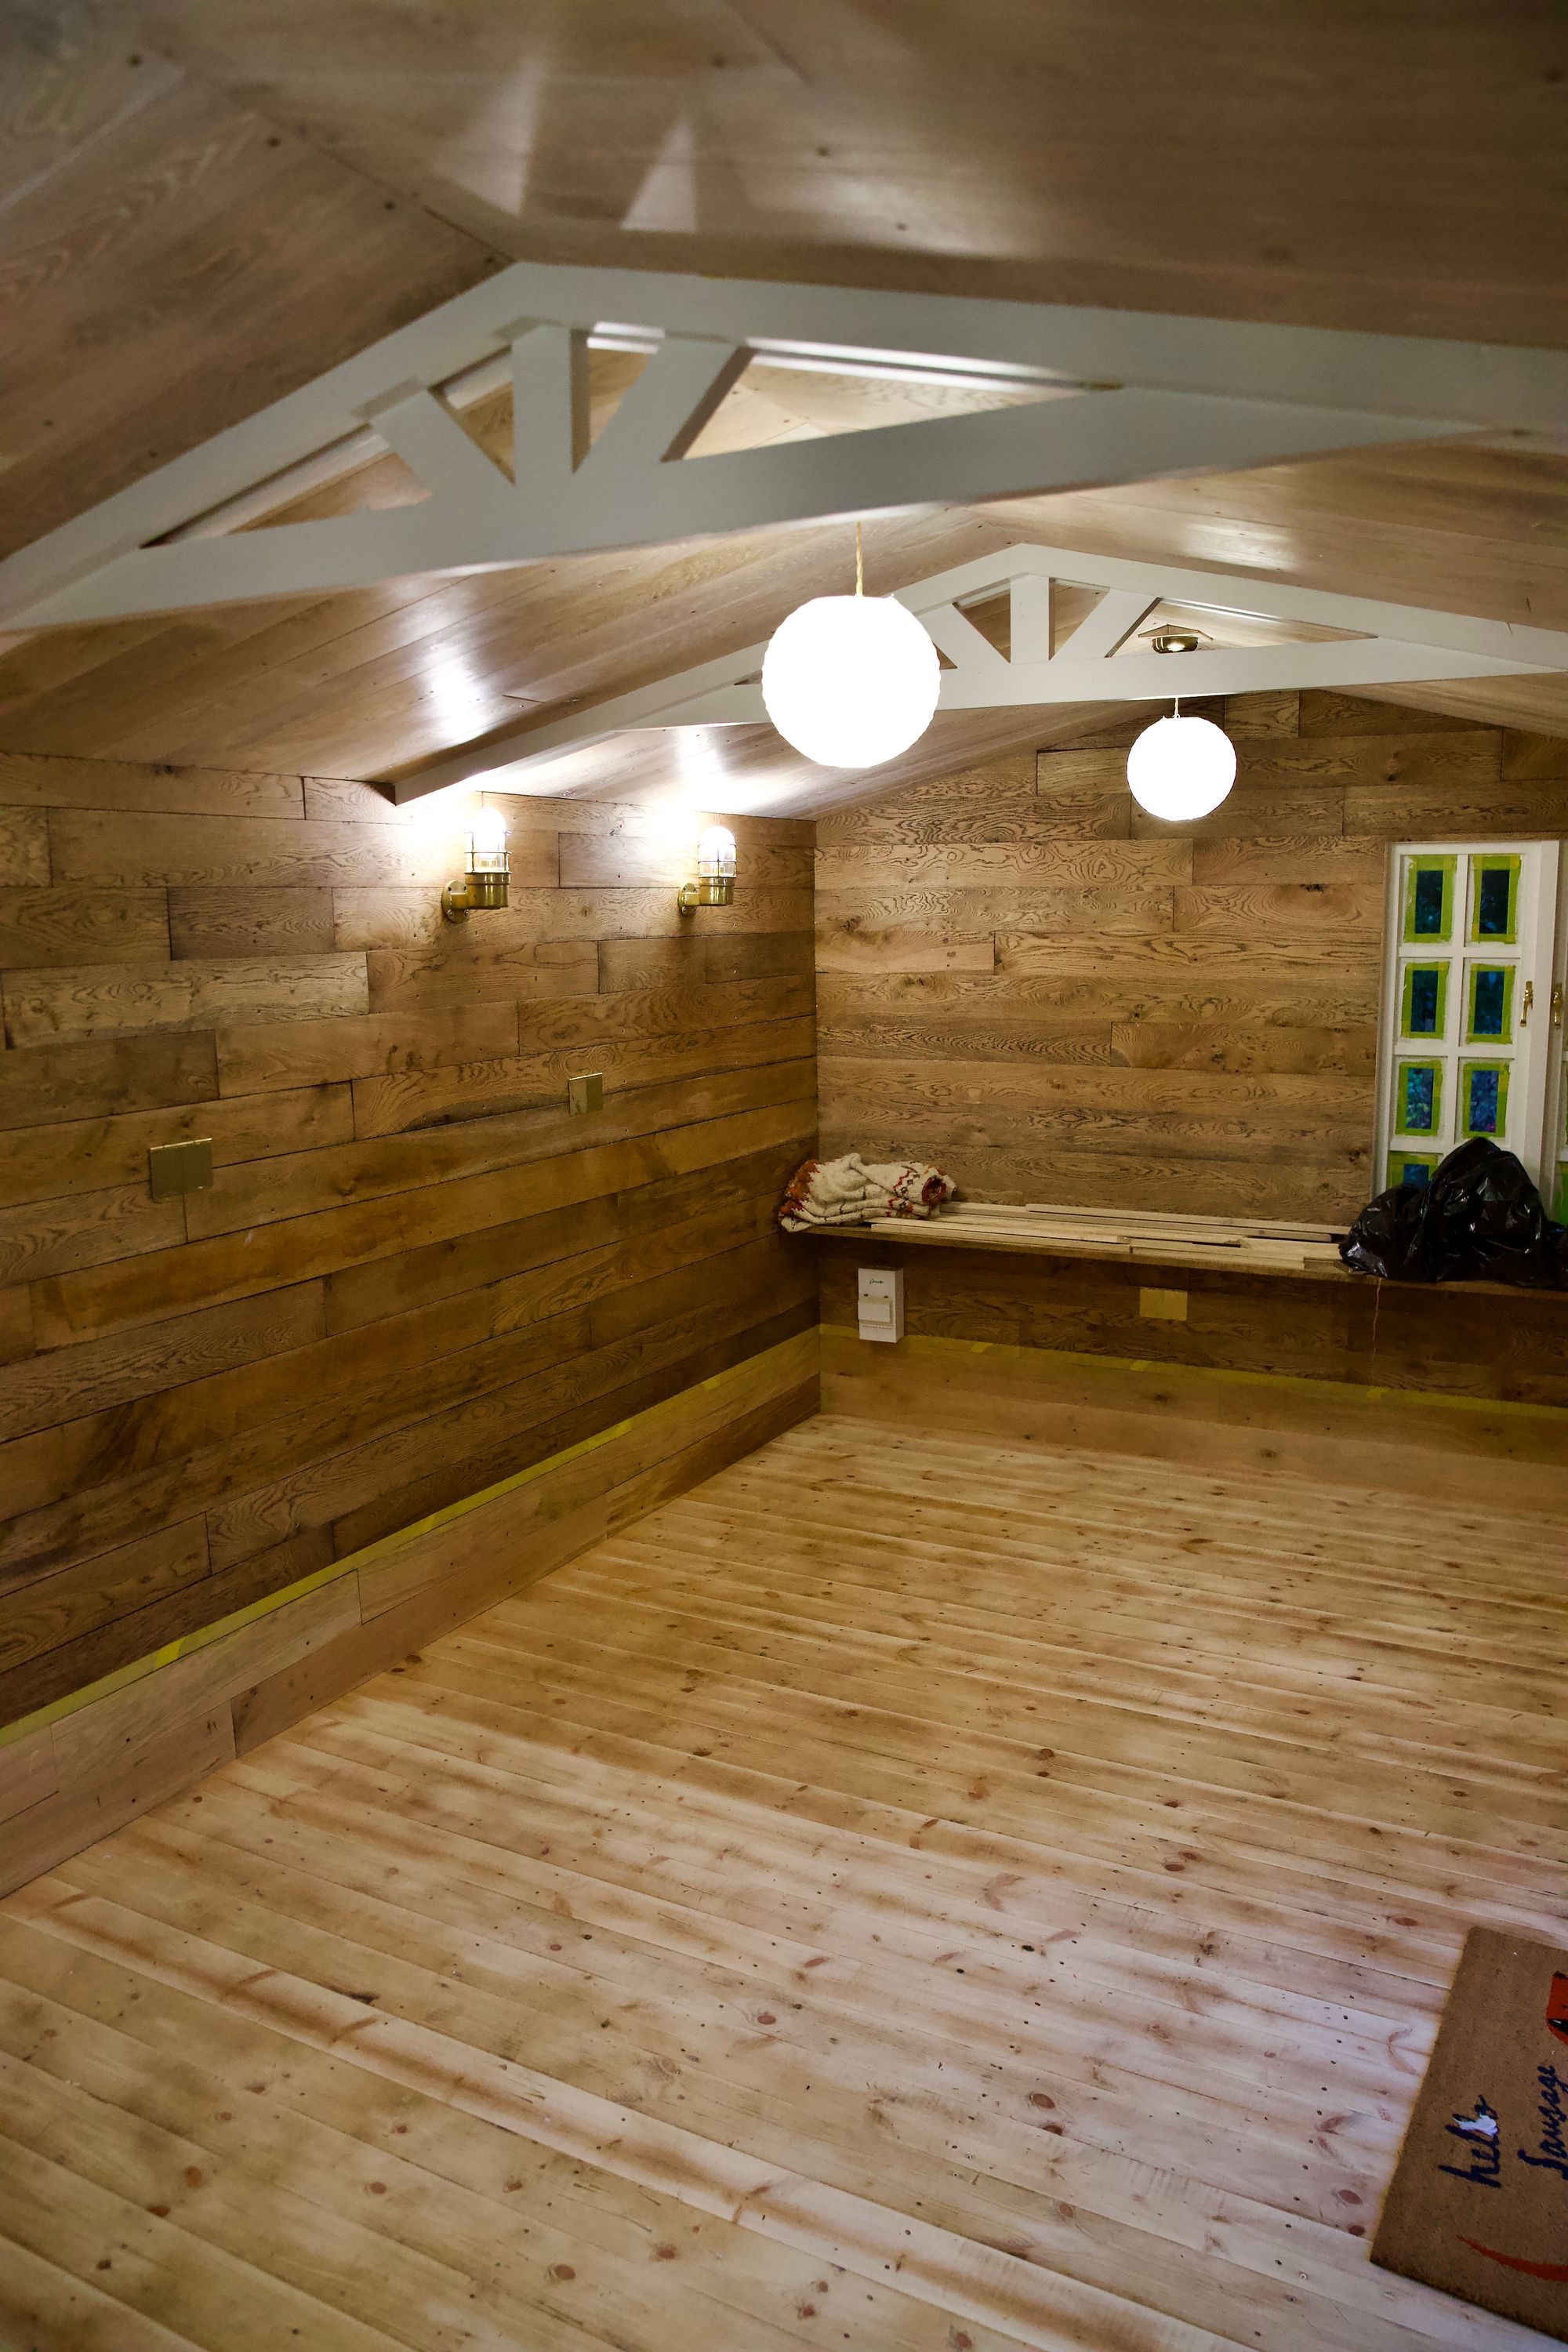
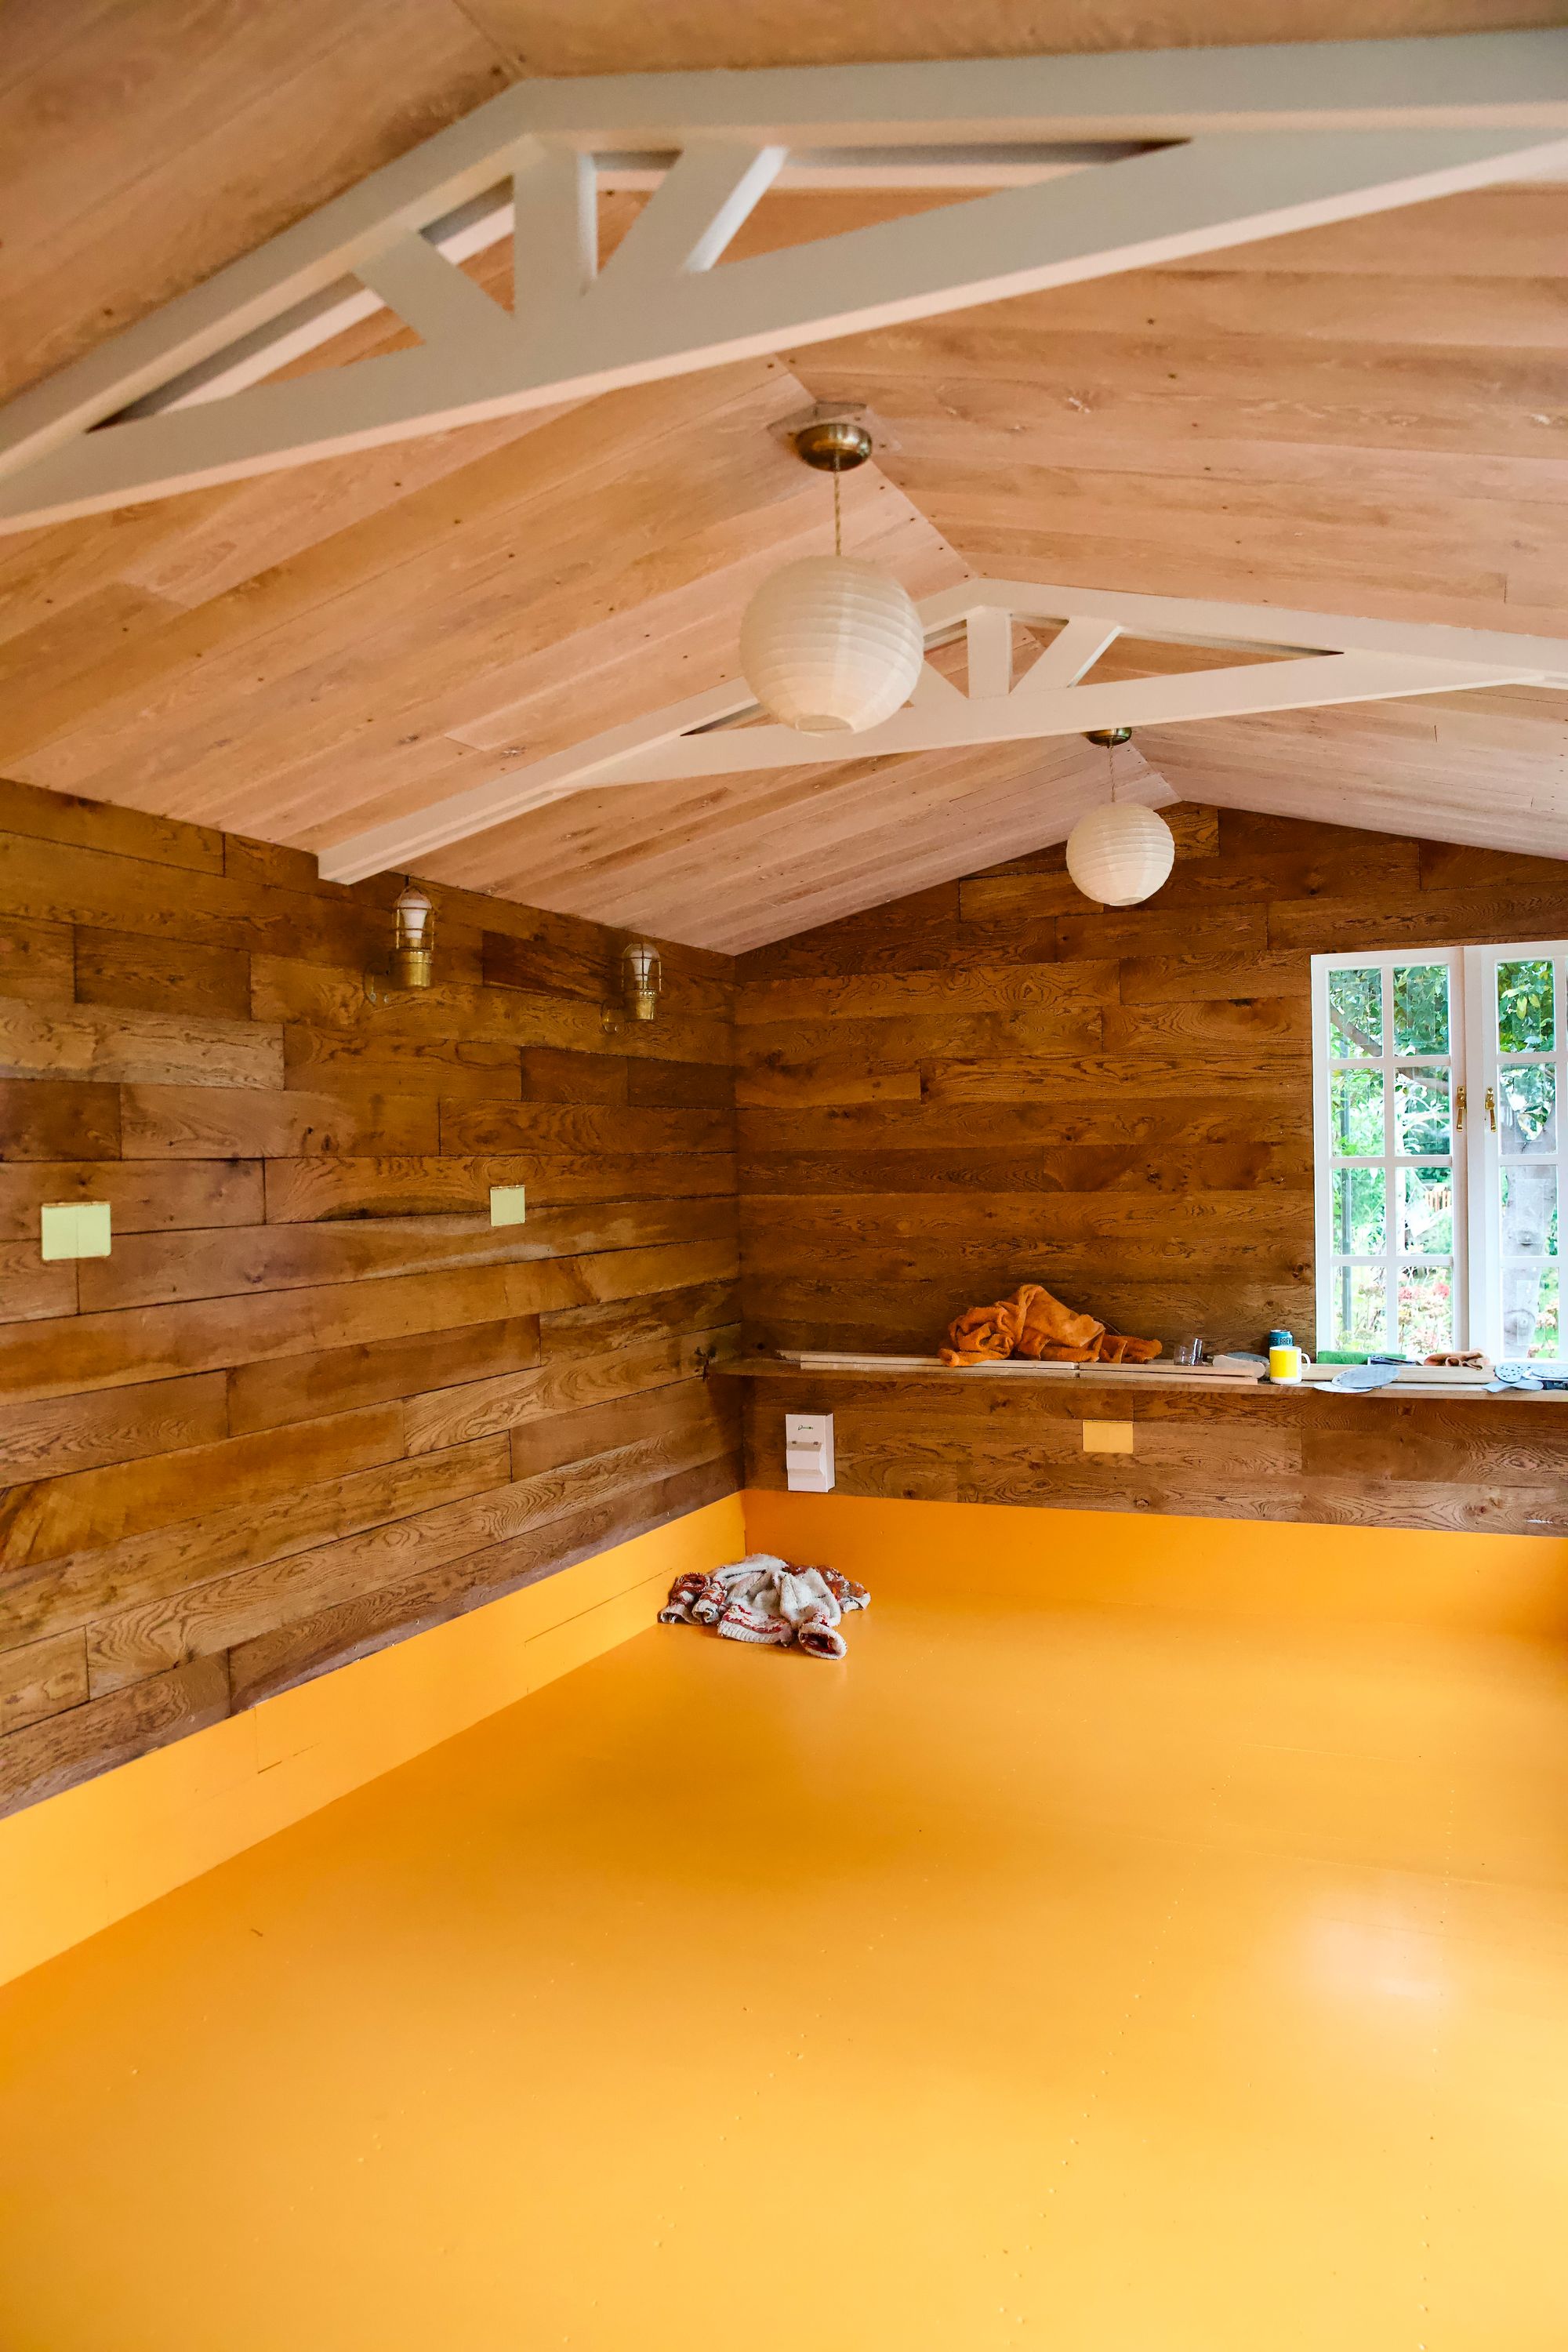
...and started the slow process of sanding, staining, and cutting to size all the solid oak boards he lined the interior with.
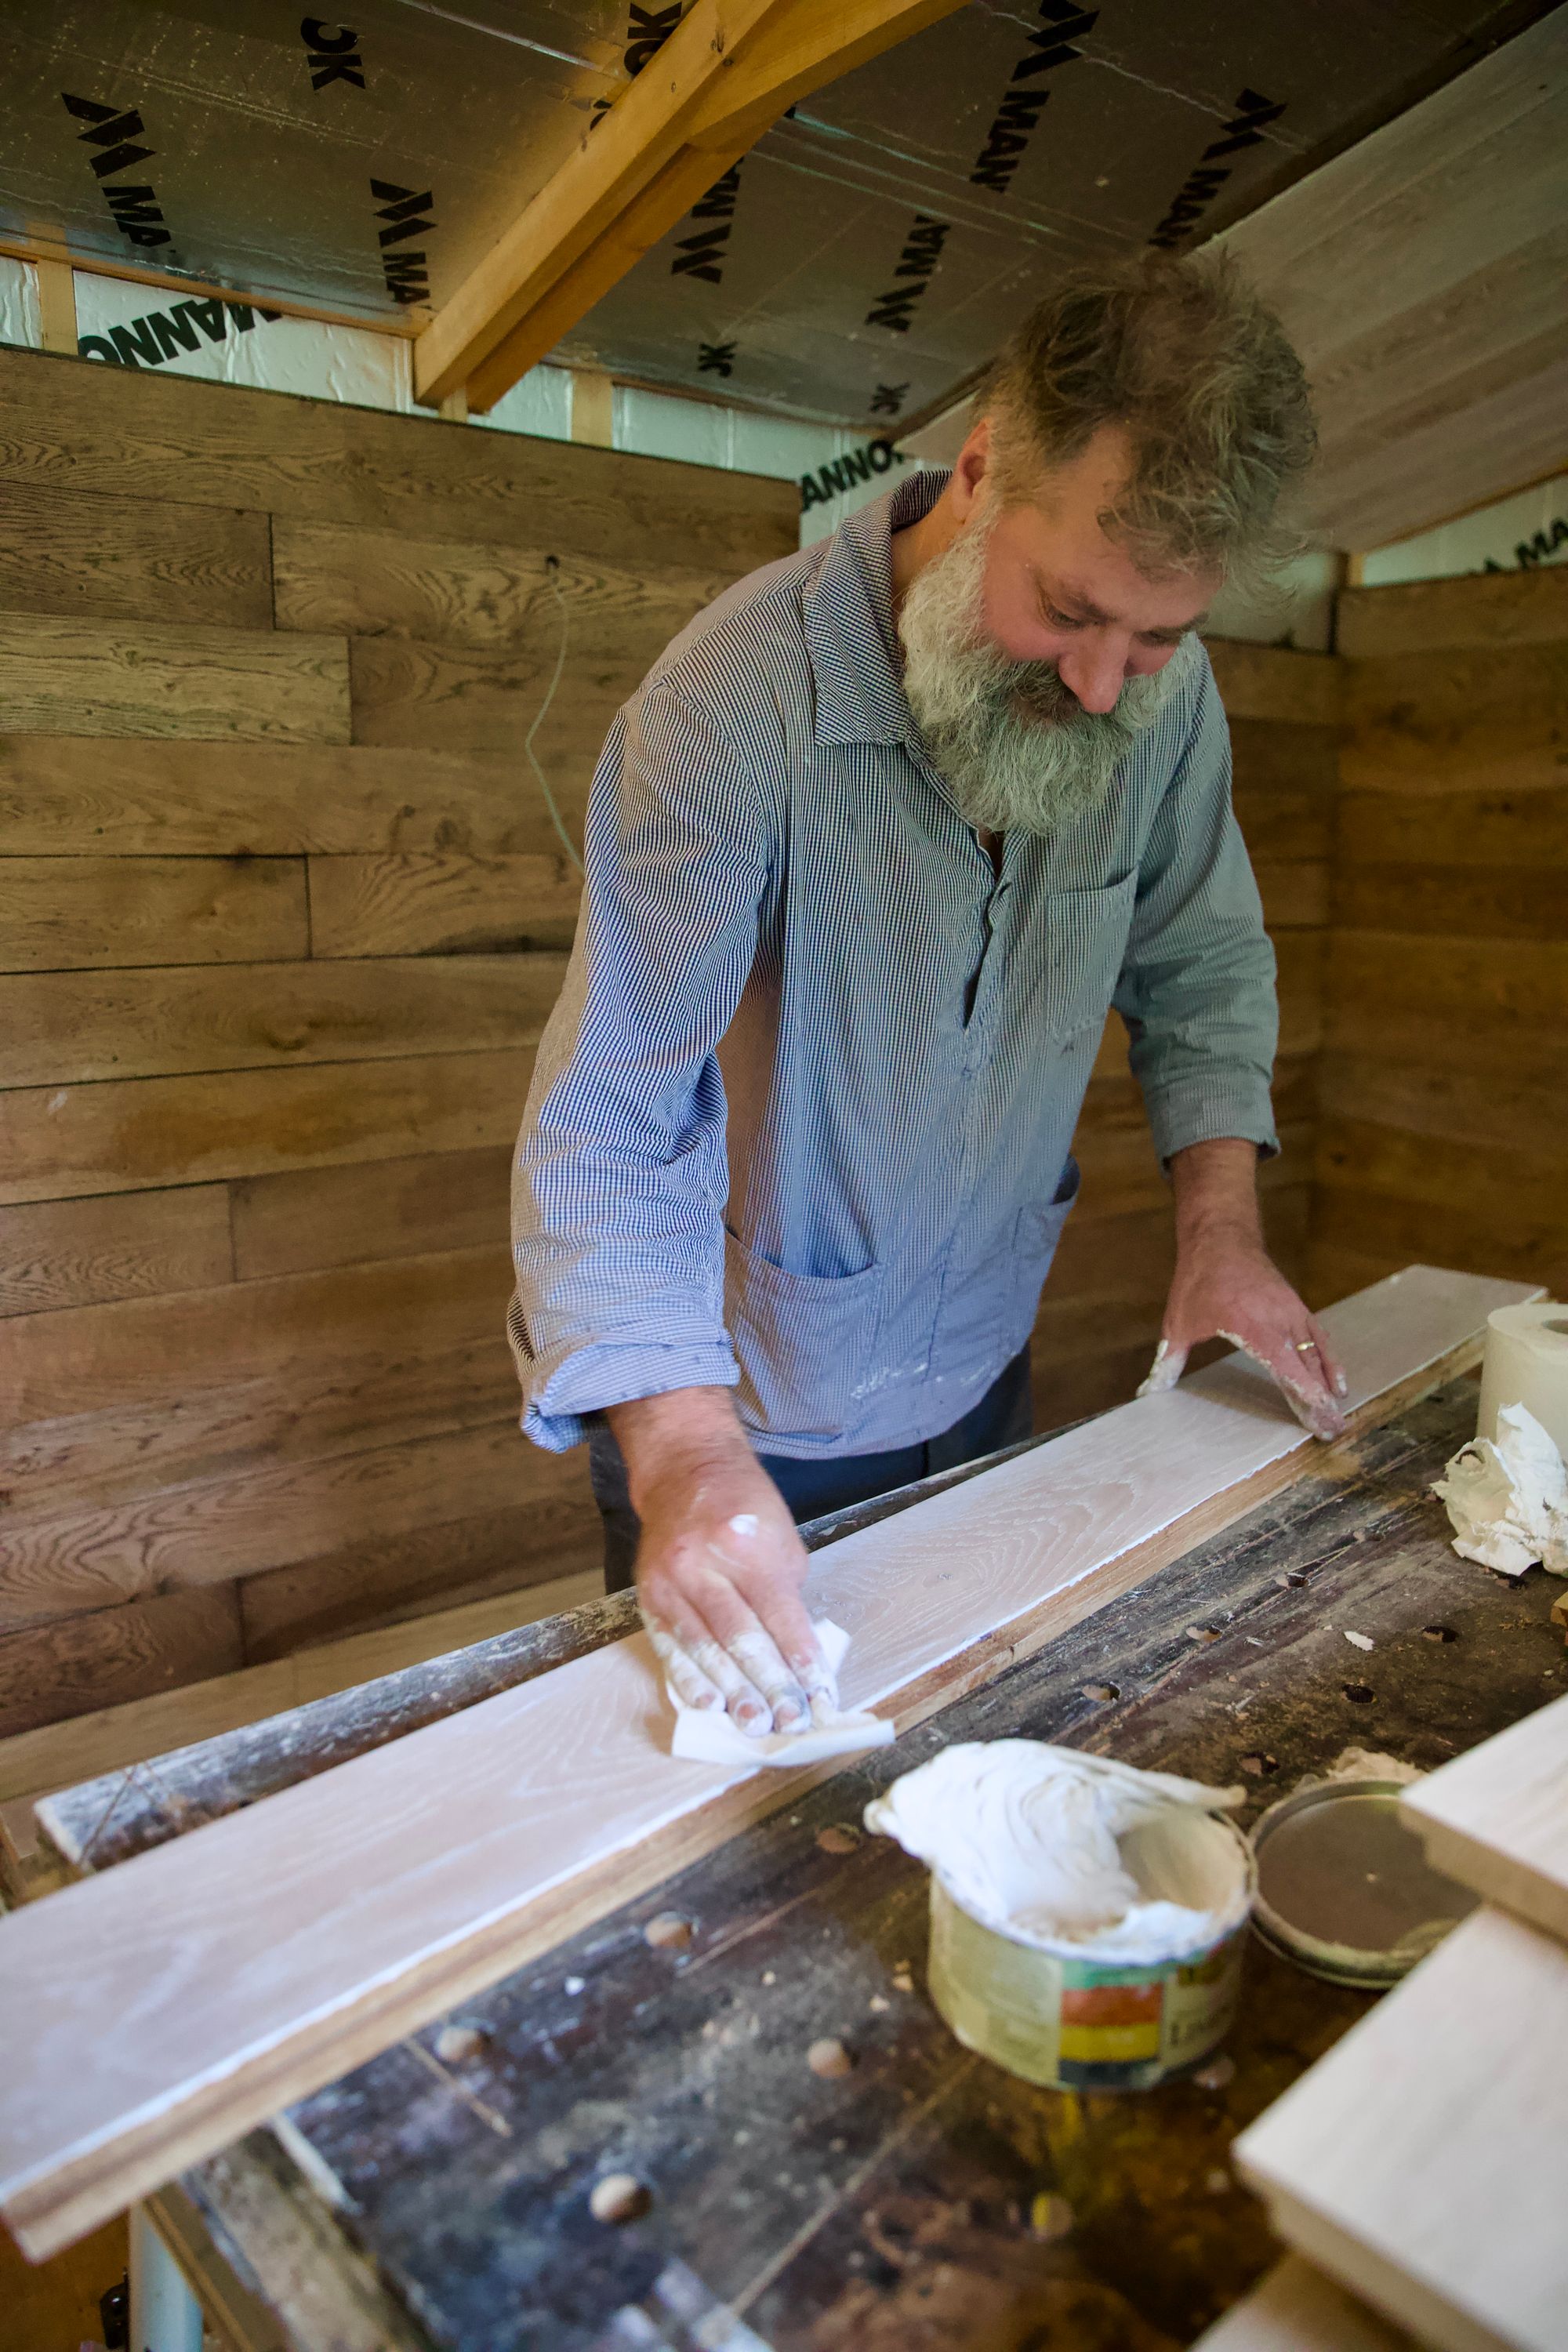
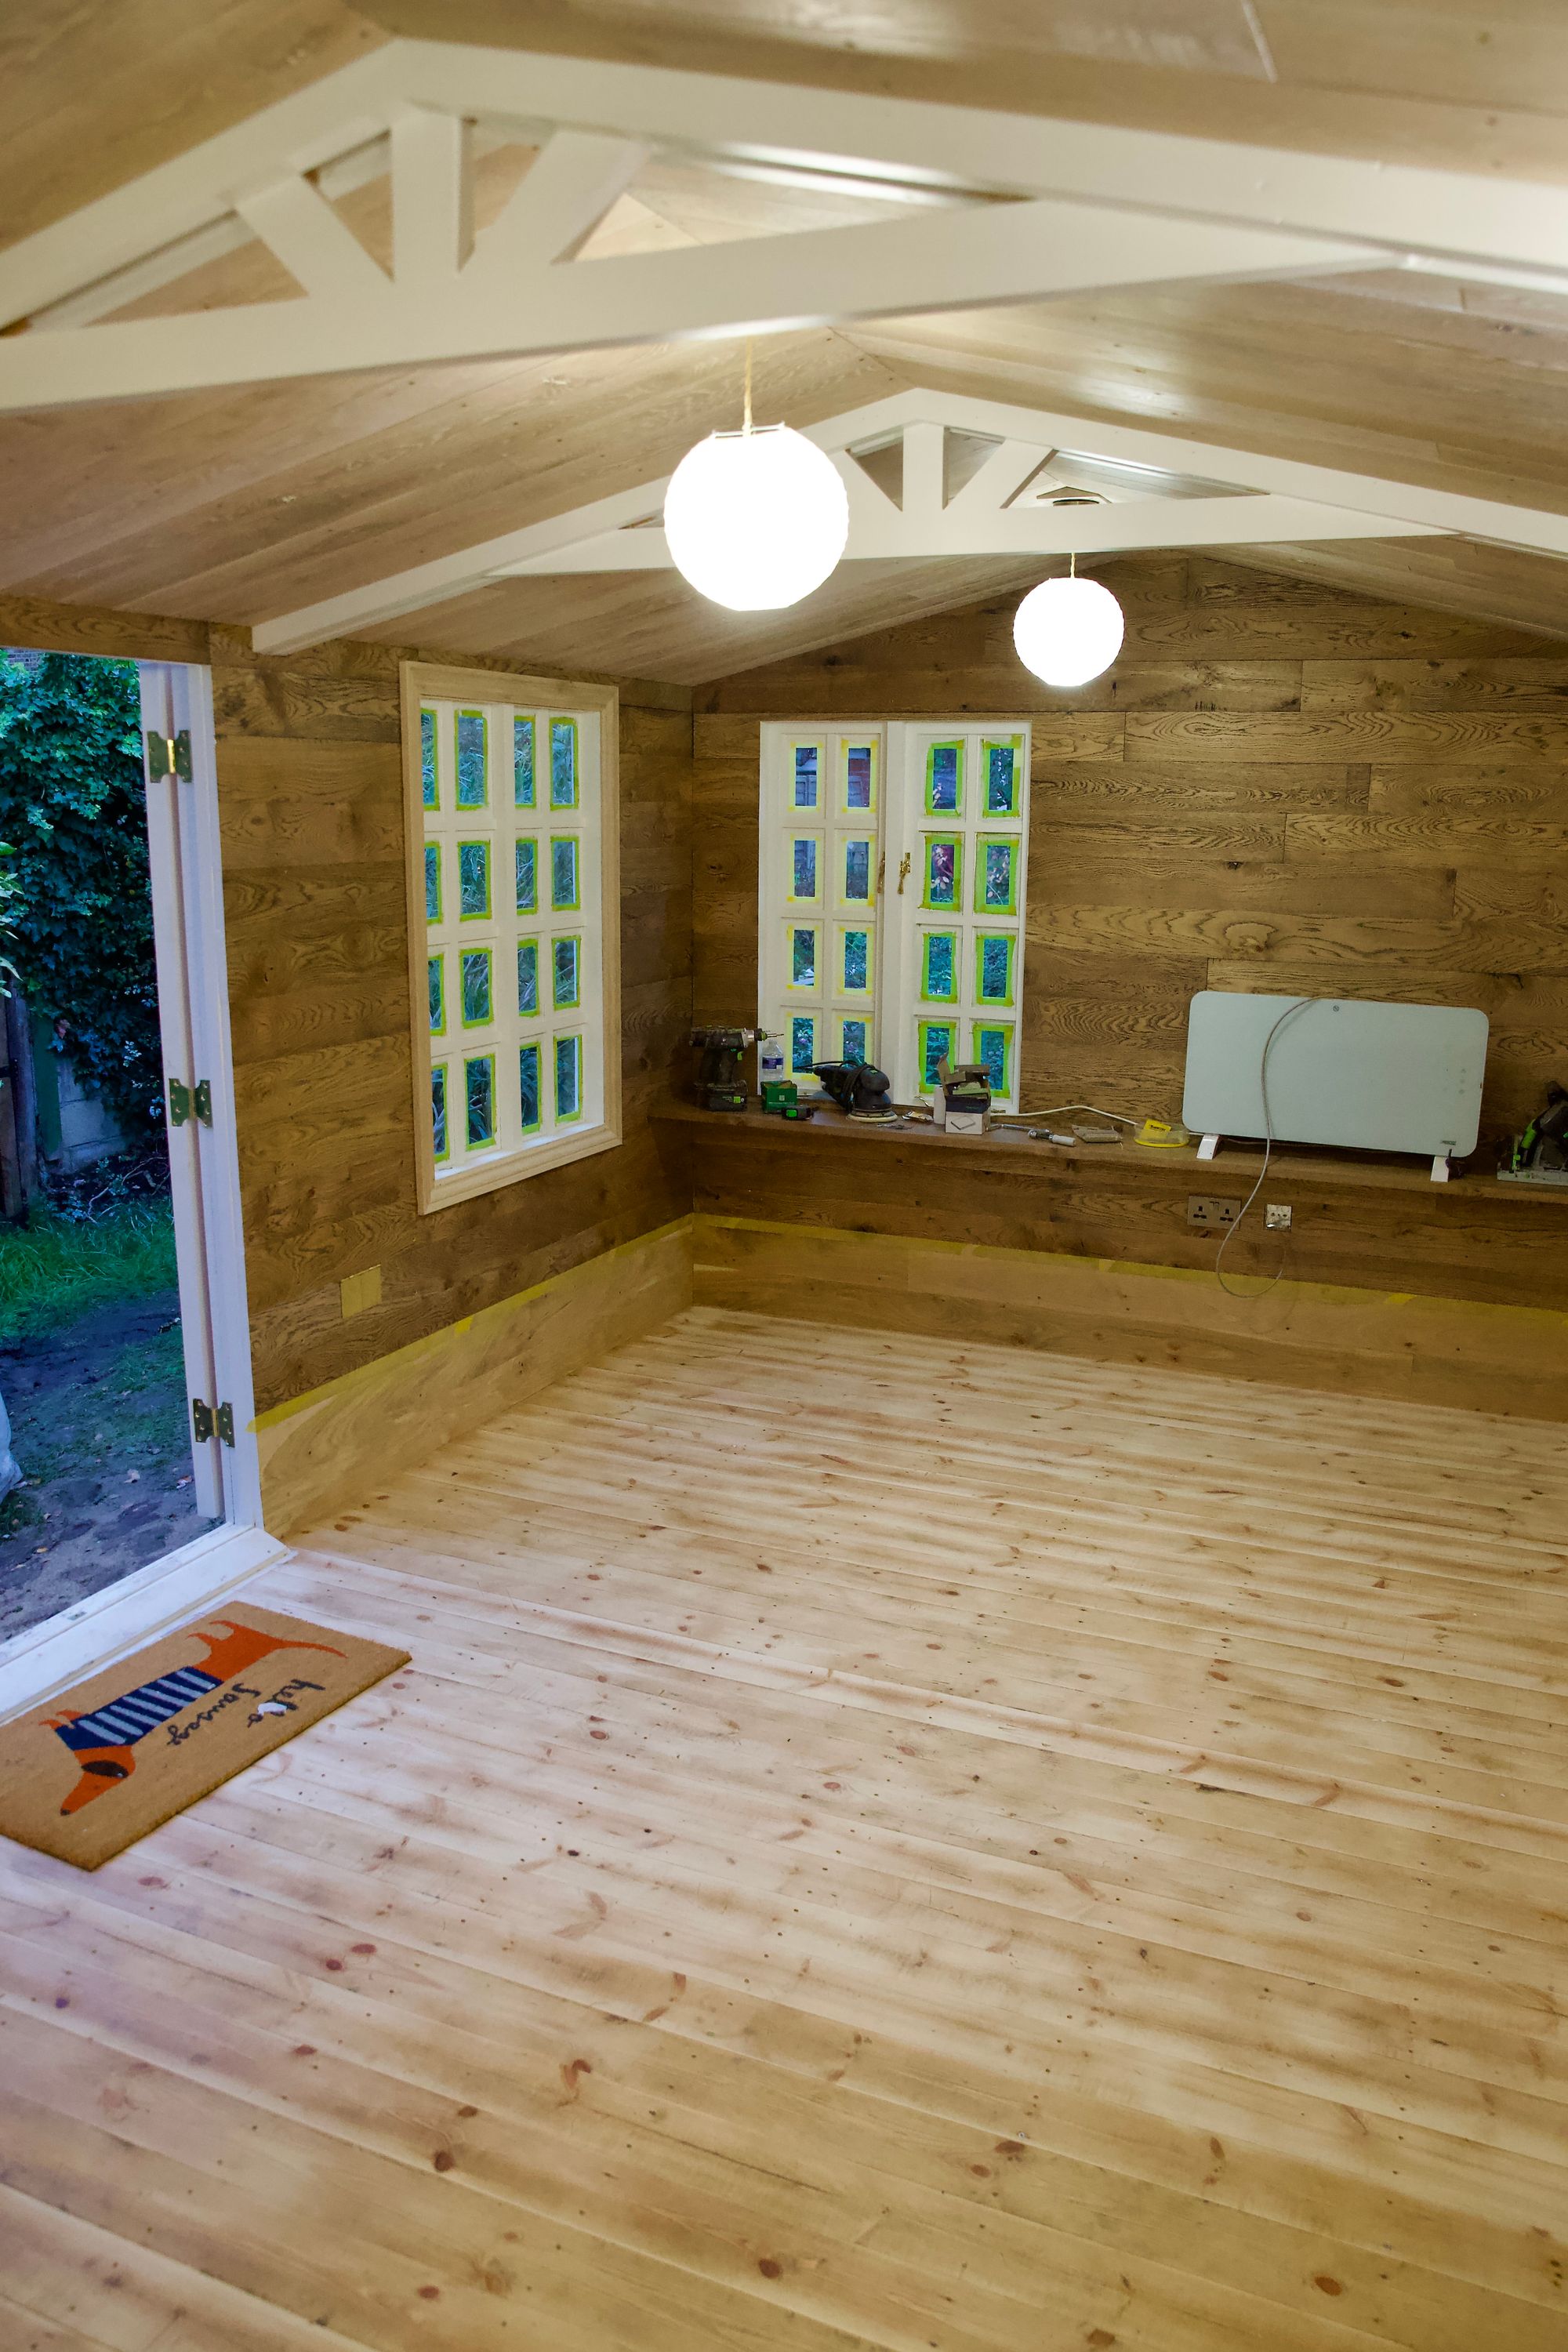
After a bit of experiementing with the finish, we stained the paneling on the walls with Osmo ebony wood wax finish which leaves a black wood grain. To contrast, we treated the ceiling paneling with liming paste which creaters a white wood grain.
Shed building video
Here's a short video of the shed building highlights.
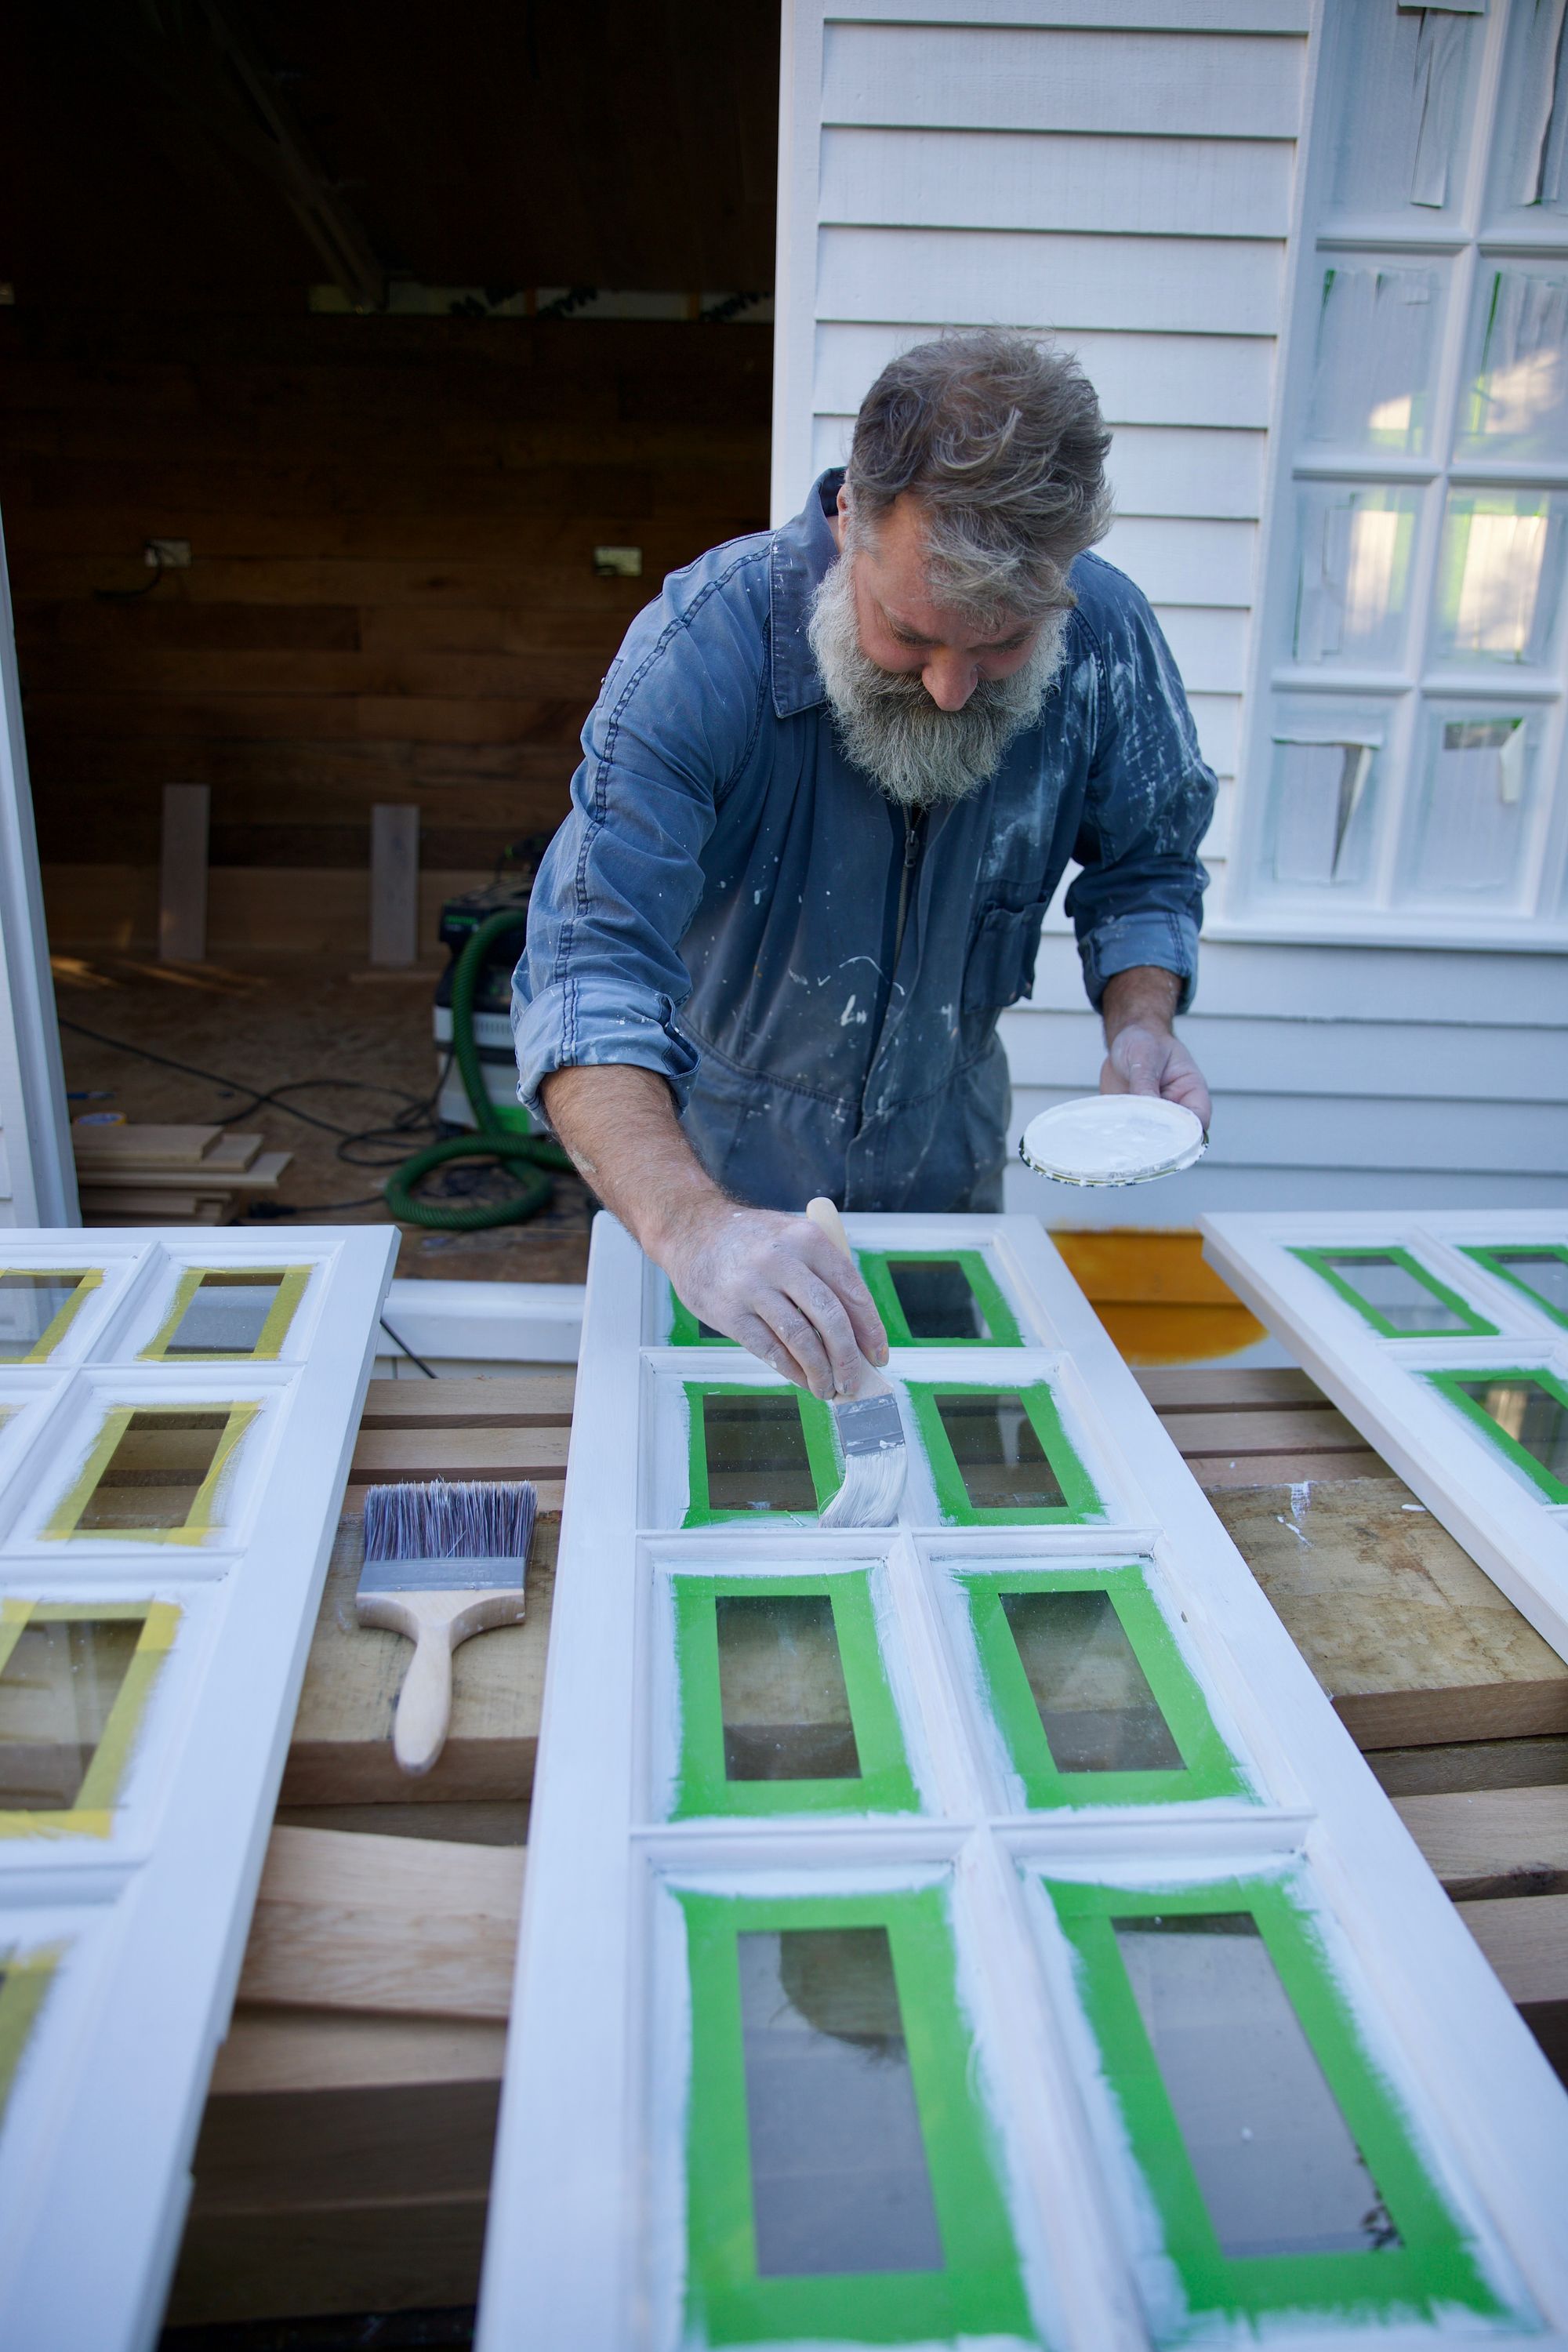
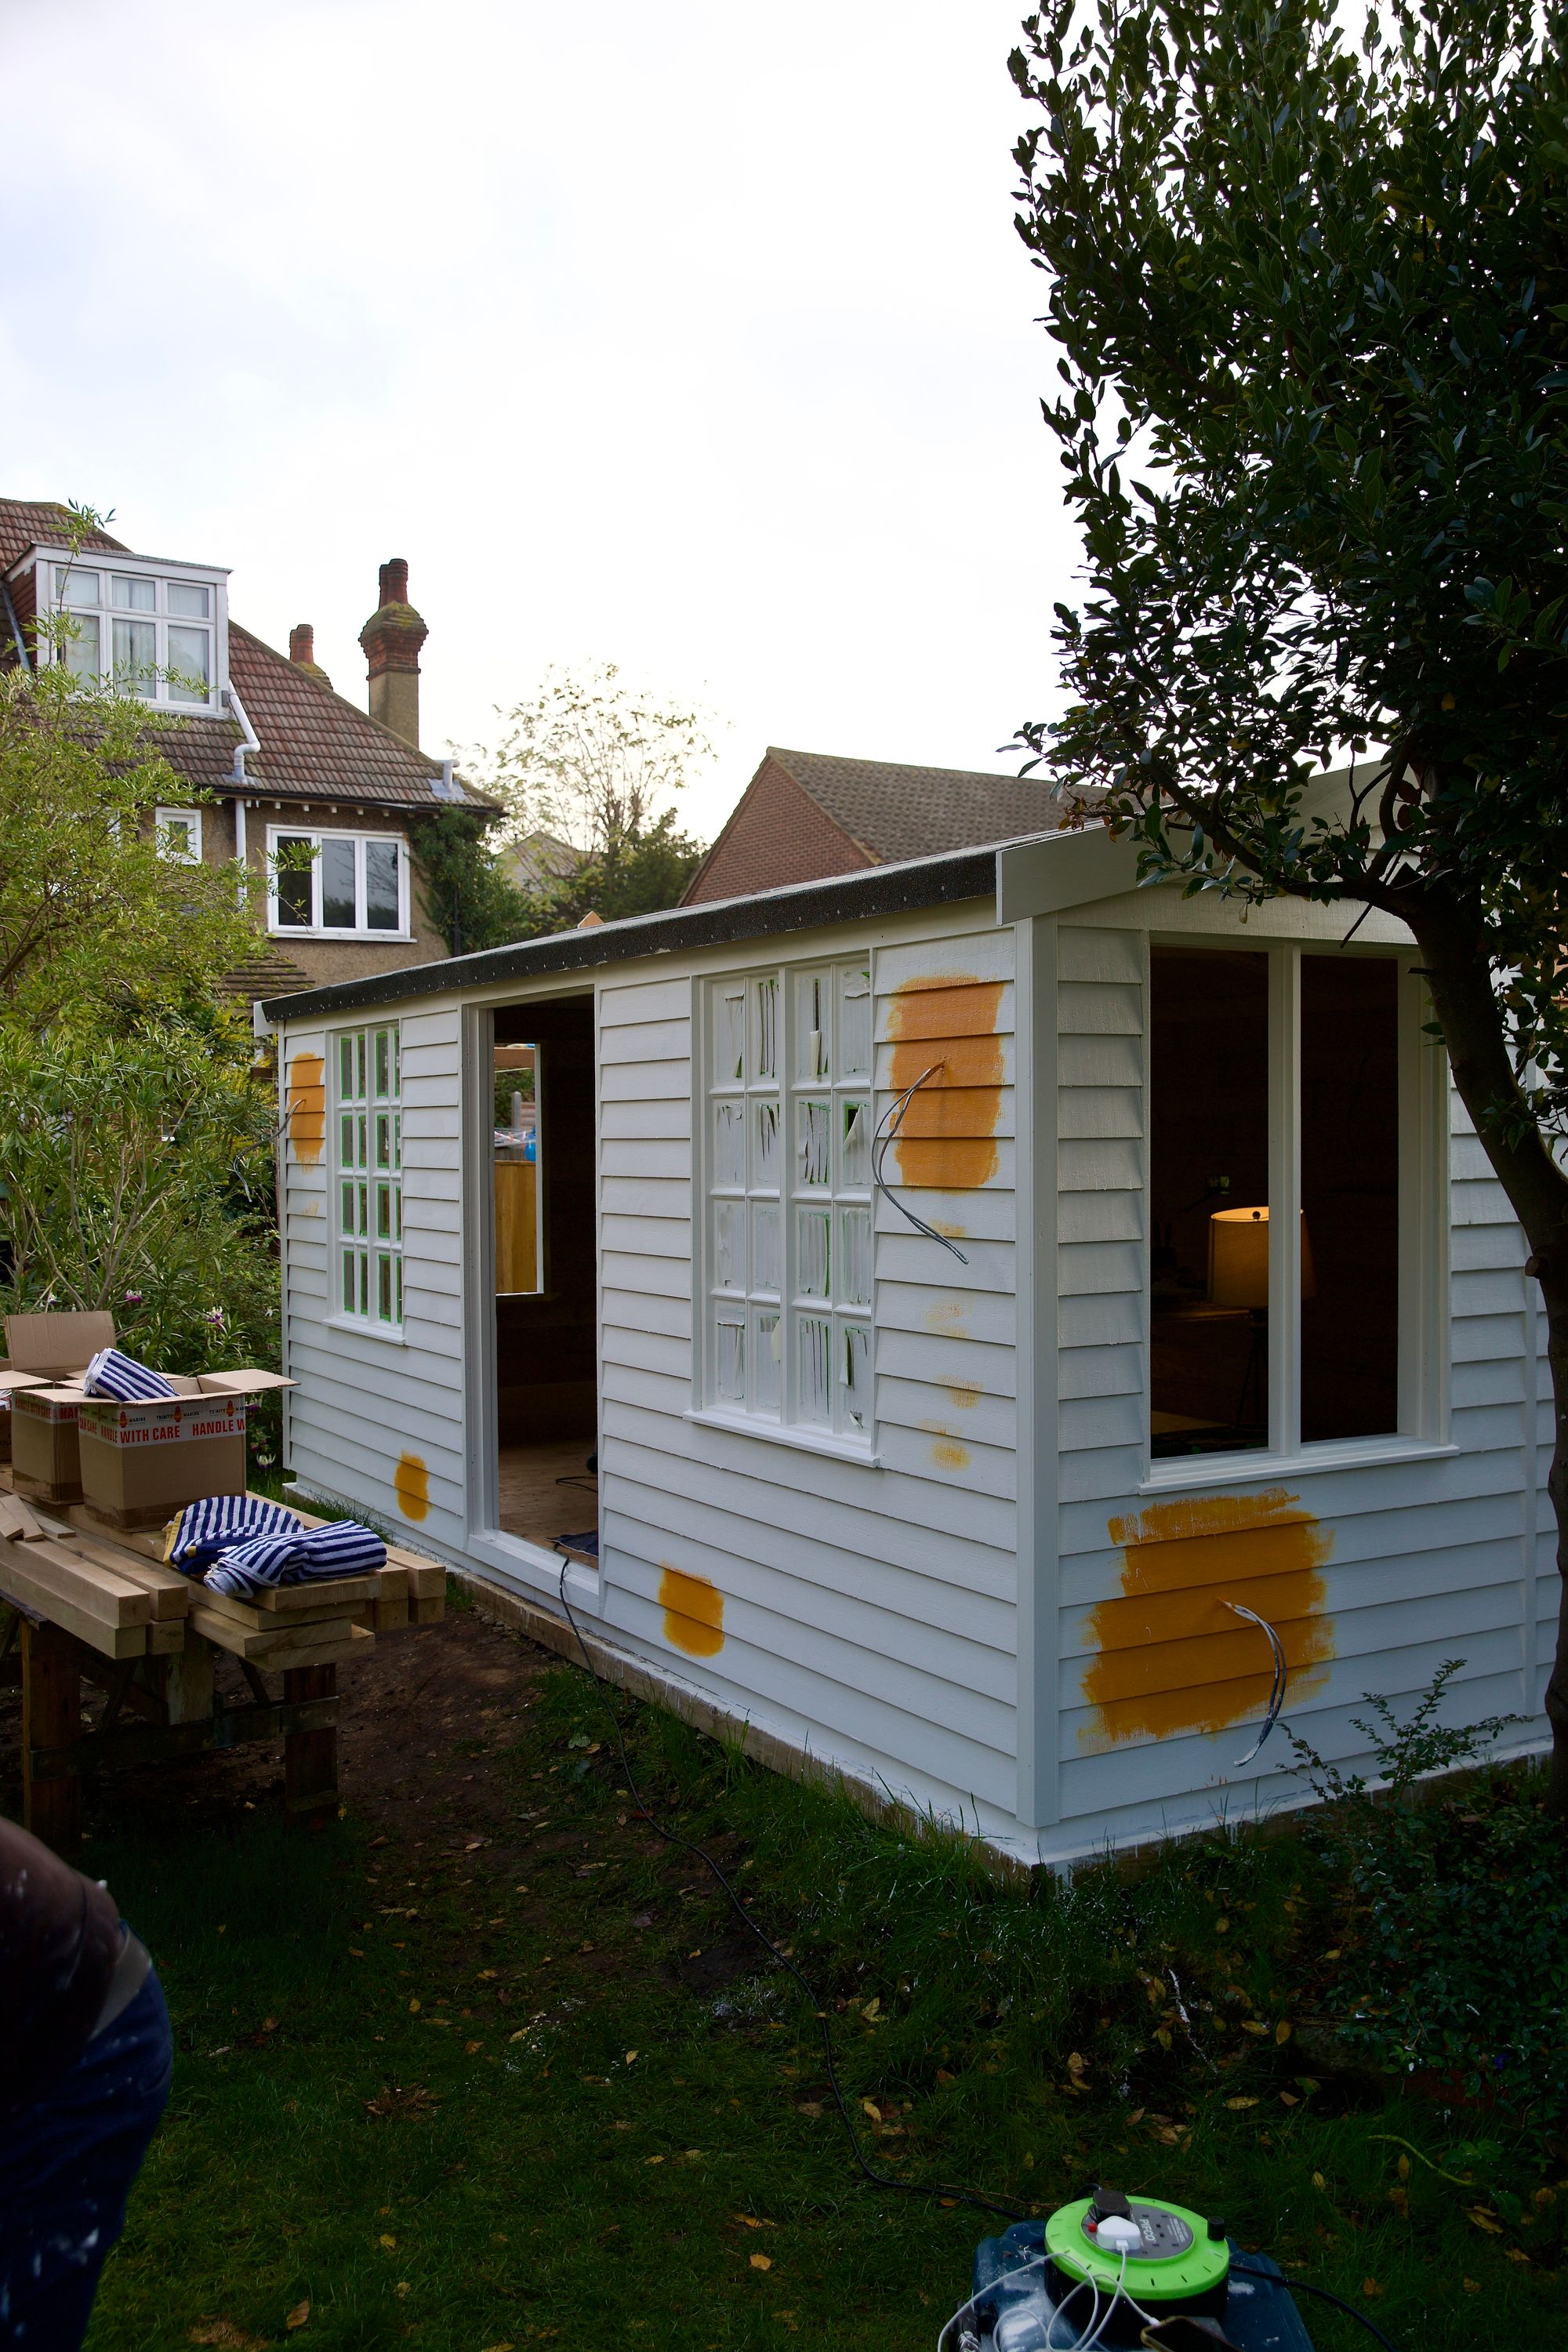
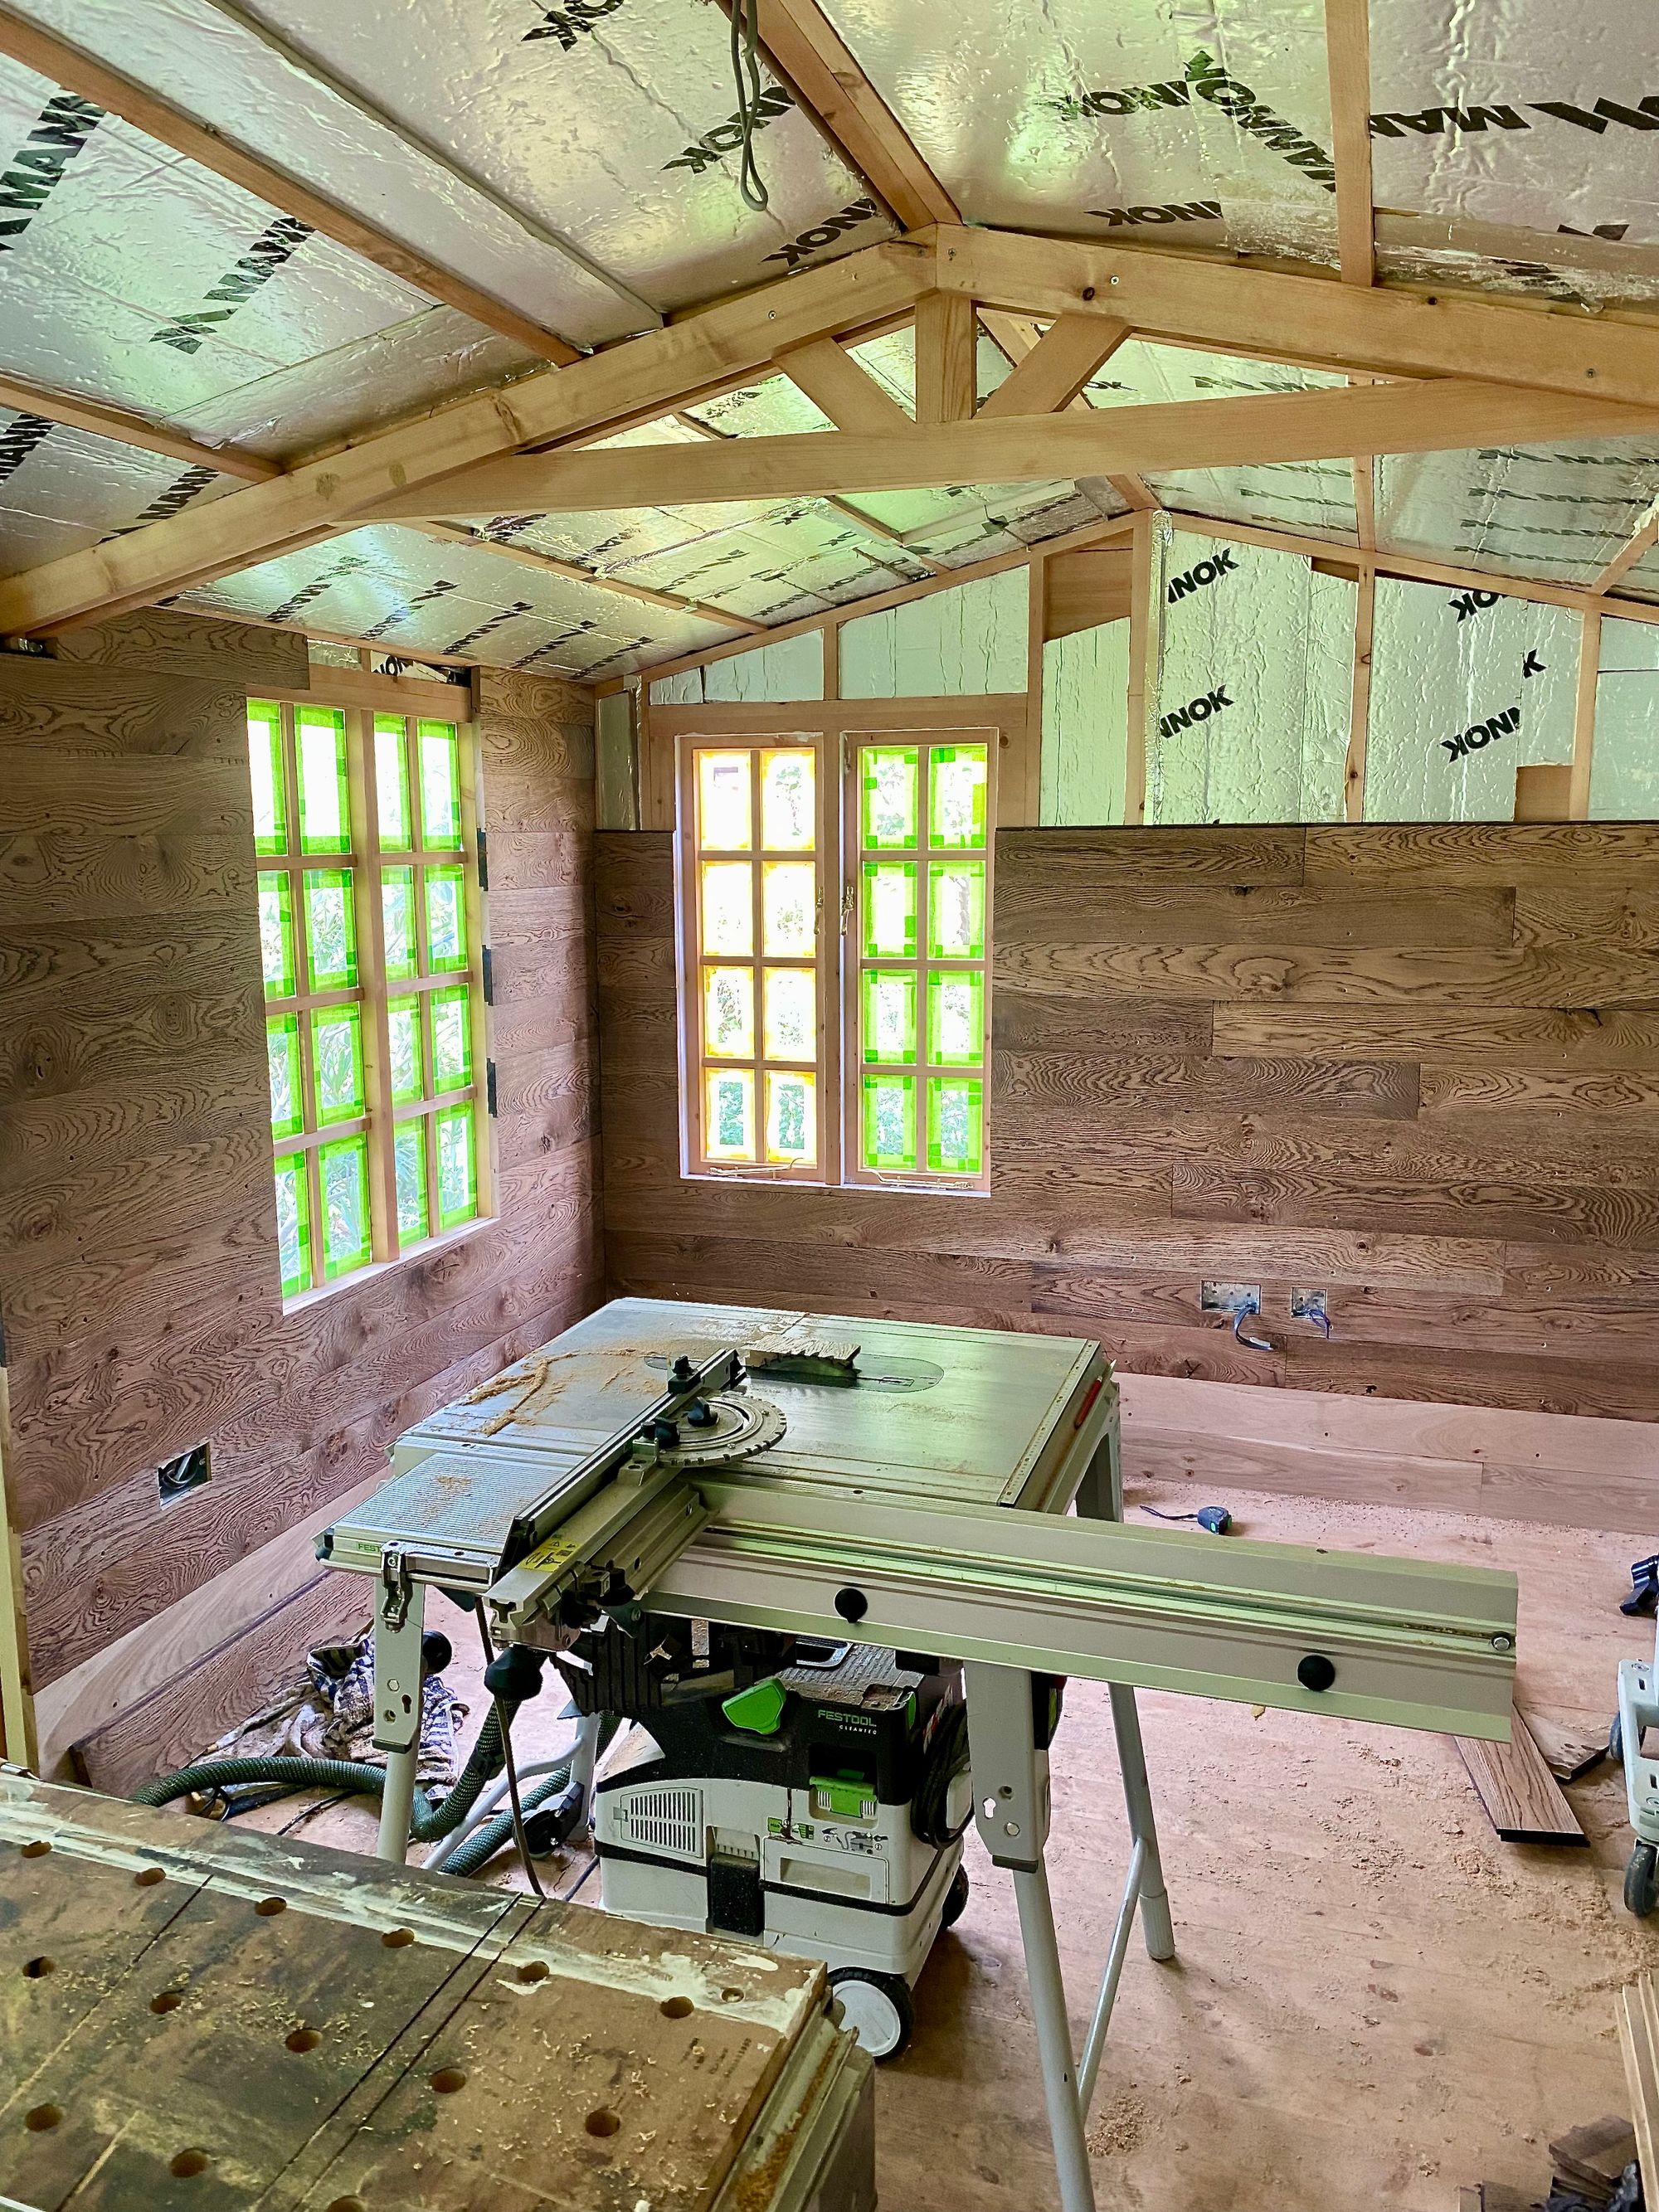
Cookie started to regret paying extra for 'Georgian windows' when he started the mammoth job of masking off all the fiddly individual panels...
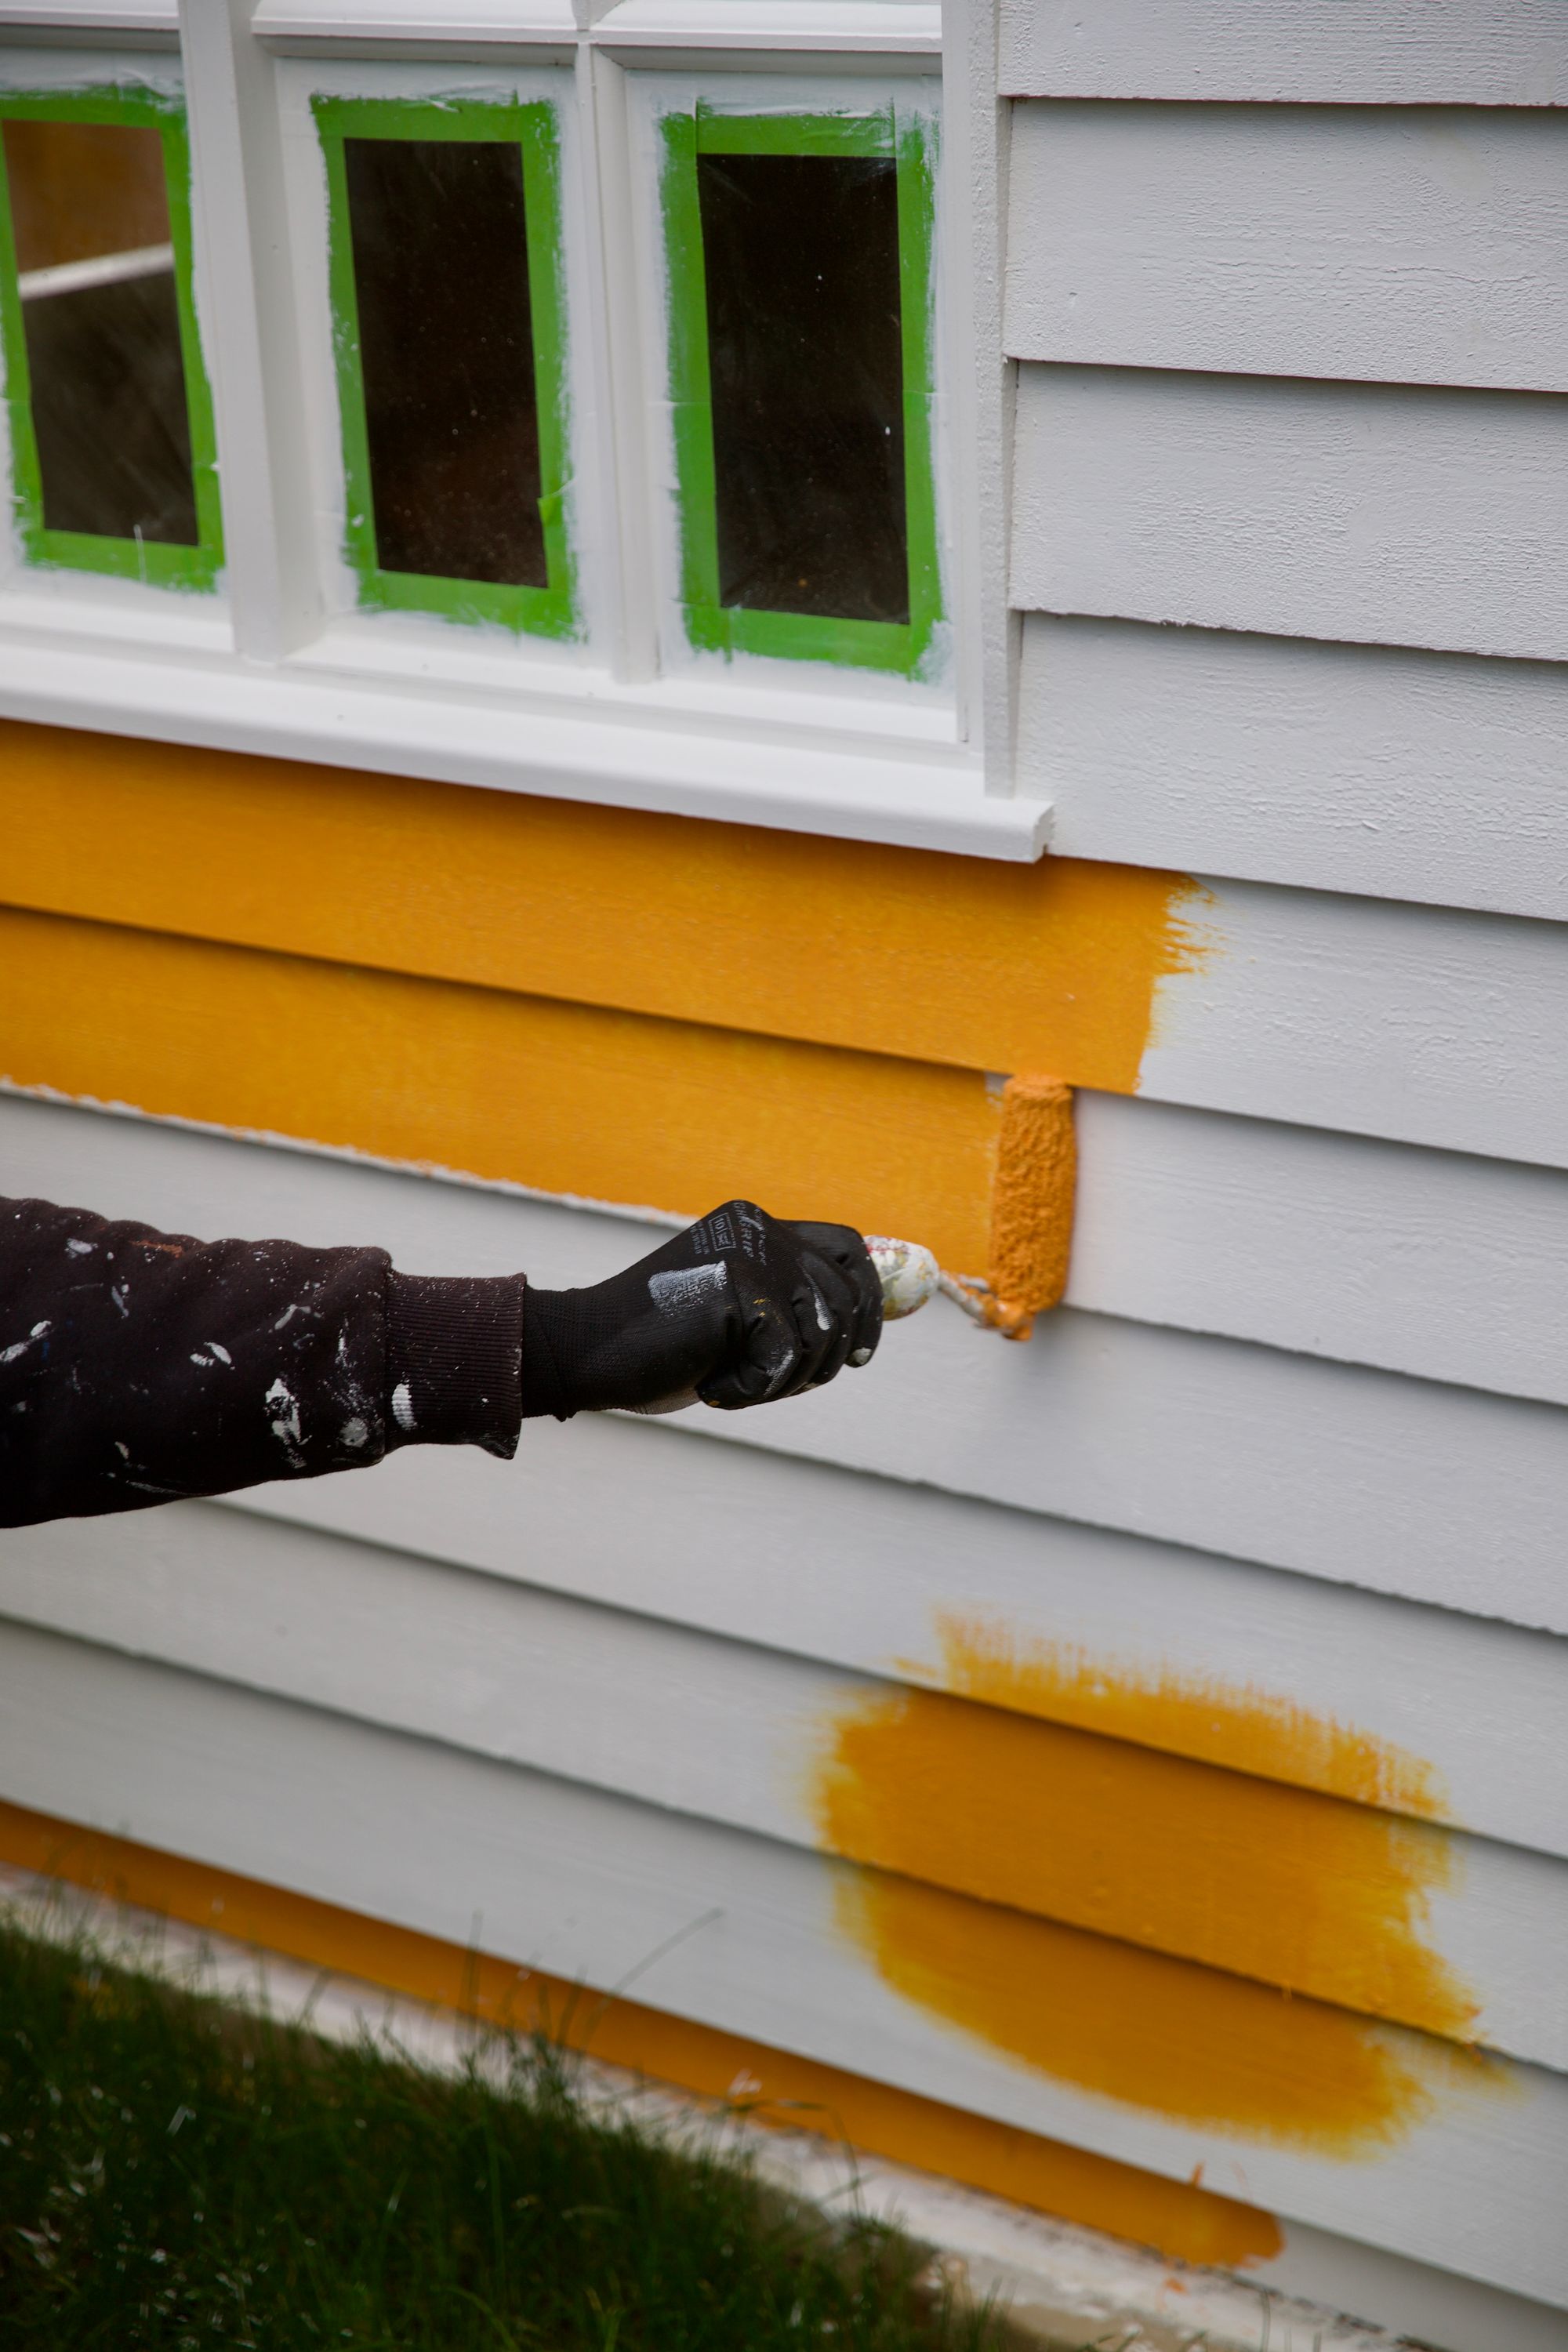
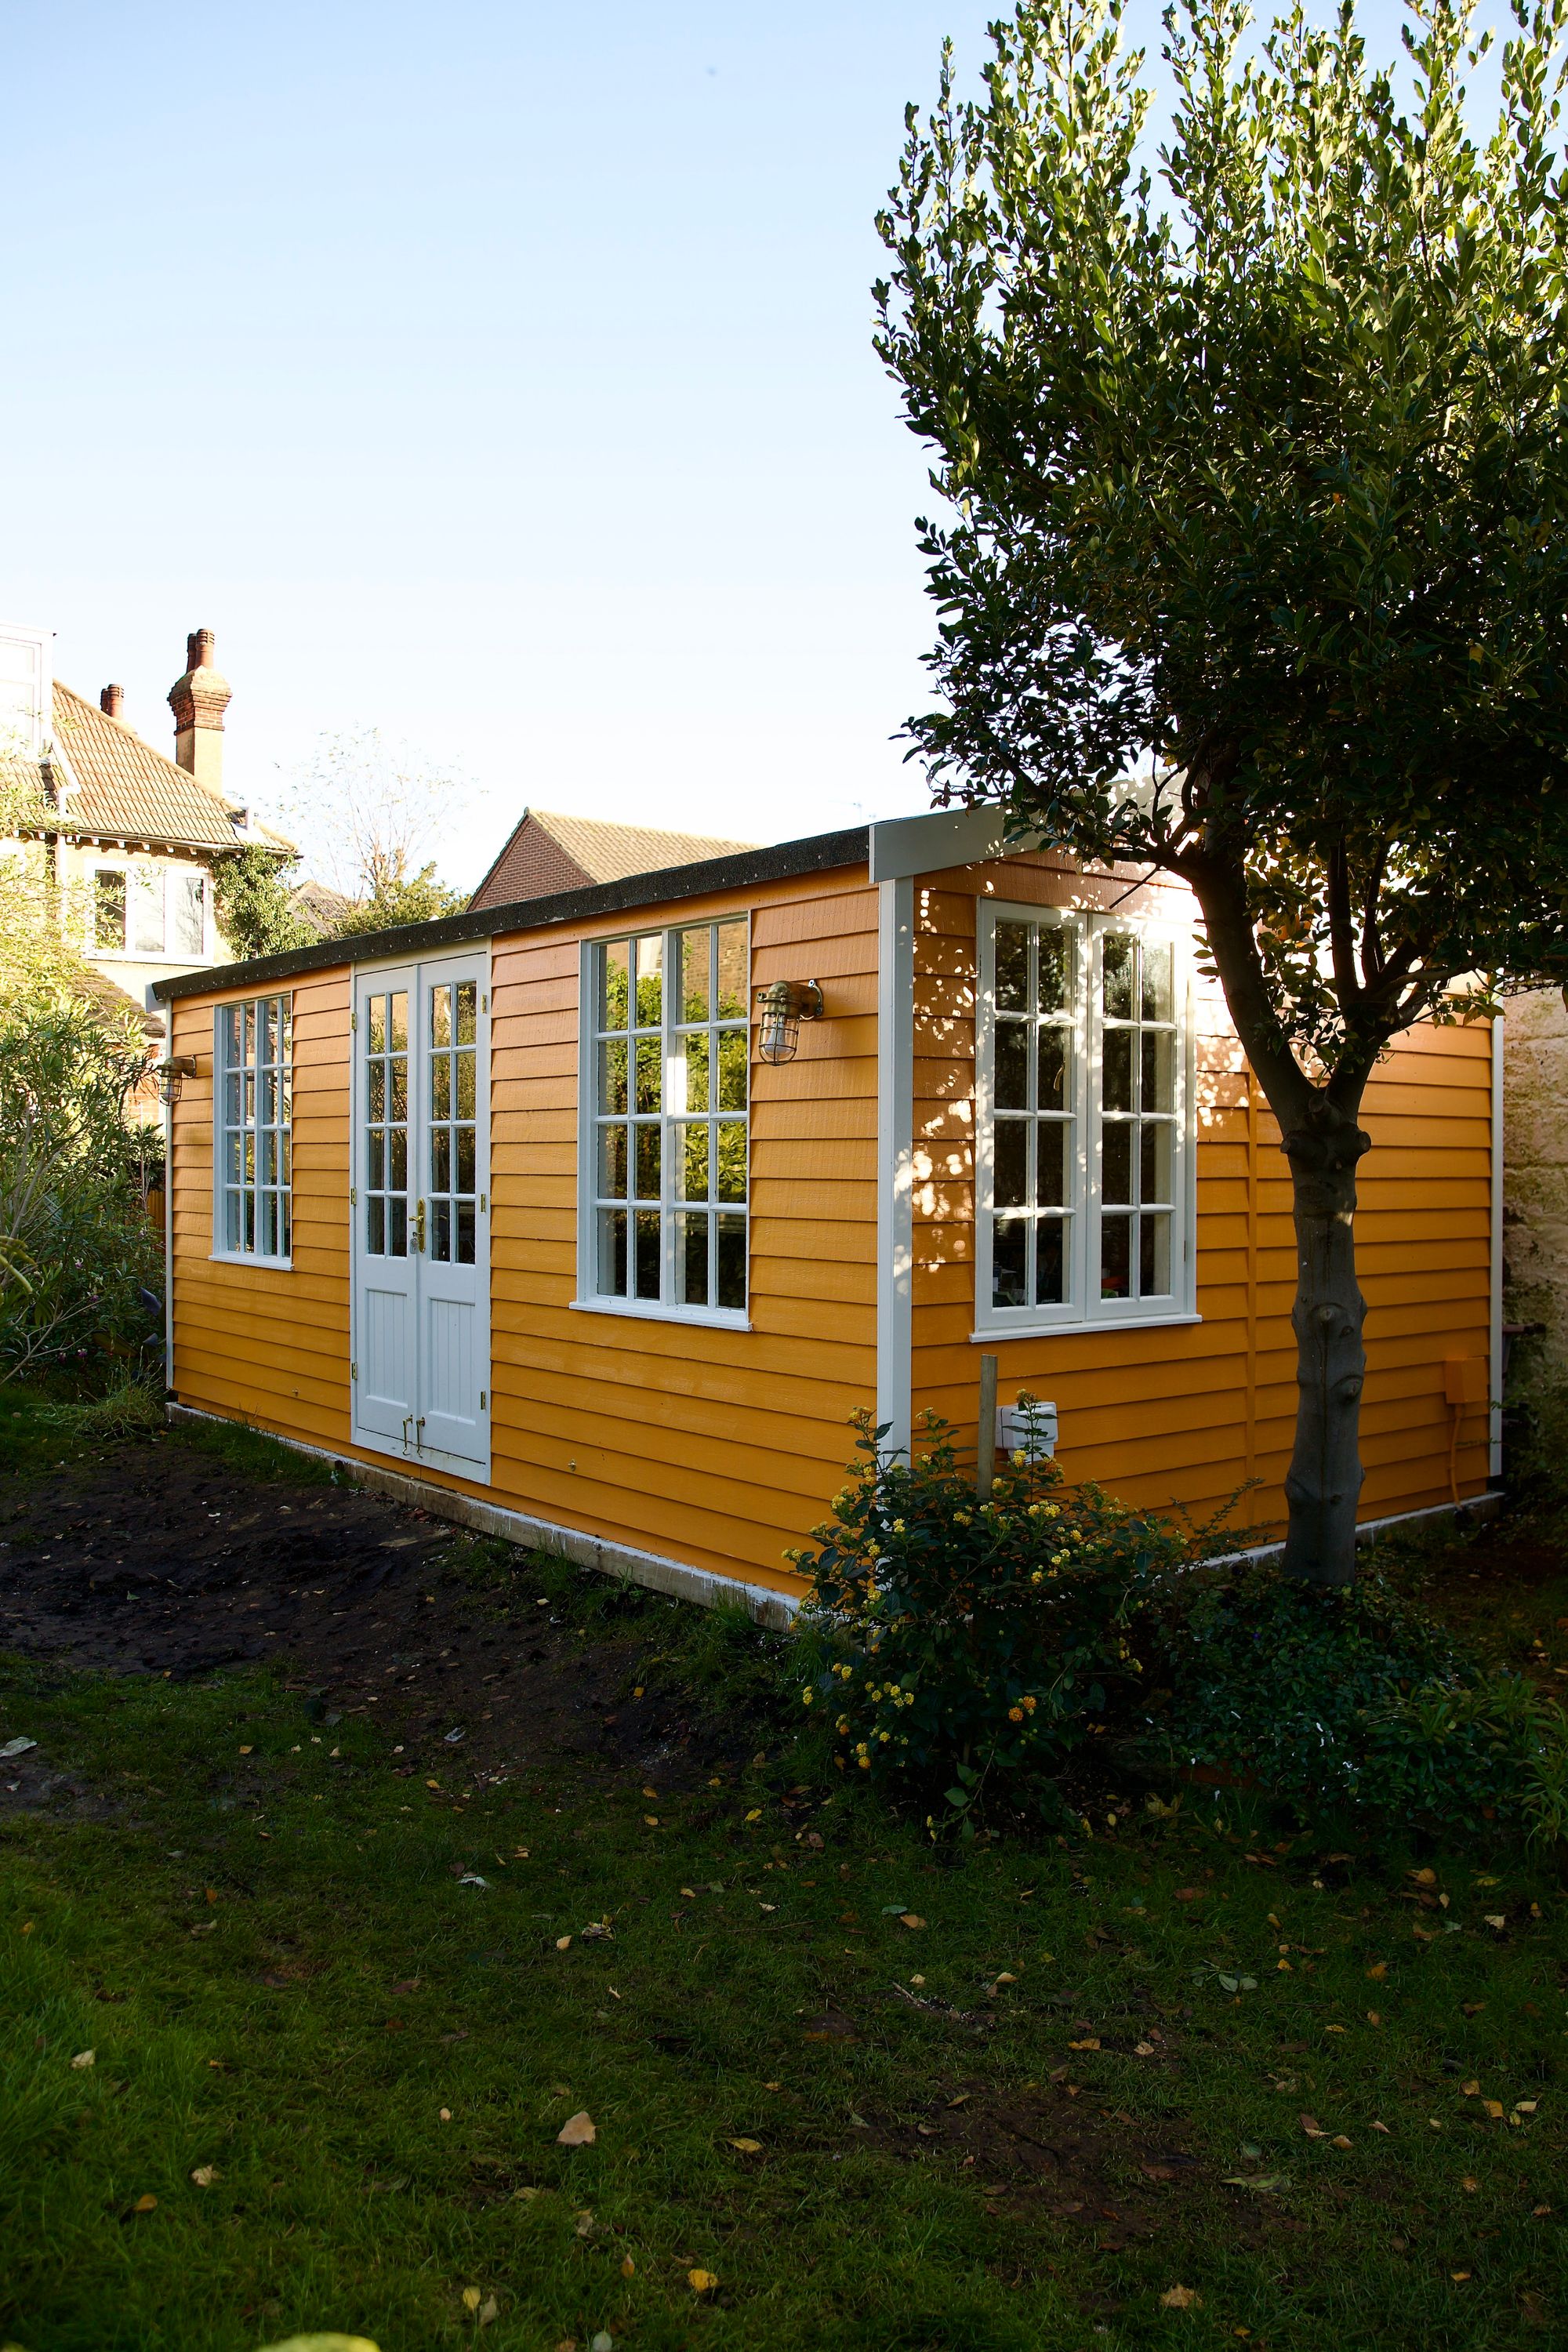
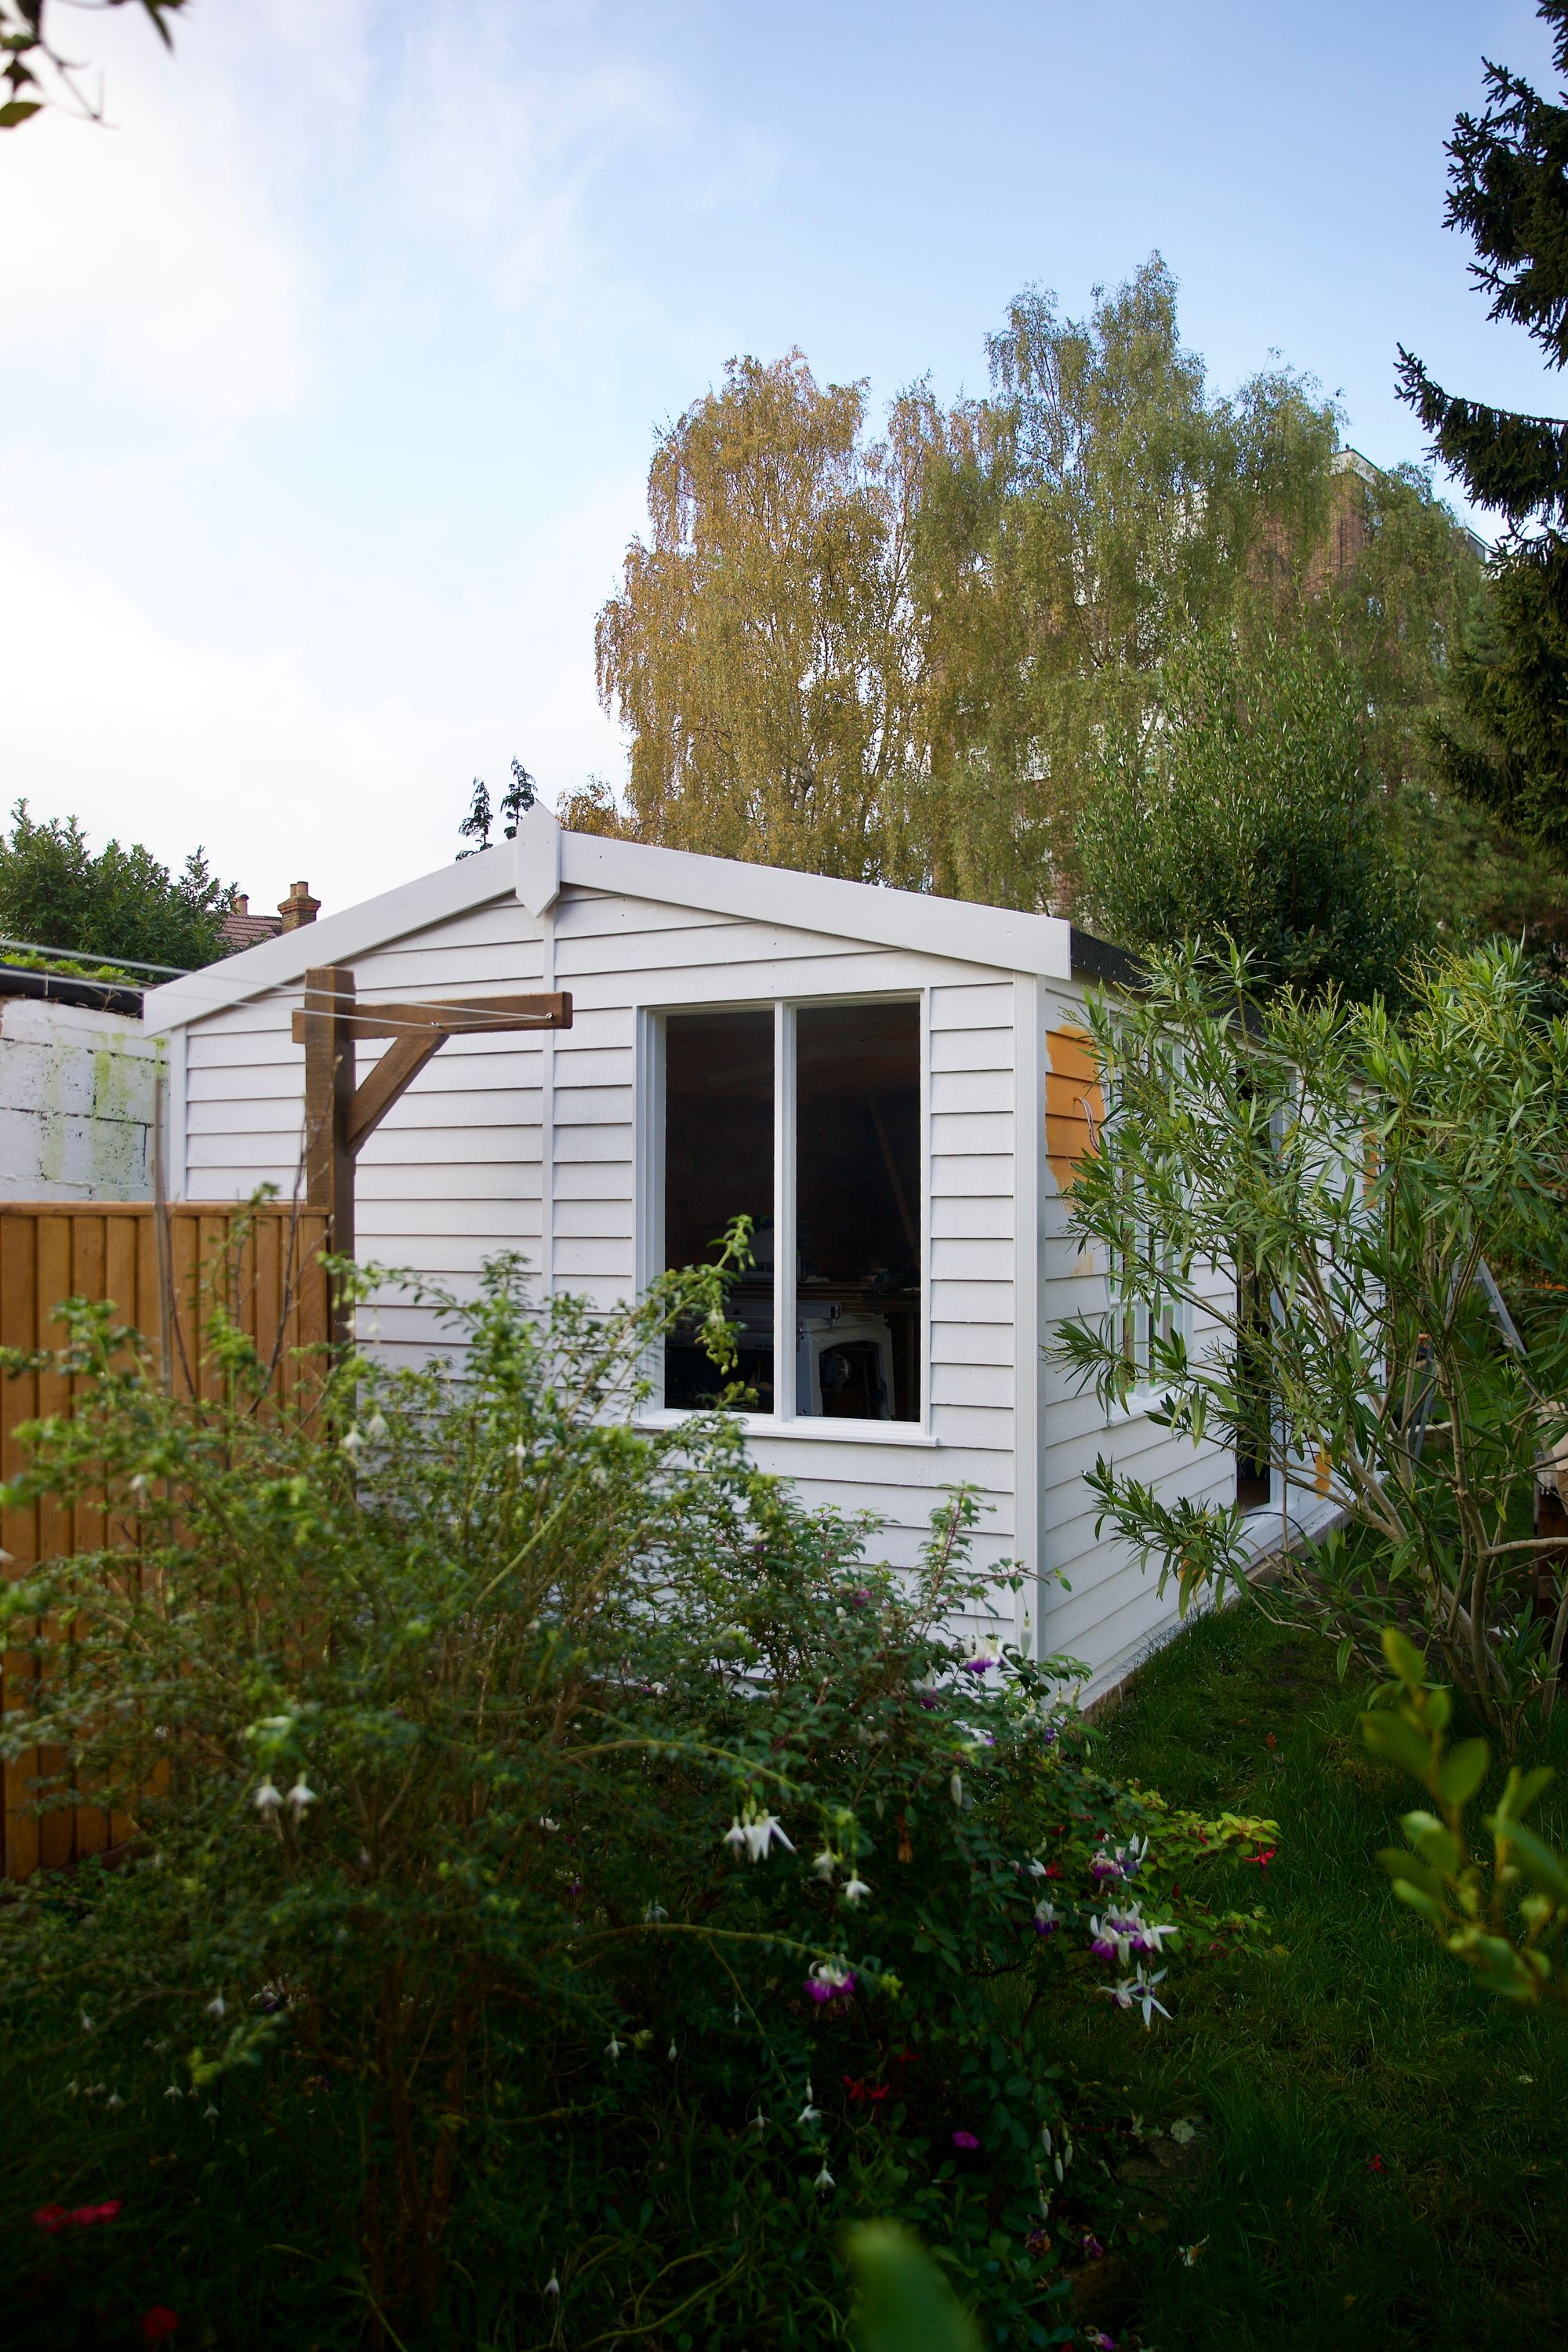
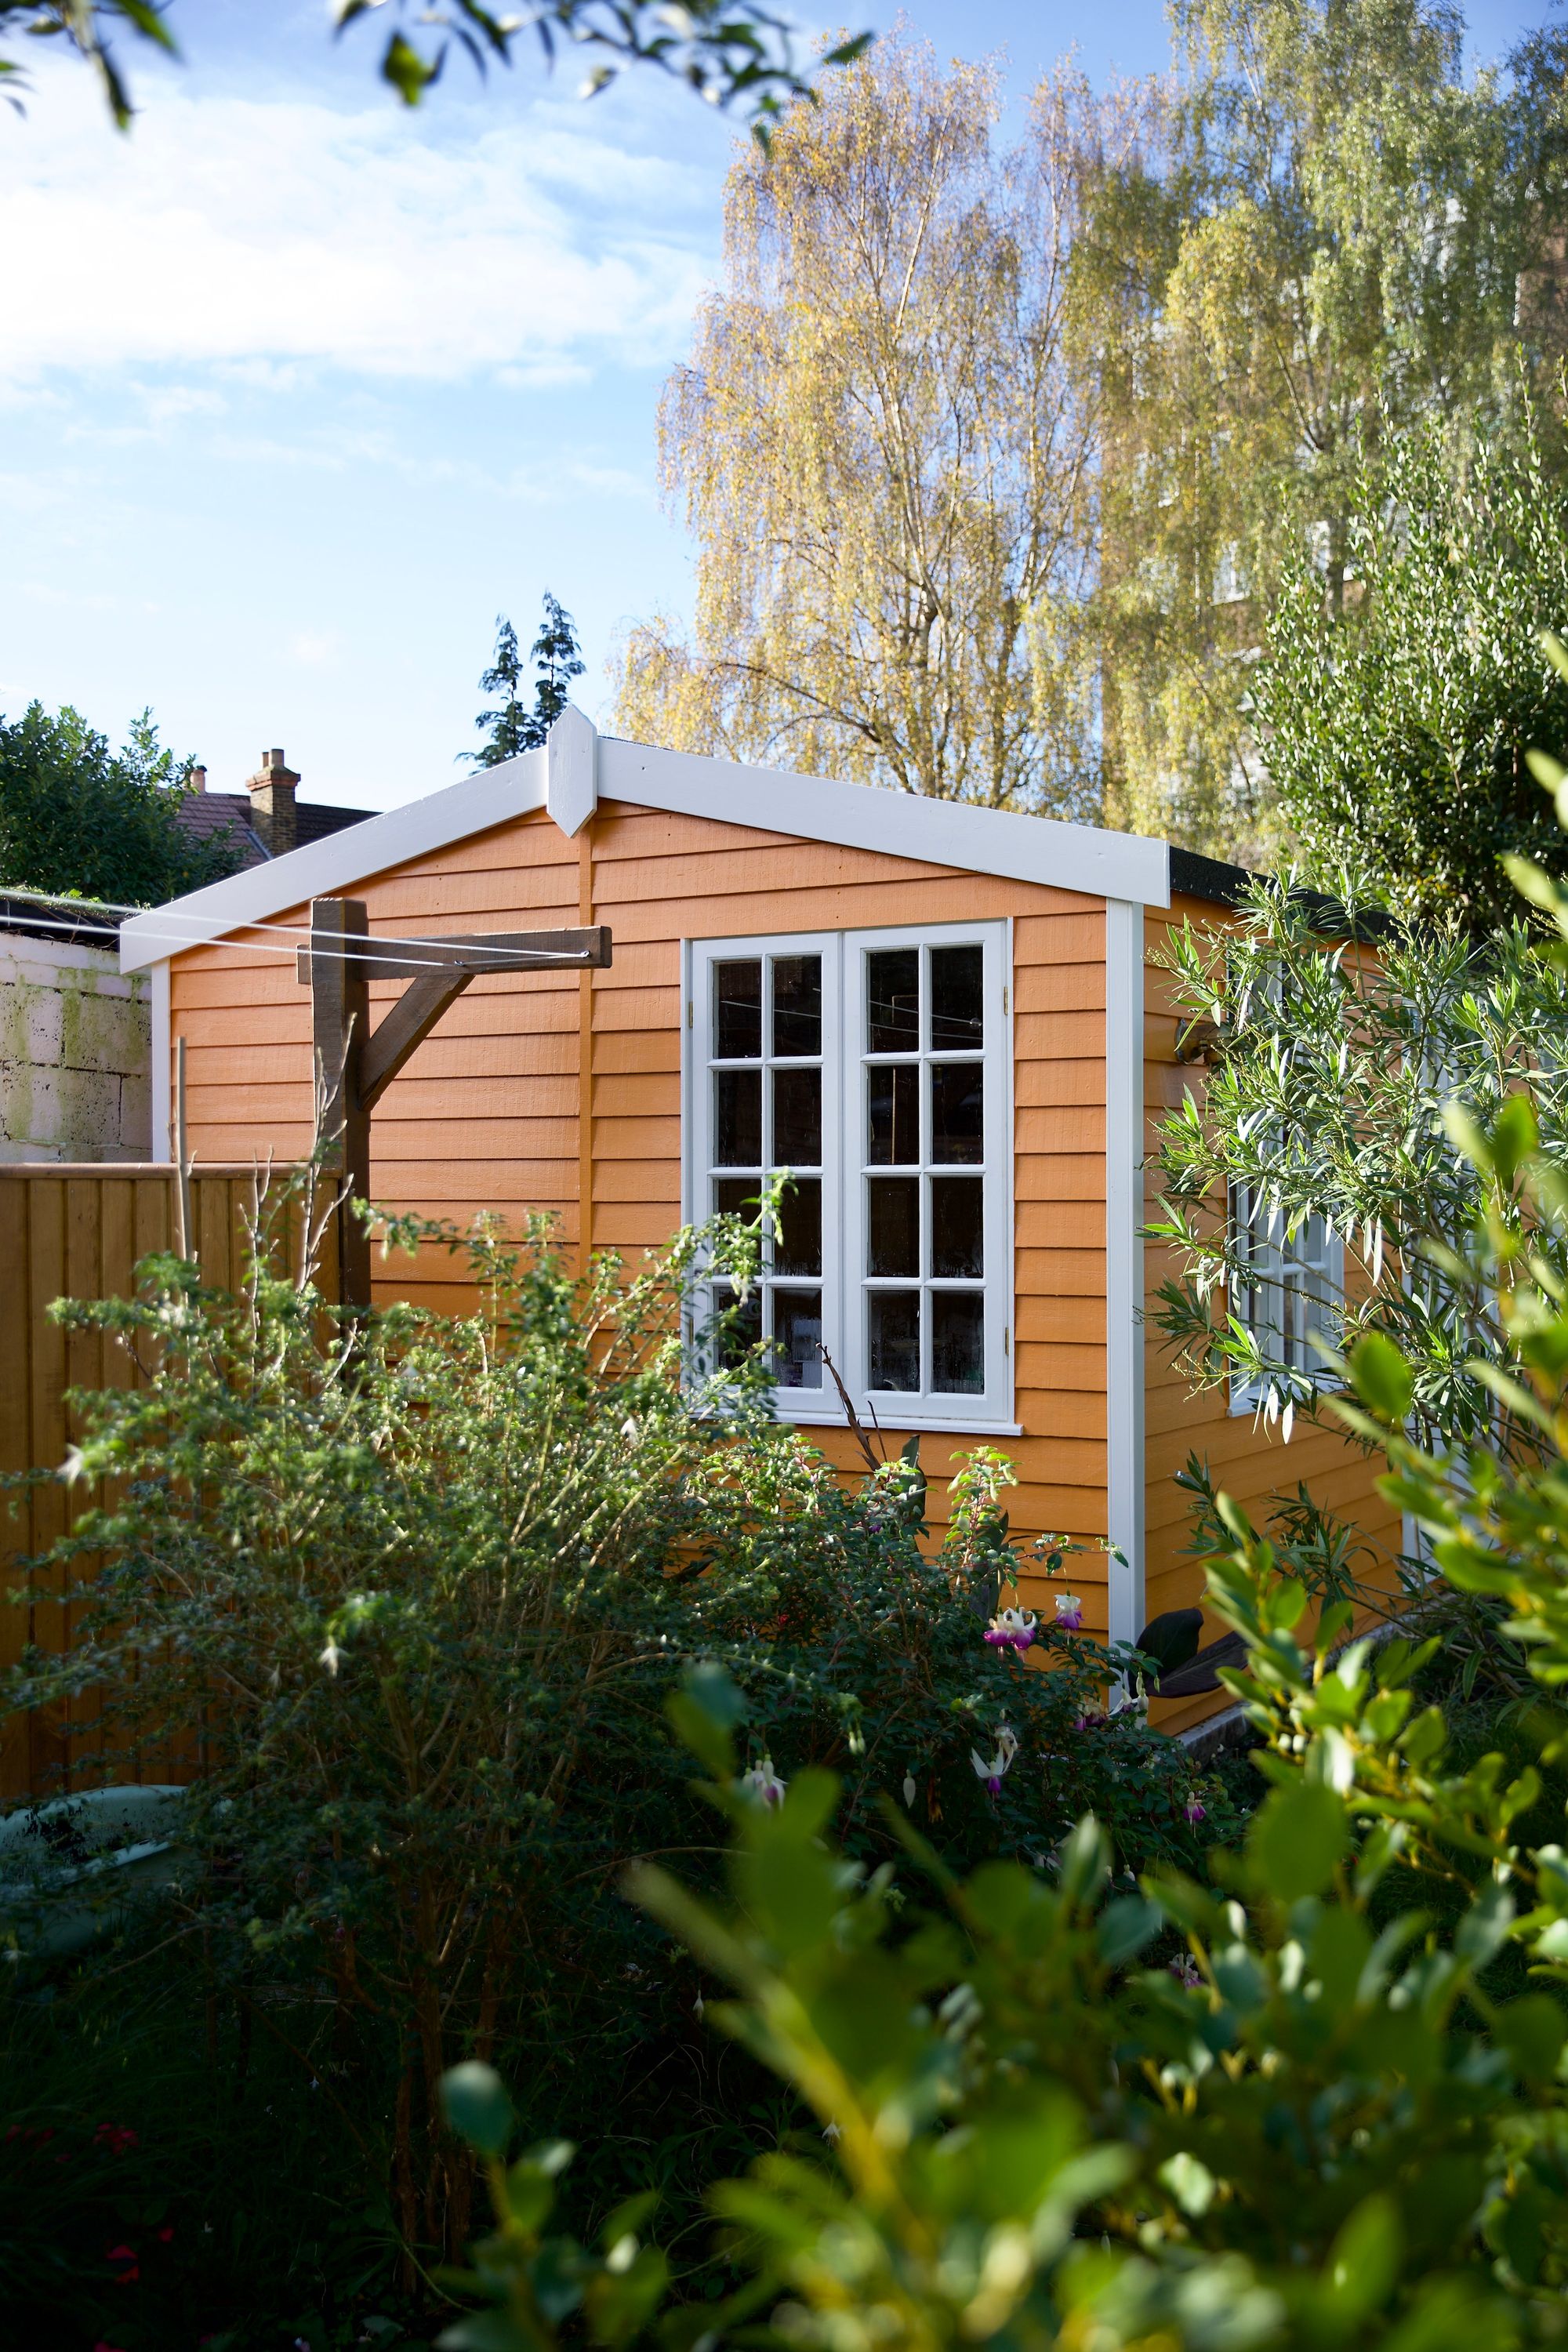
Cookie managed to get a coat of primer on the shed soon after it was installed, but then we had to wait weeks for a break in the weather to get the undercoat and top coat on the exterior walls. The colour we used is 'Marigold' by Little Greene, a colour we've previously used on all the other buildings in the garden, and also the hallway and front door of our house.
We hired a decorator to help Cookie get the top coat on during a 3 day spell of dry weather in an otherwise very wet November.
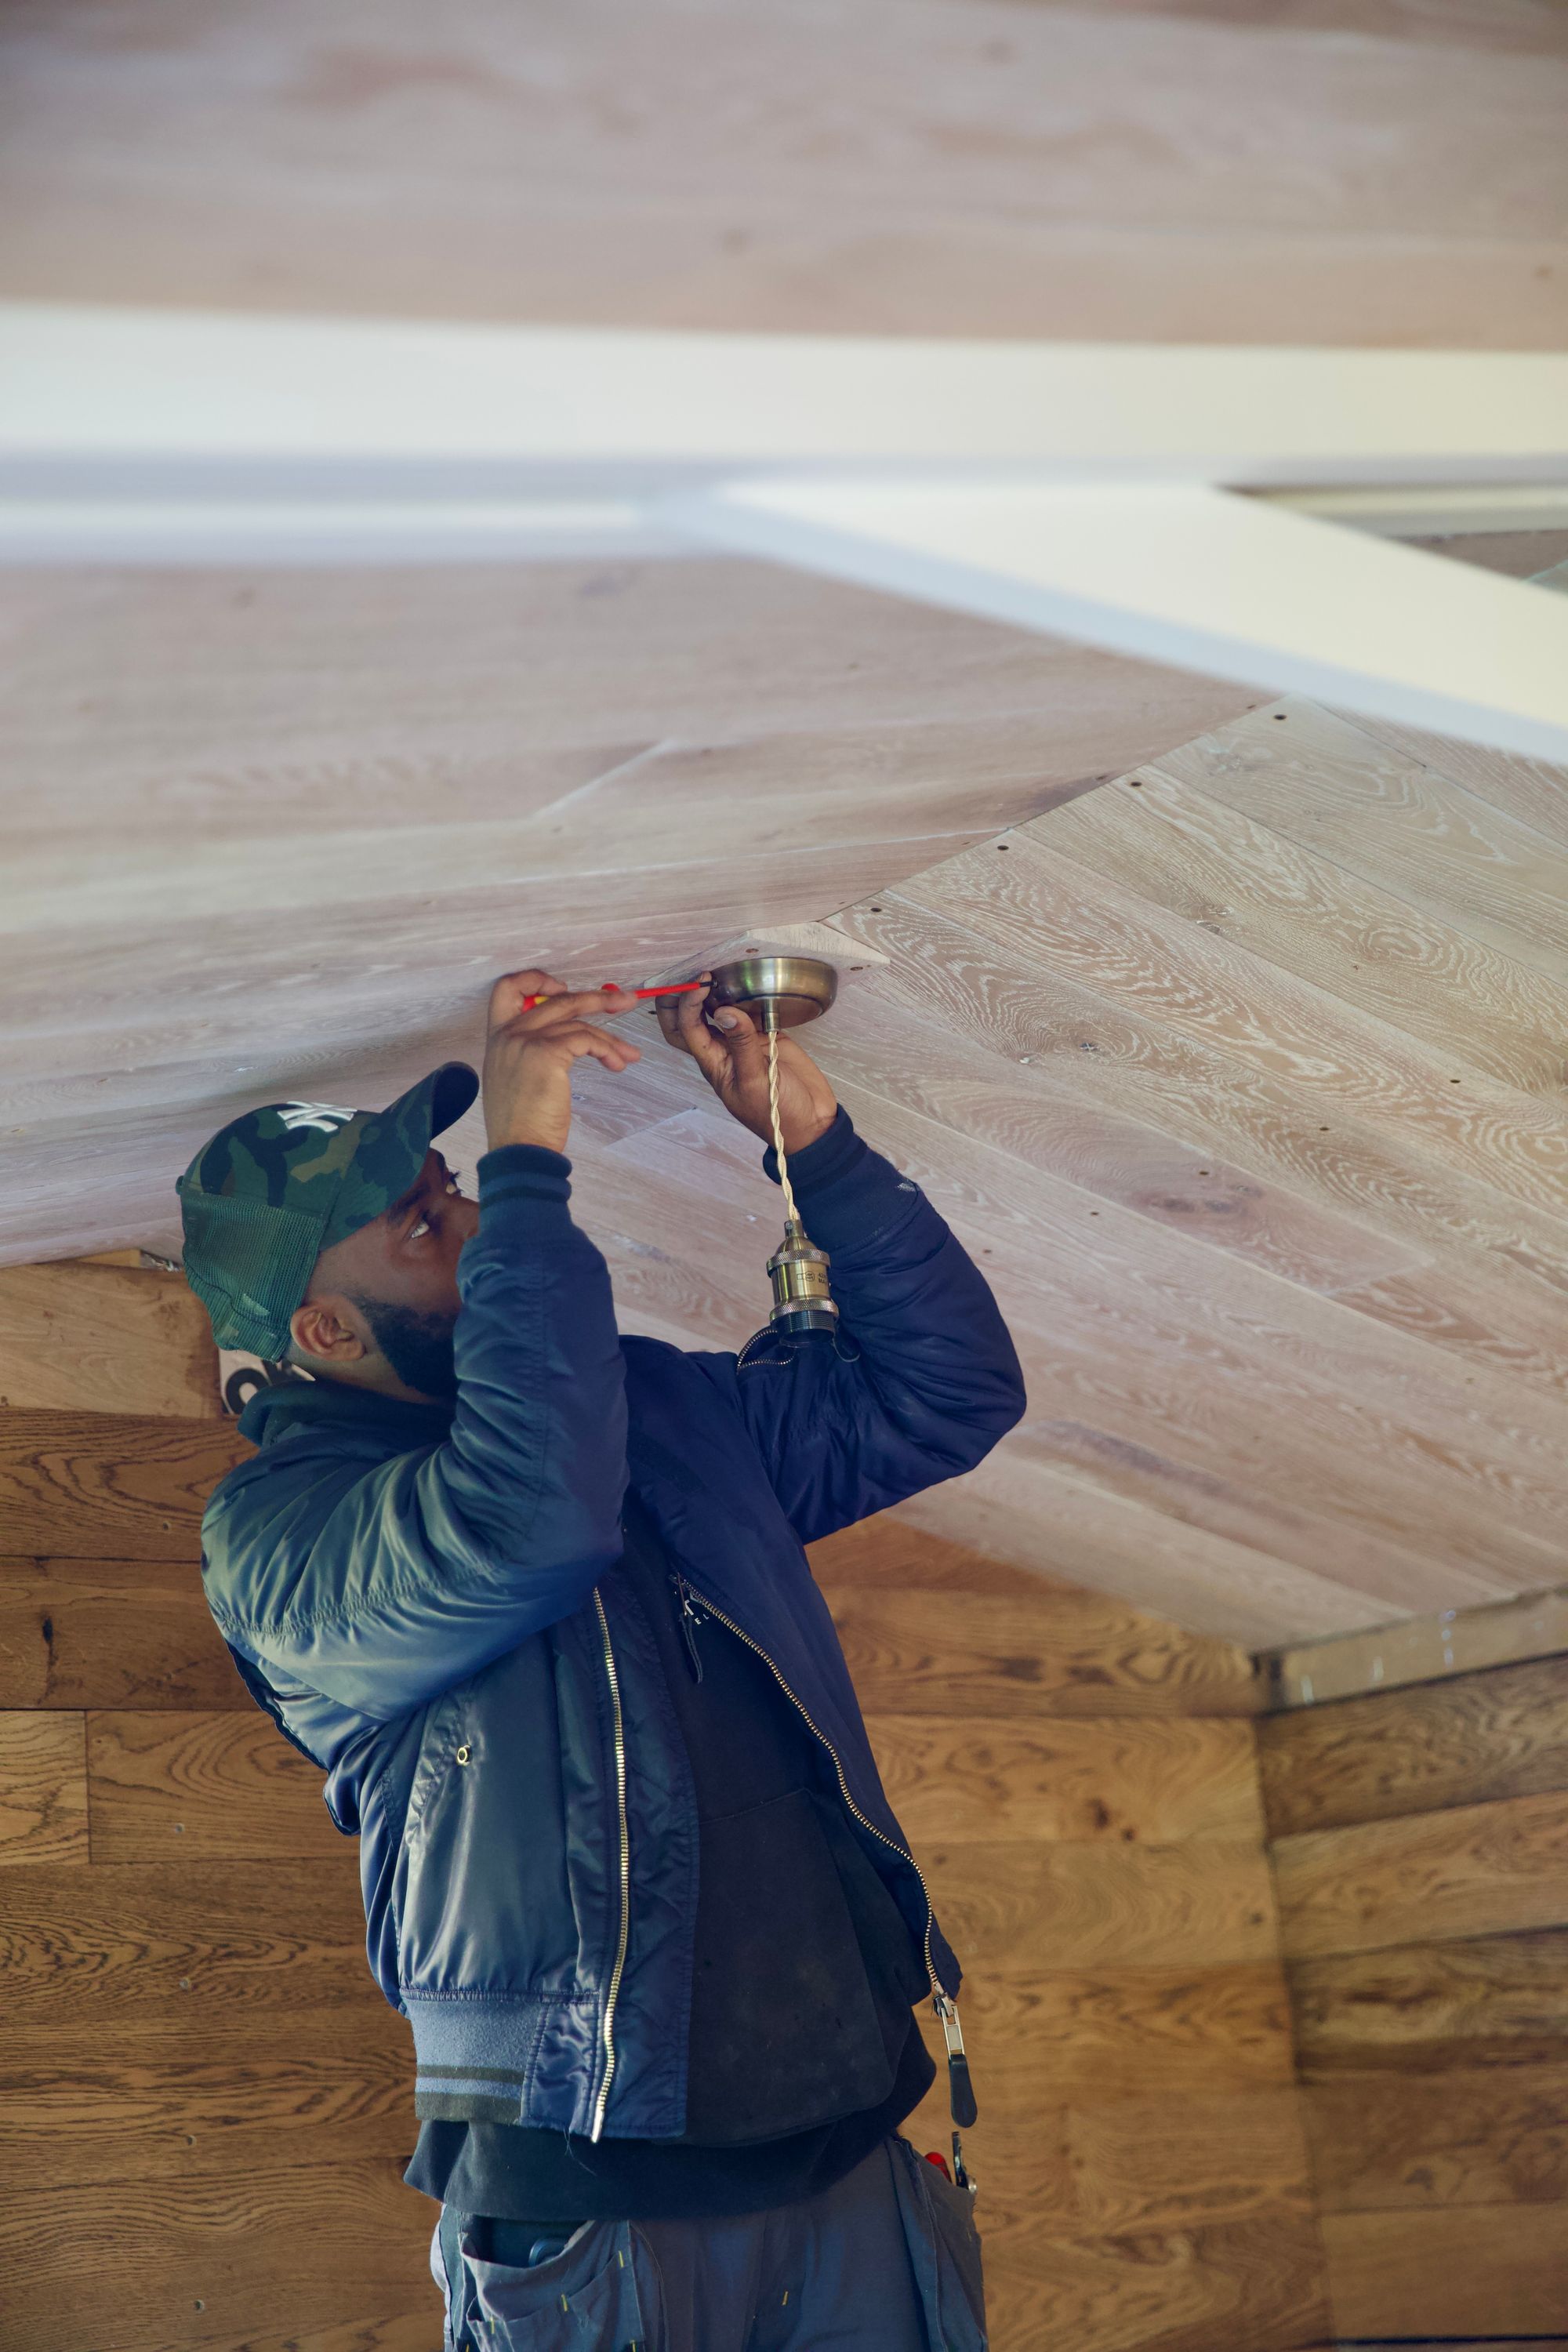
Once Cookie had finished lining the inside with his oak paneling, we could get the electrician back for the second fix and finaly have power and lights in the shed.

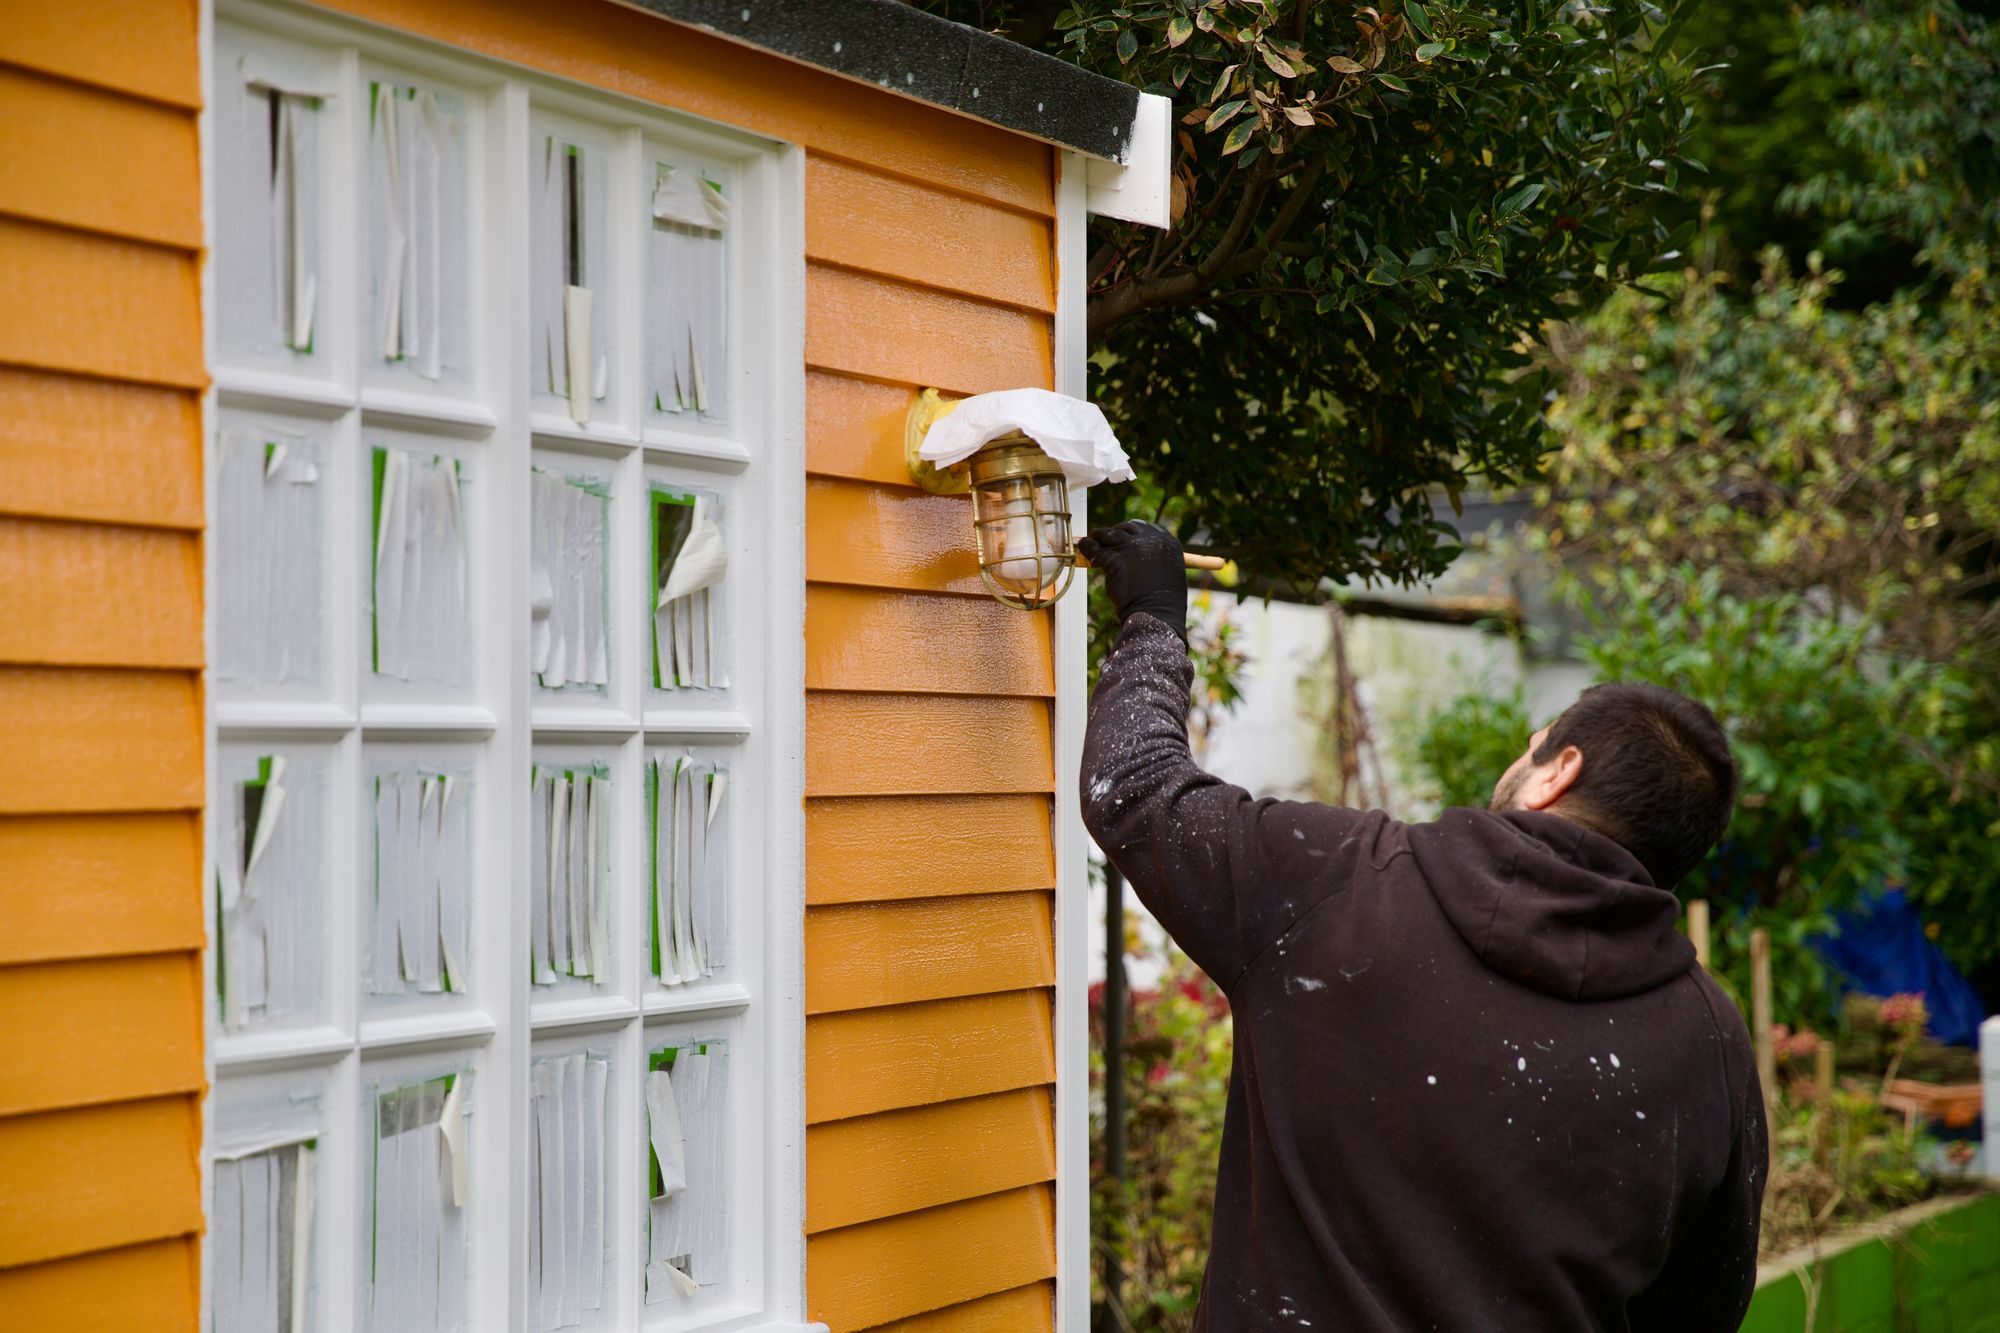
Windows and doors finished in 'Flint' by Little Greene.
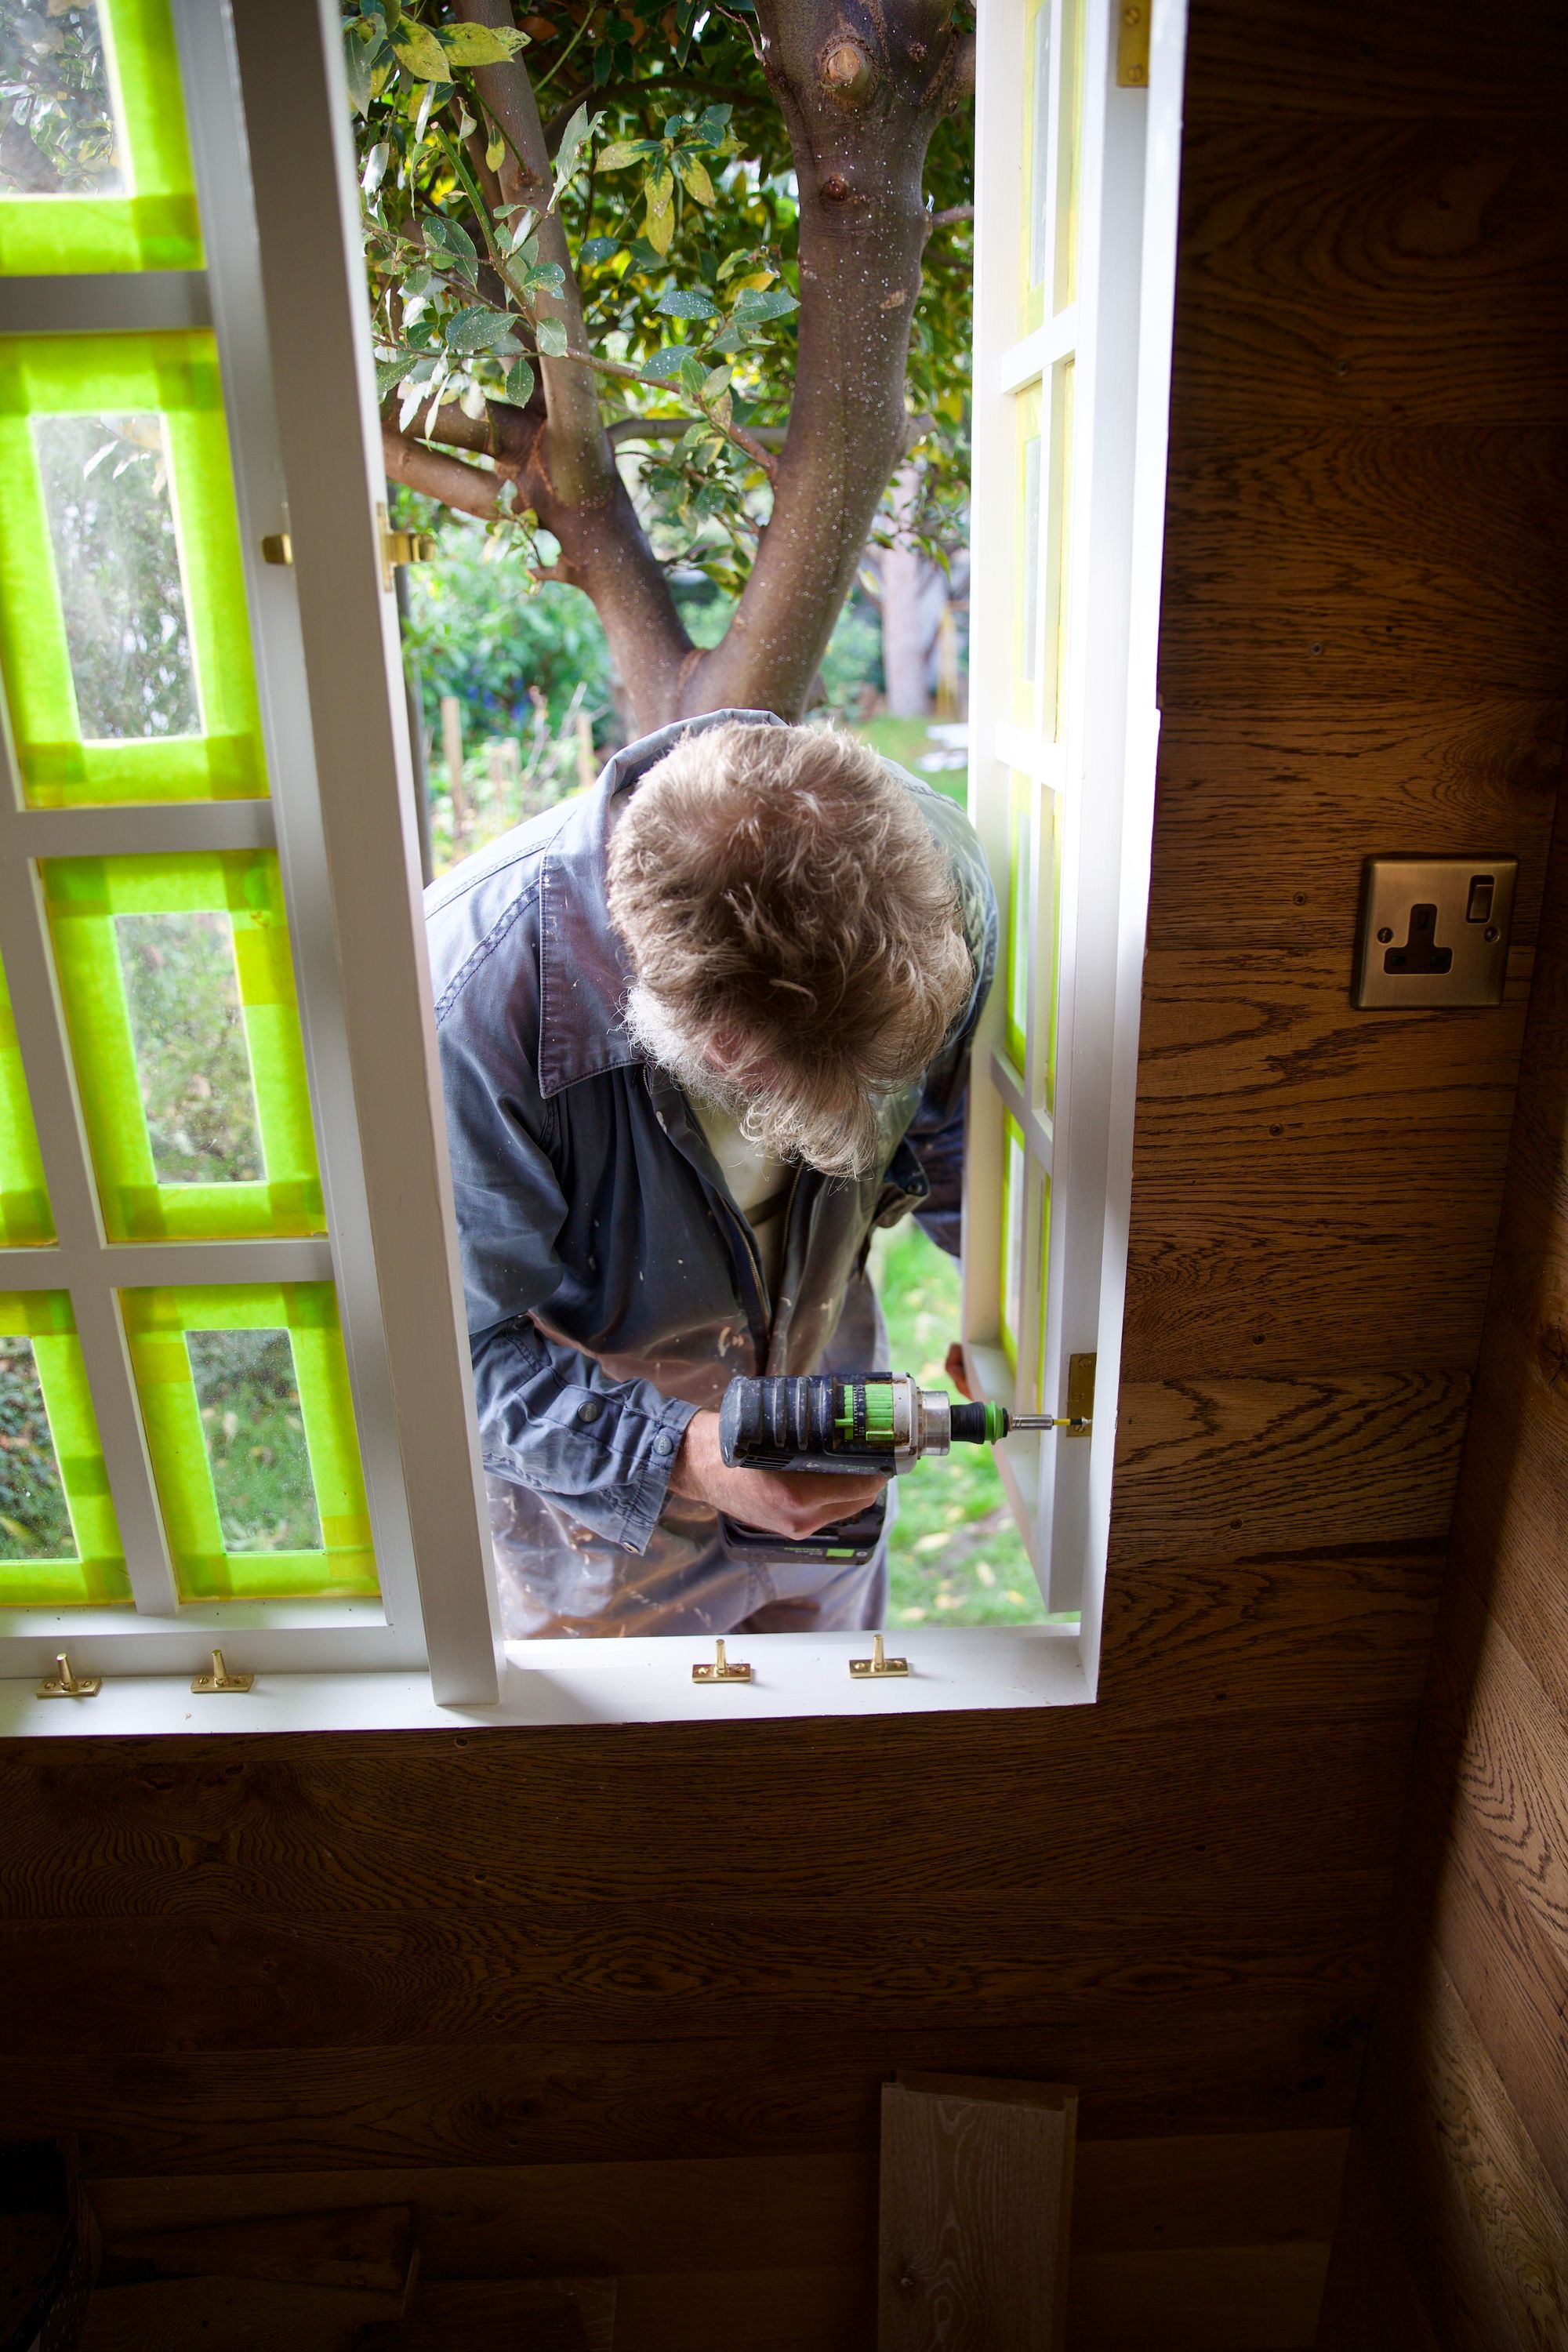
We removed all the windows and doors during painting, just before the rain starts again Cookie screws them back on.
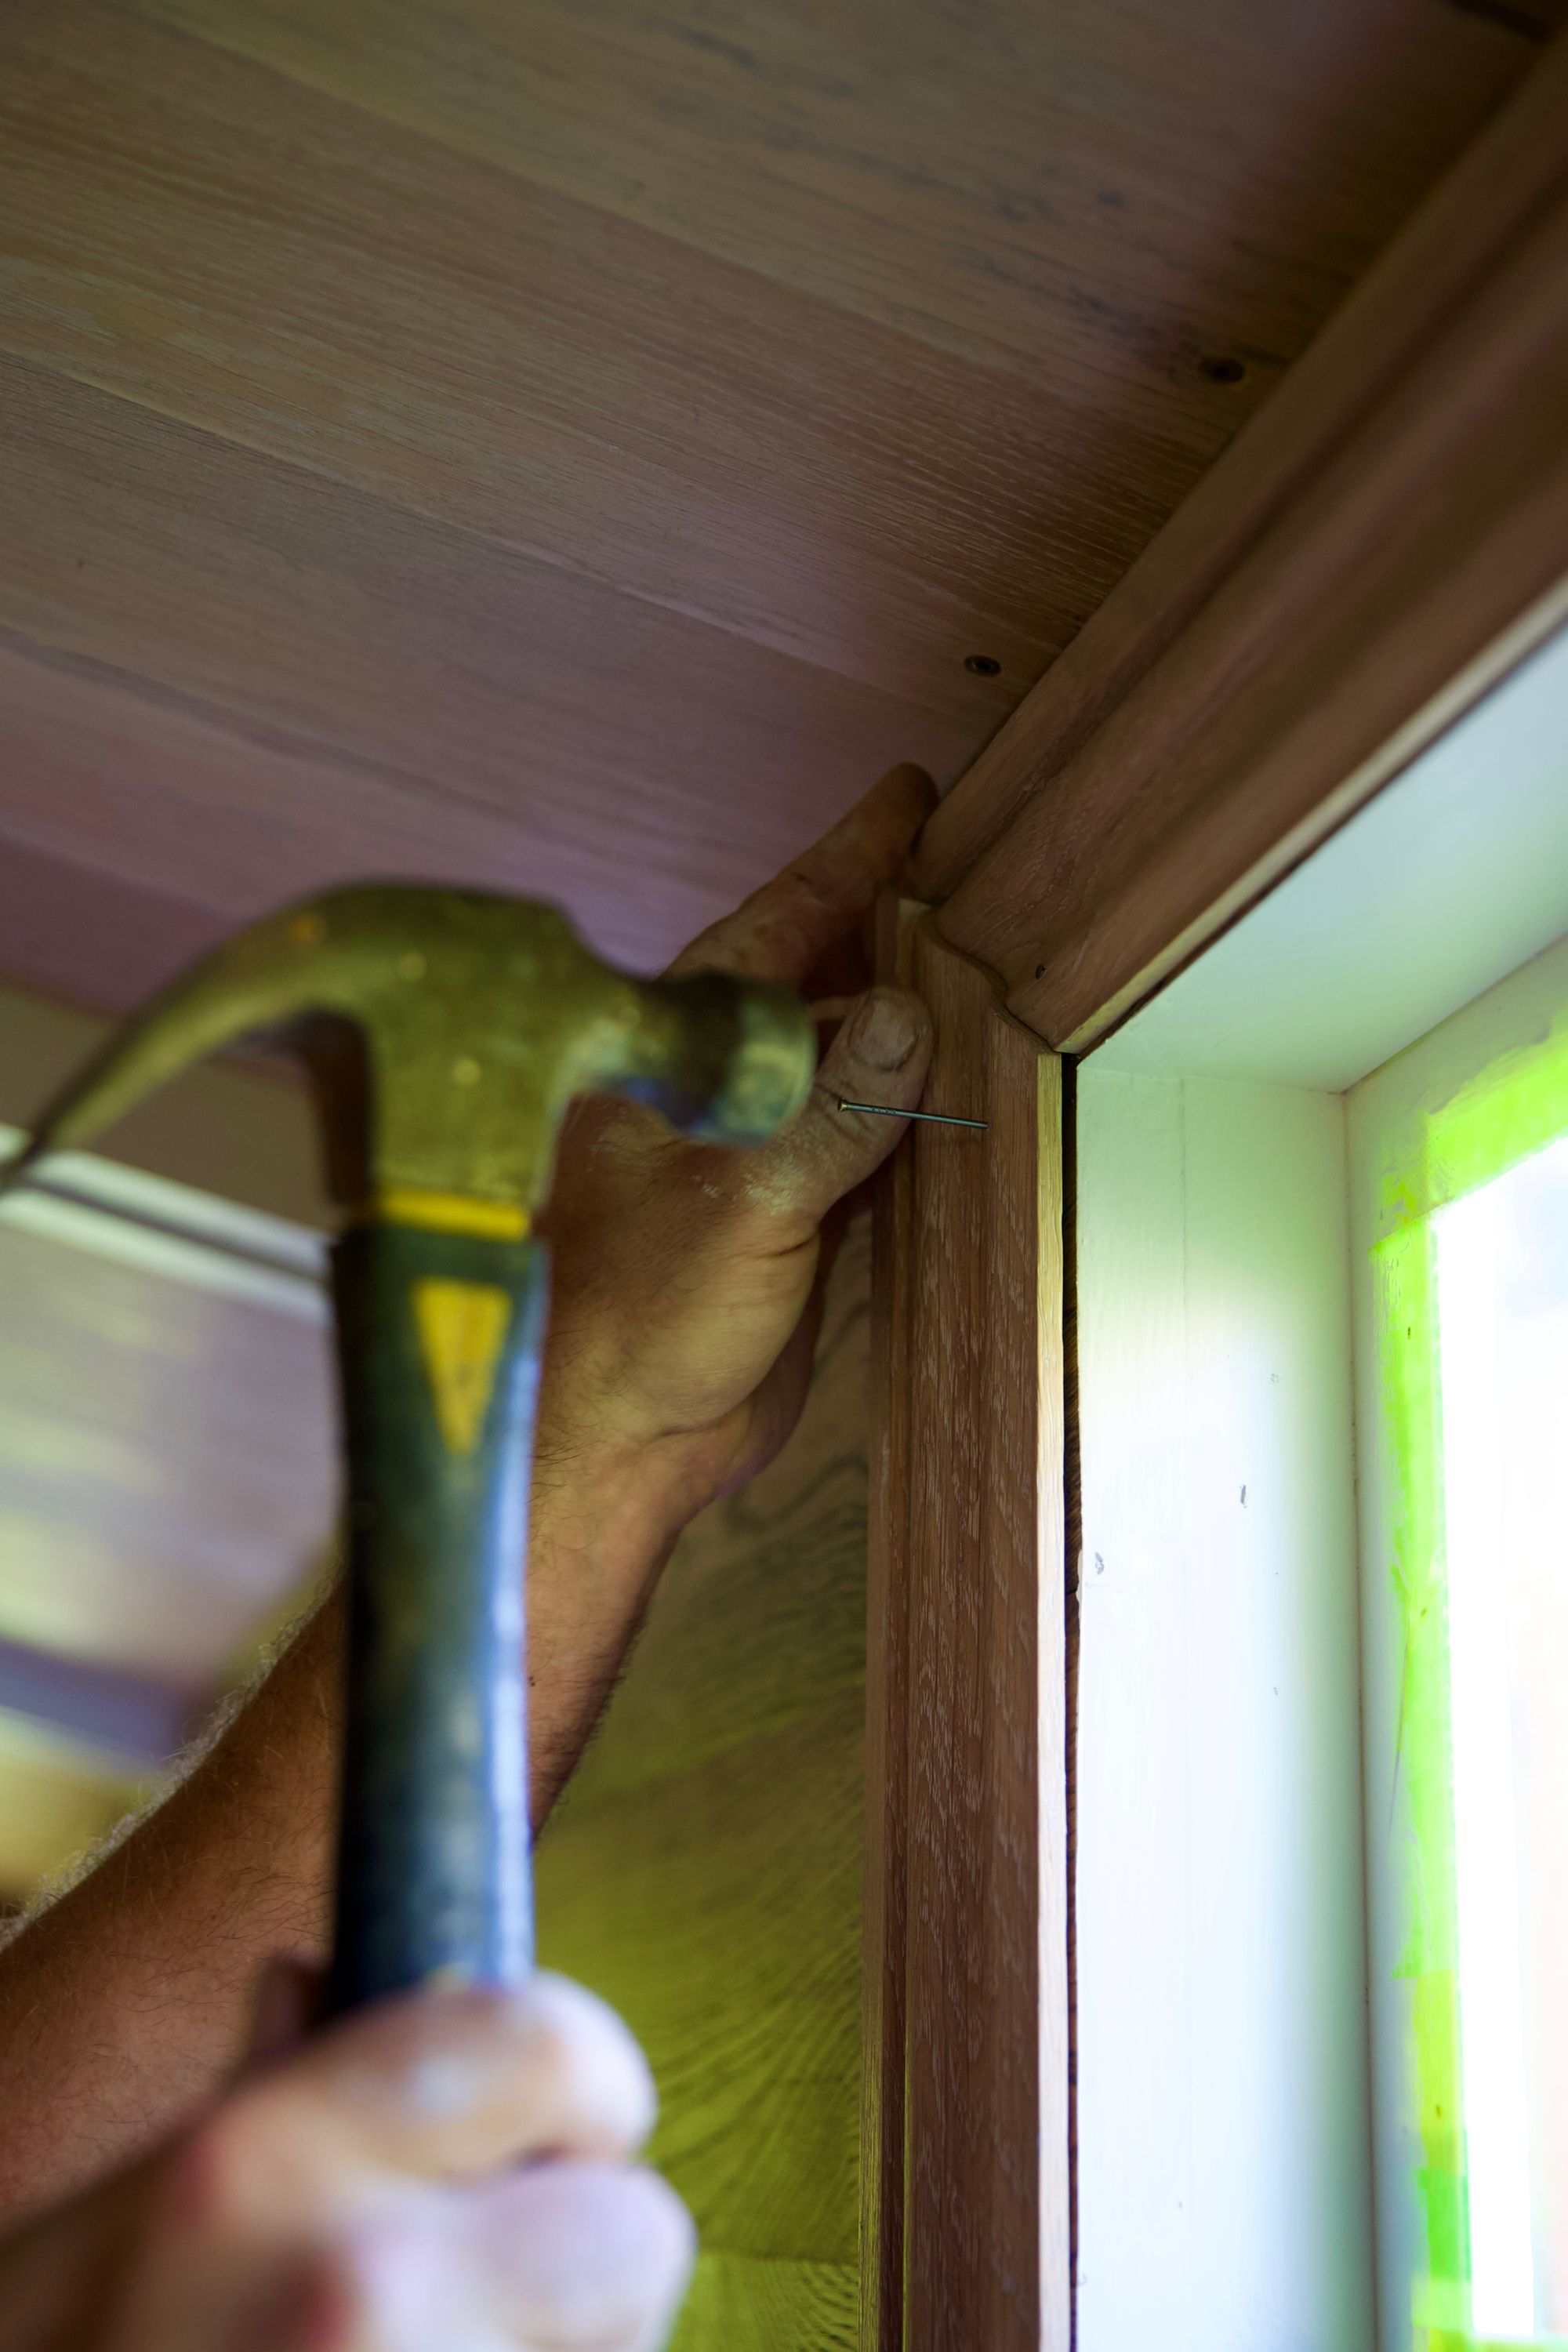
Adding some oak architrave around the windows and doors.
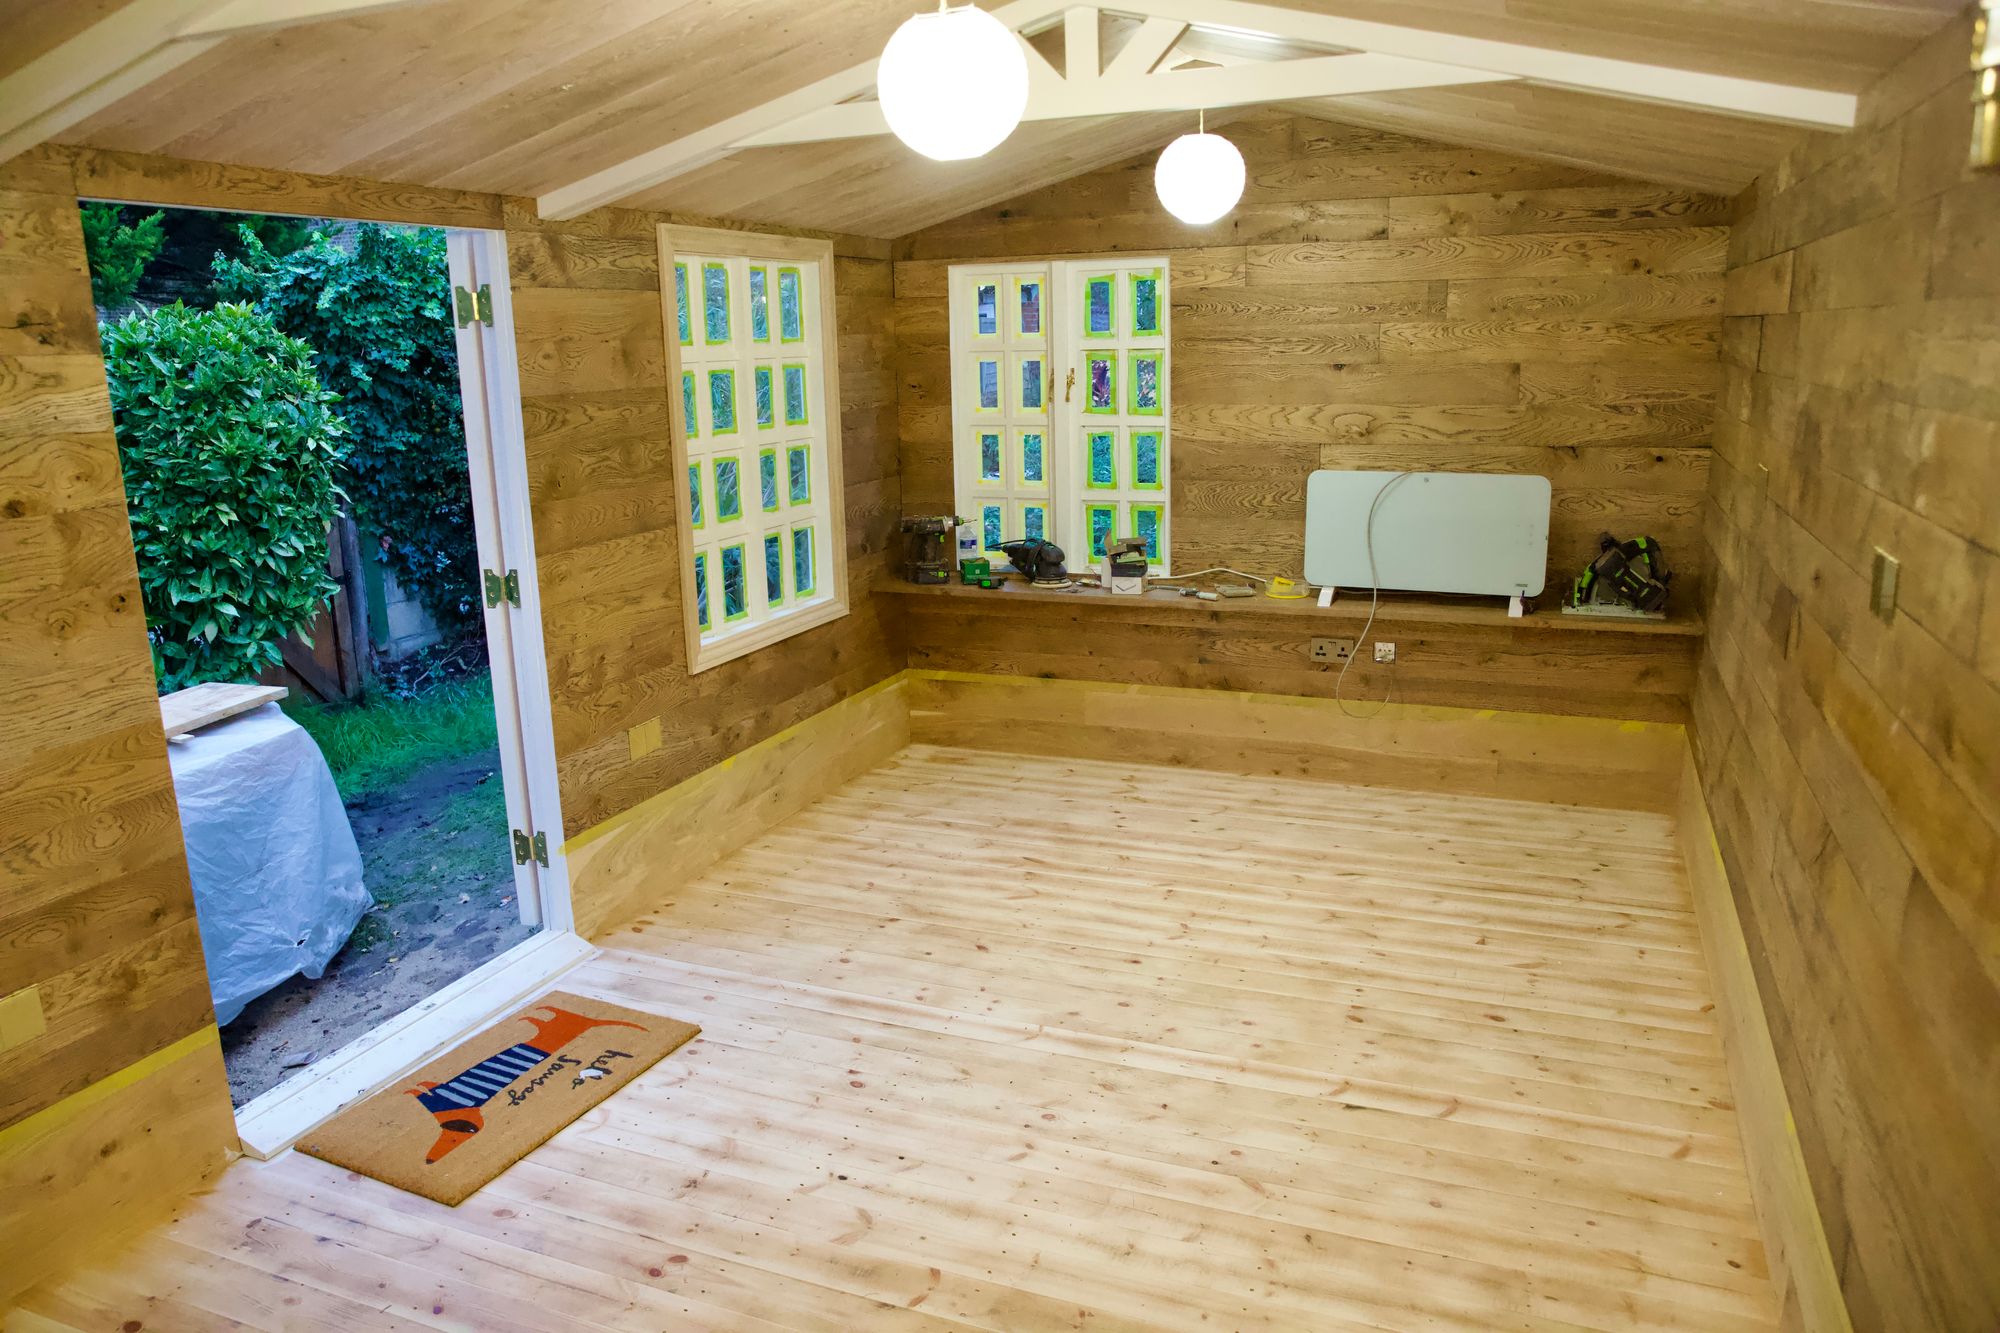
Power is on, radiator is fired up, and it's looking and feeling like a cosy log cabin in here.
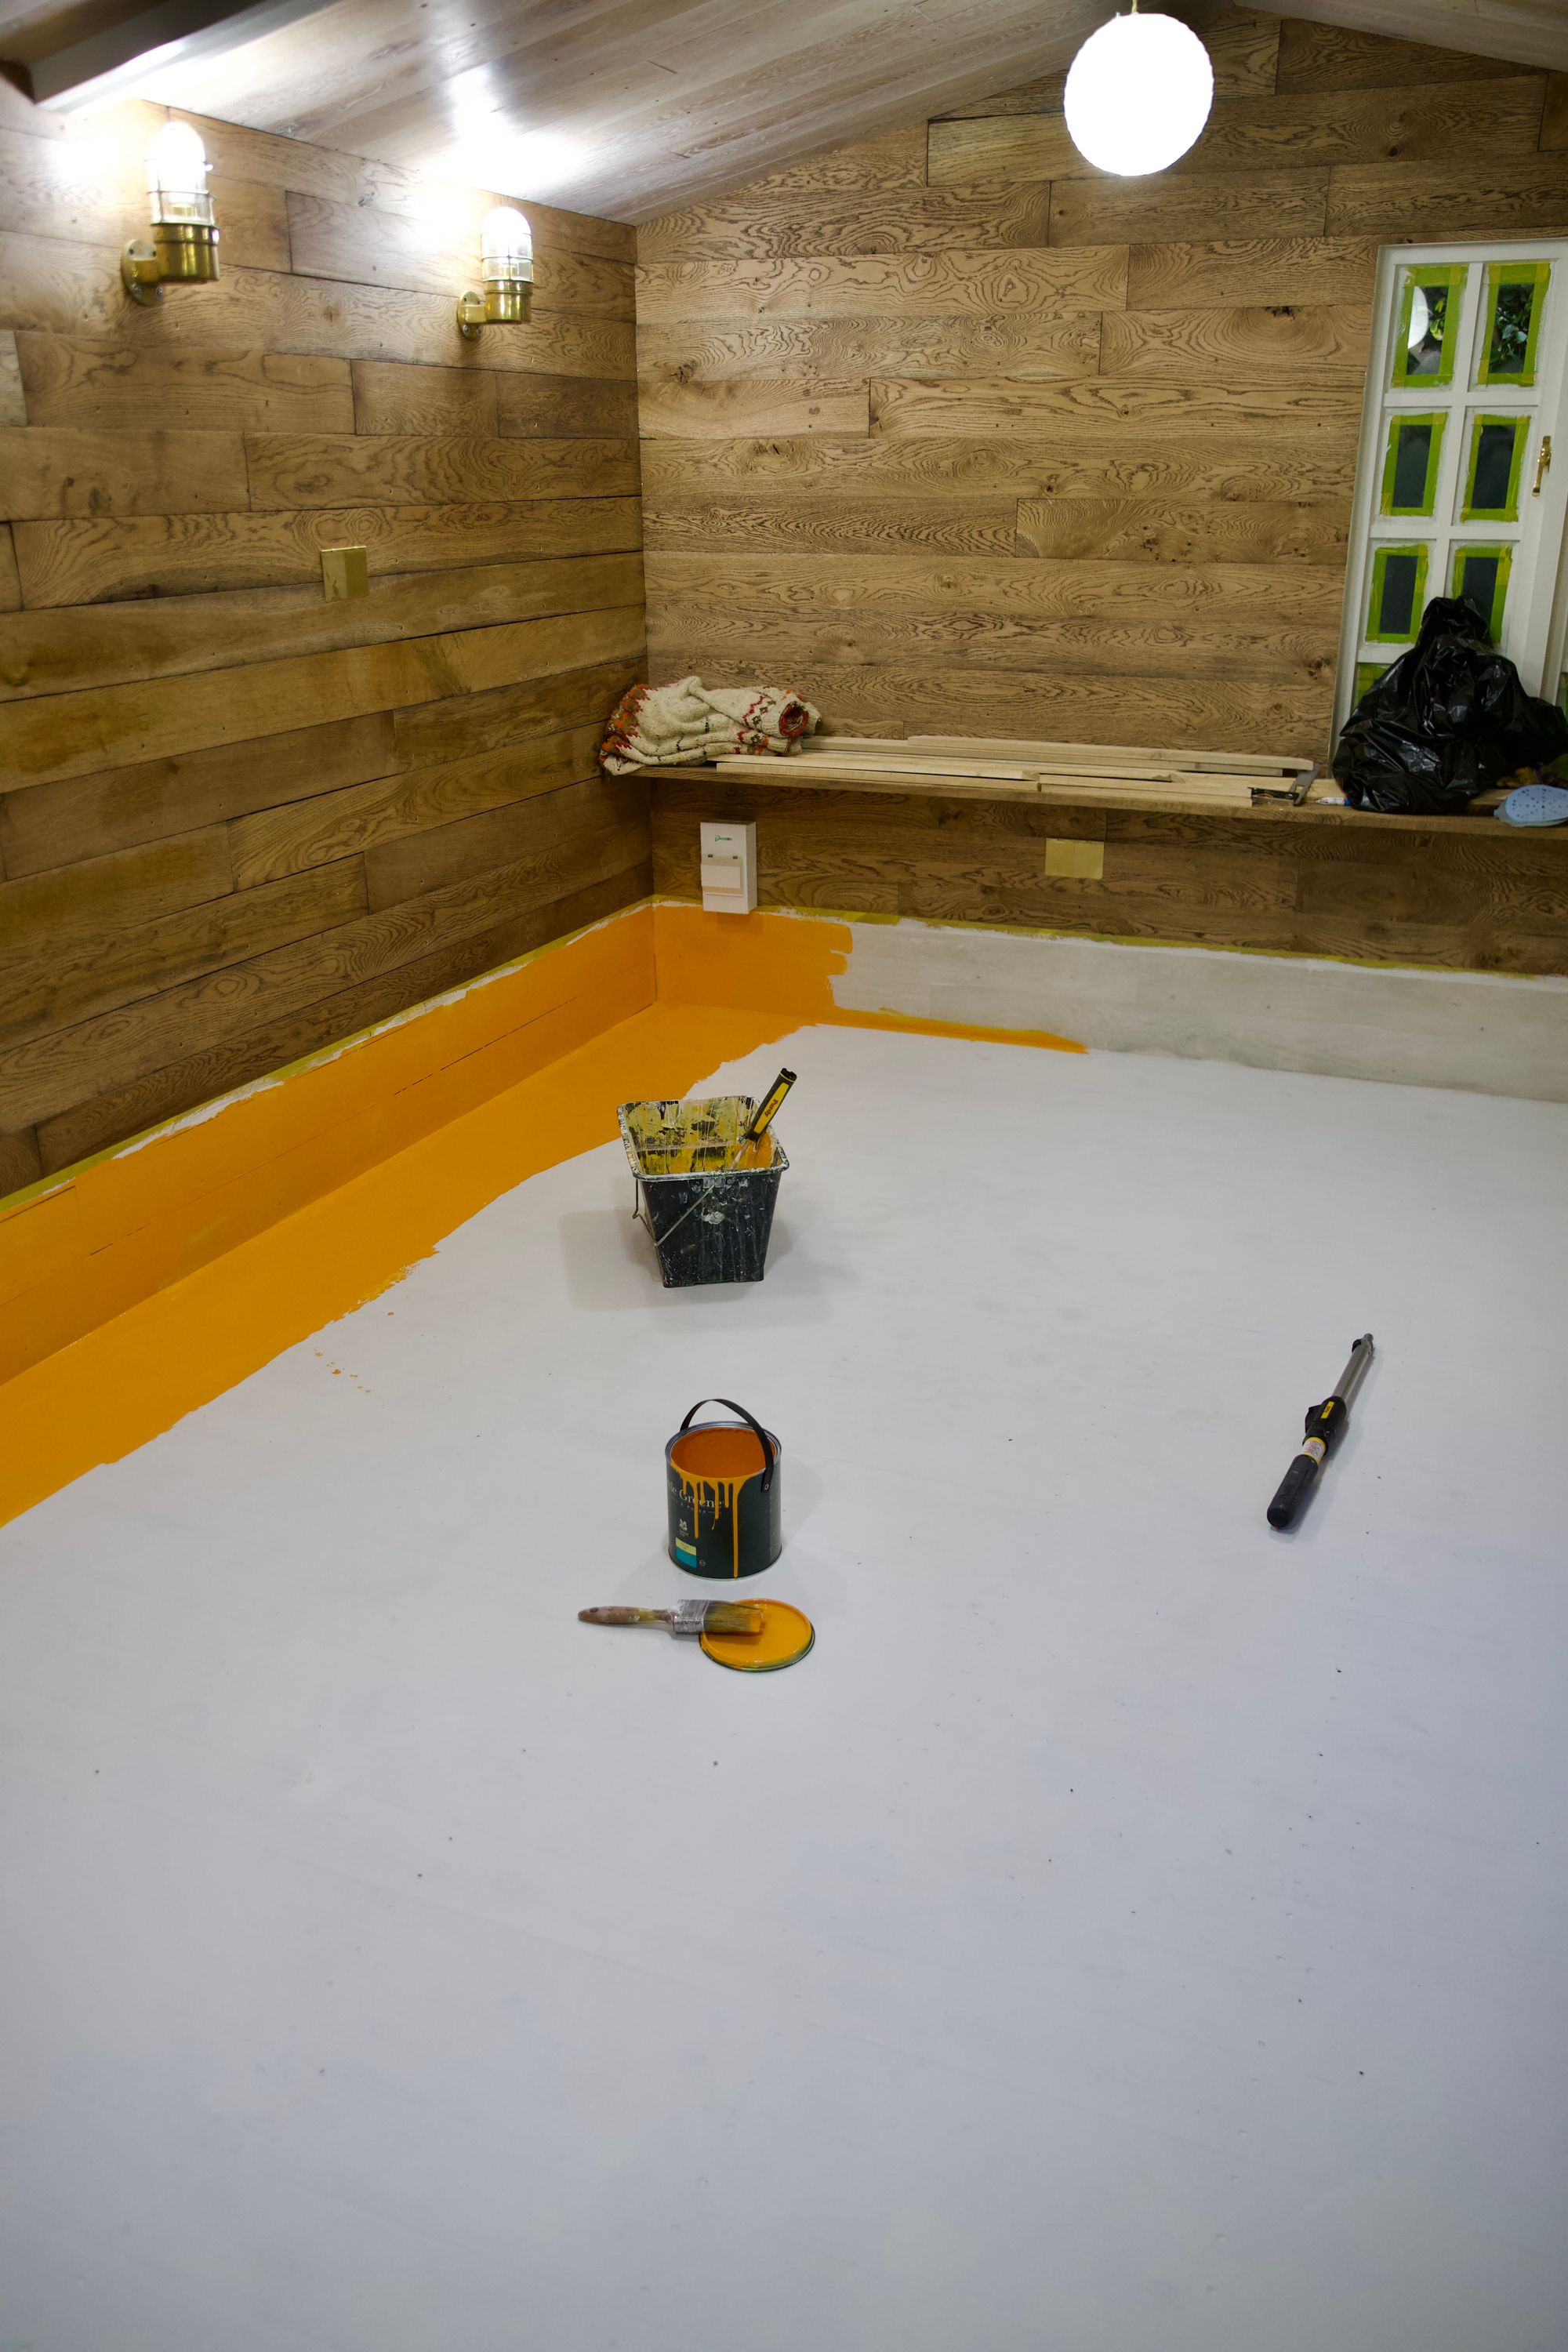
Painting the floor to add some contrast and colour to the wall to wall wood.
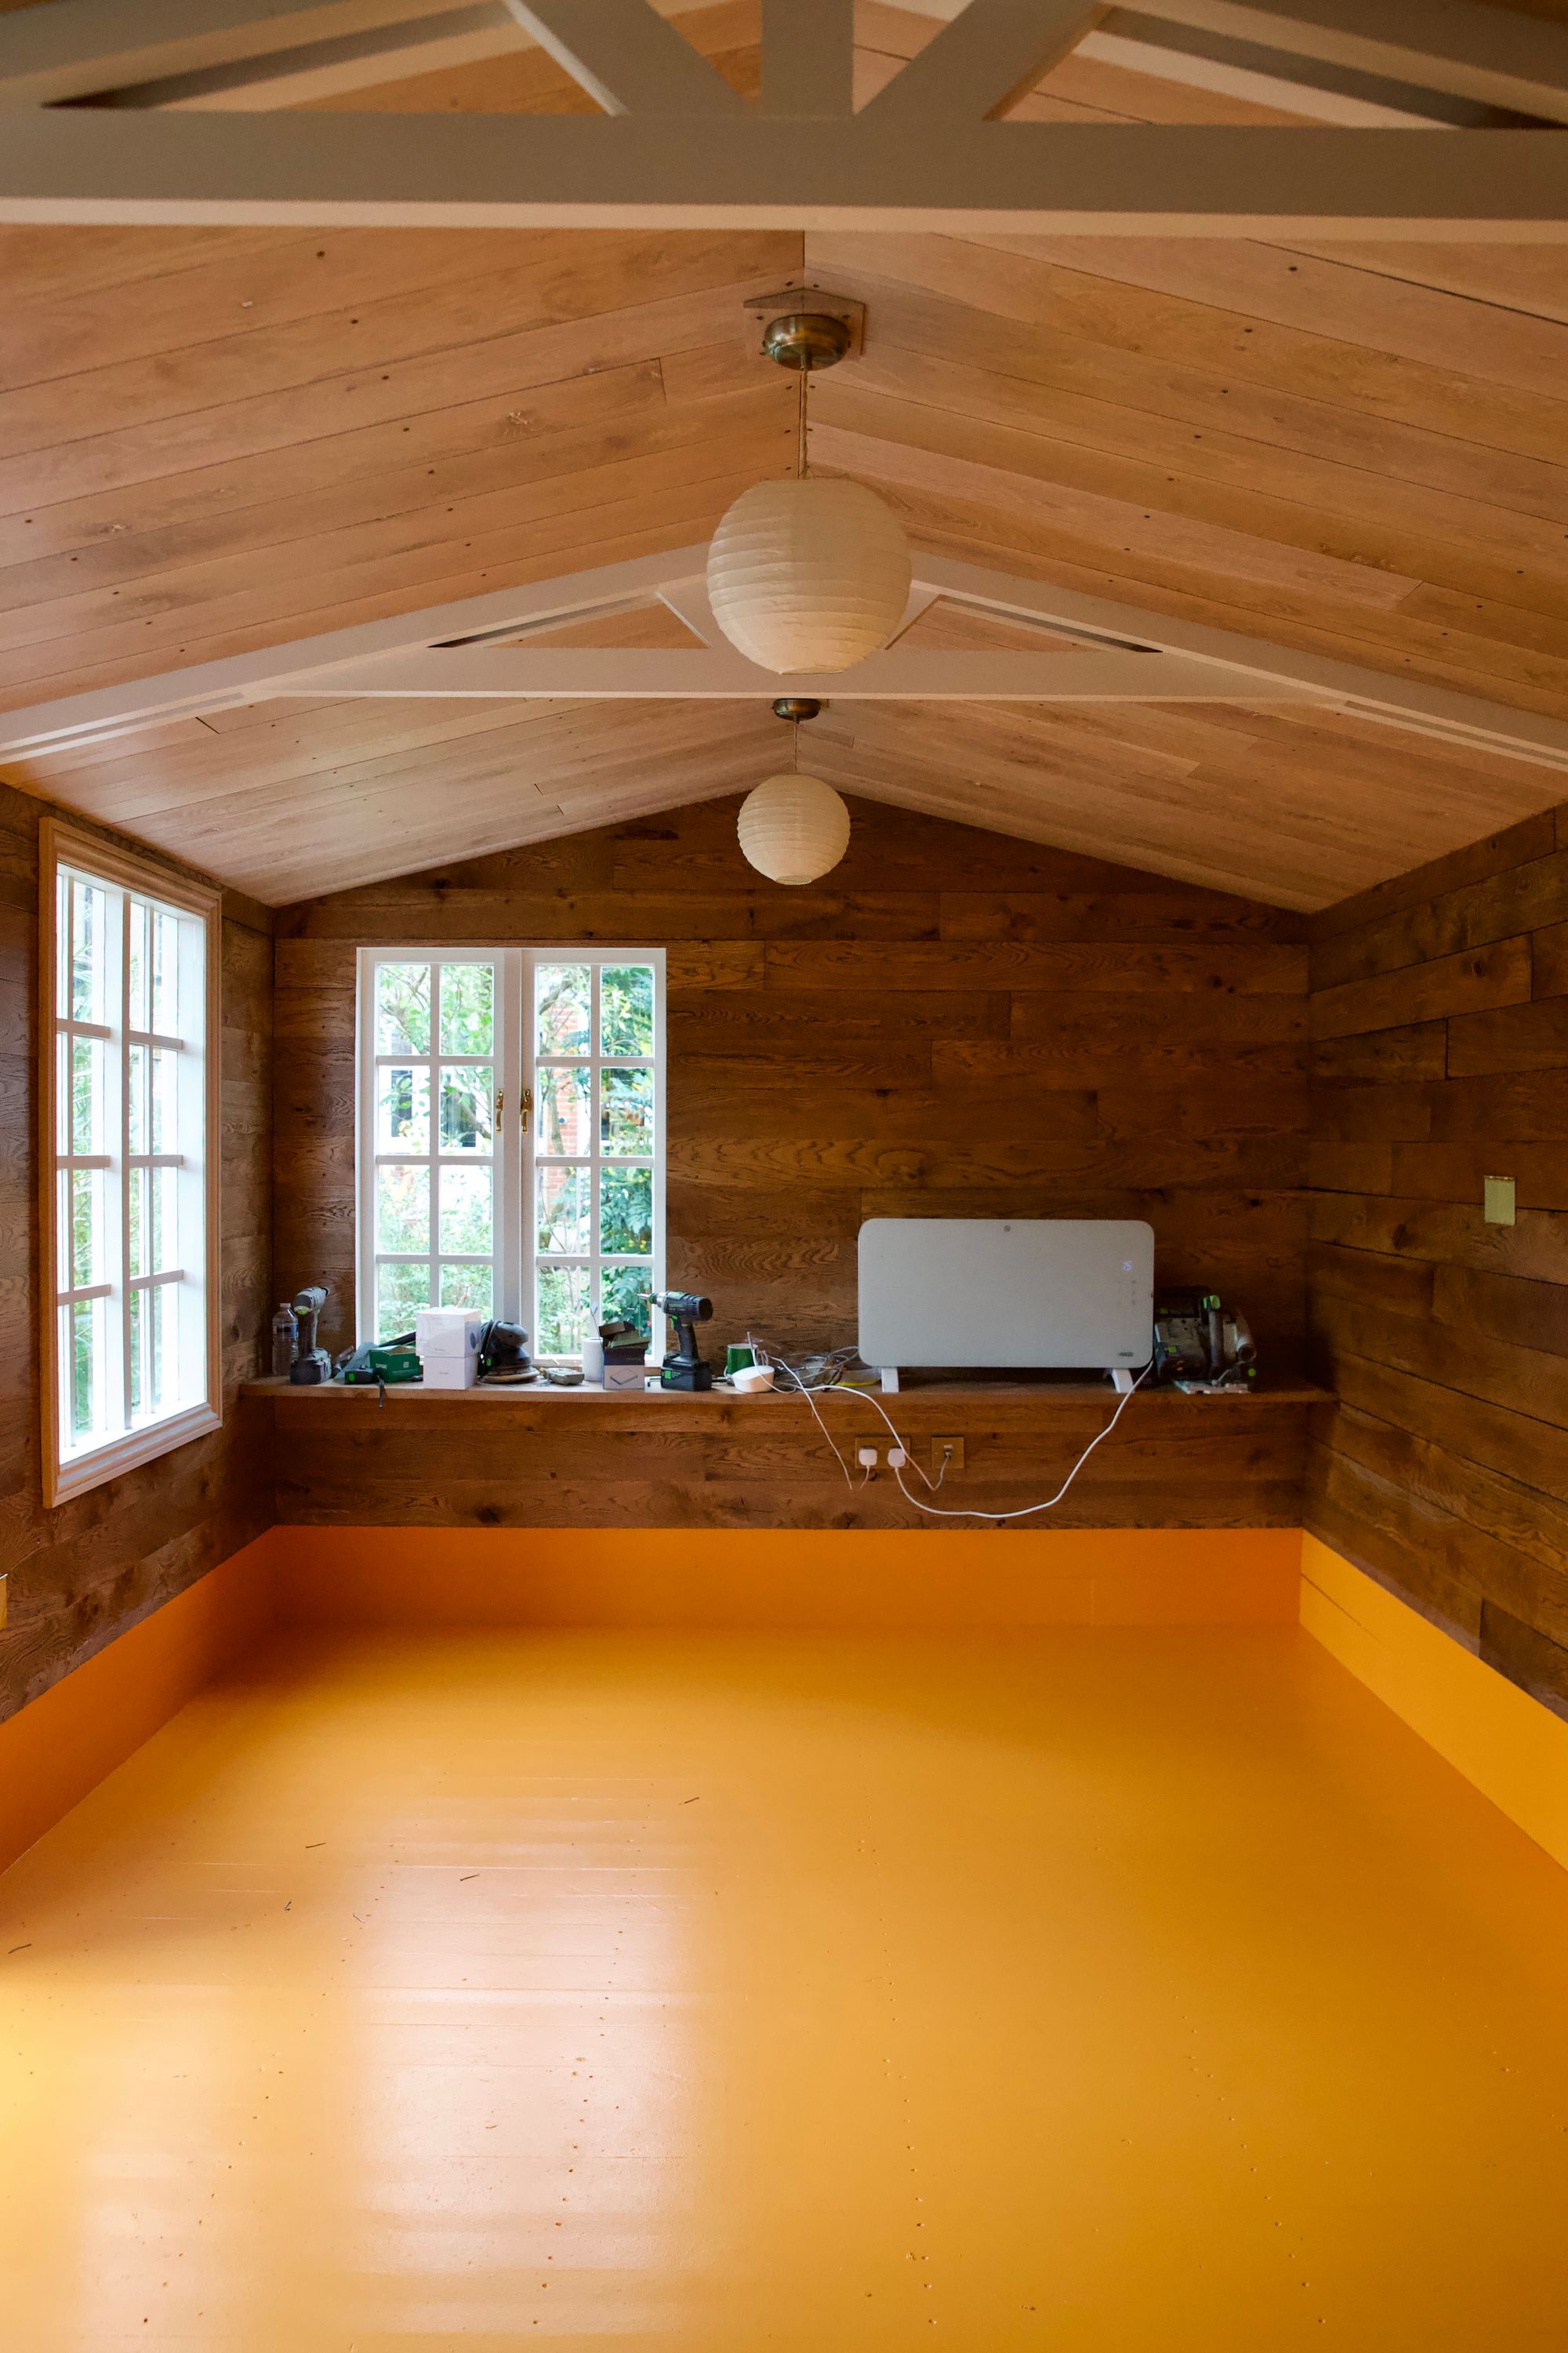
This is probably the last time the floor is ever going to look this clean.
Shed painting video
Here's a short video of the shed painting highlights.
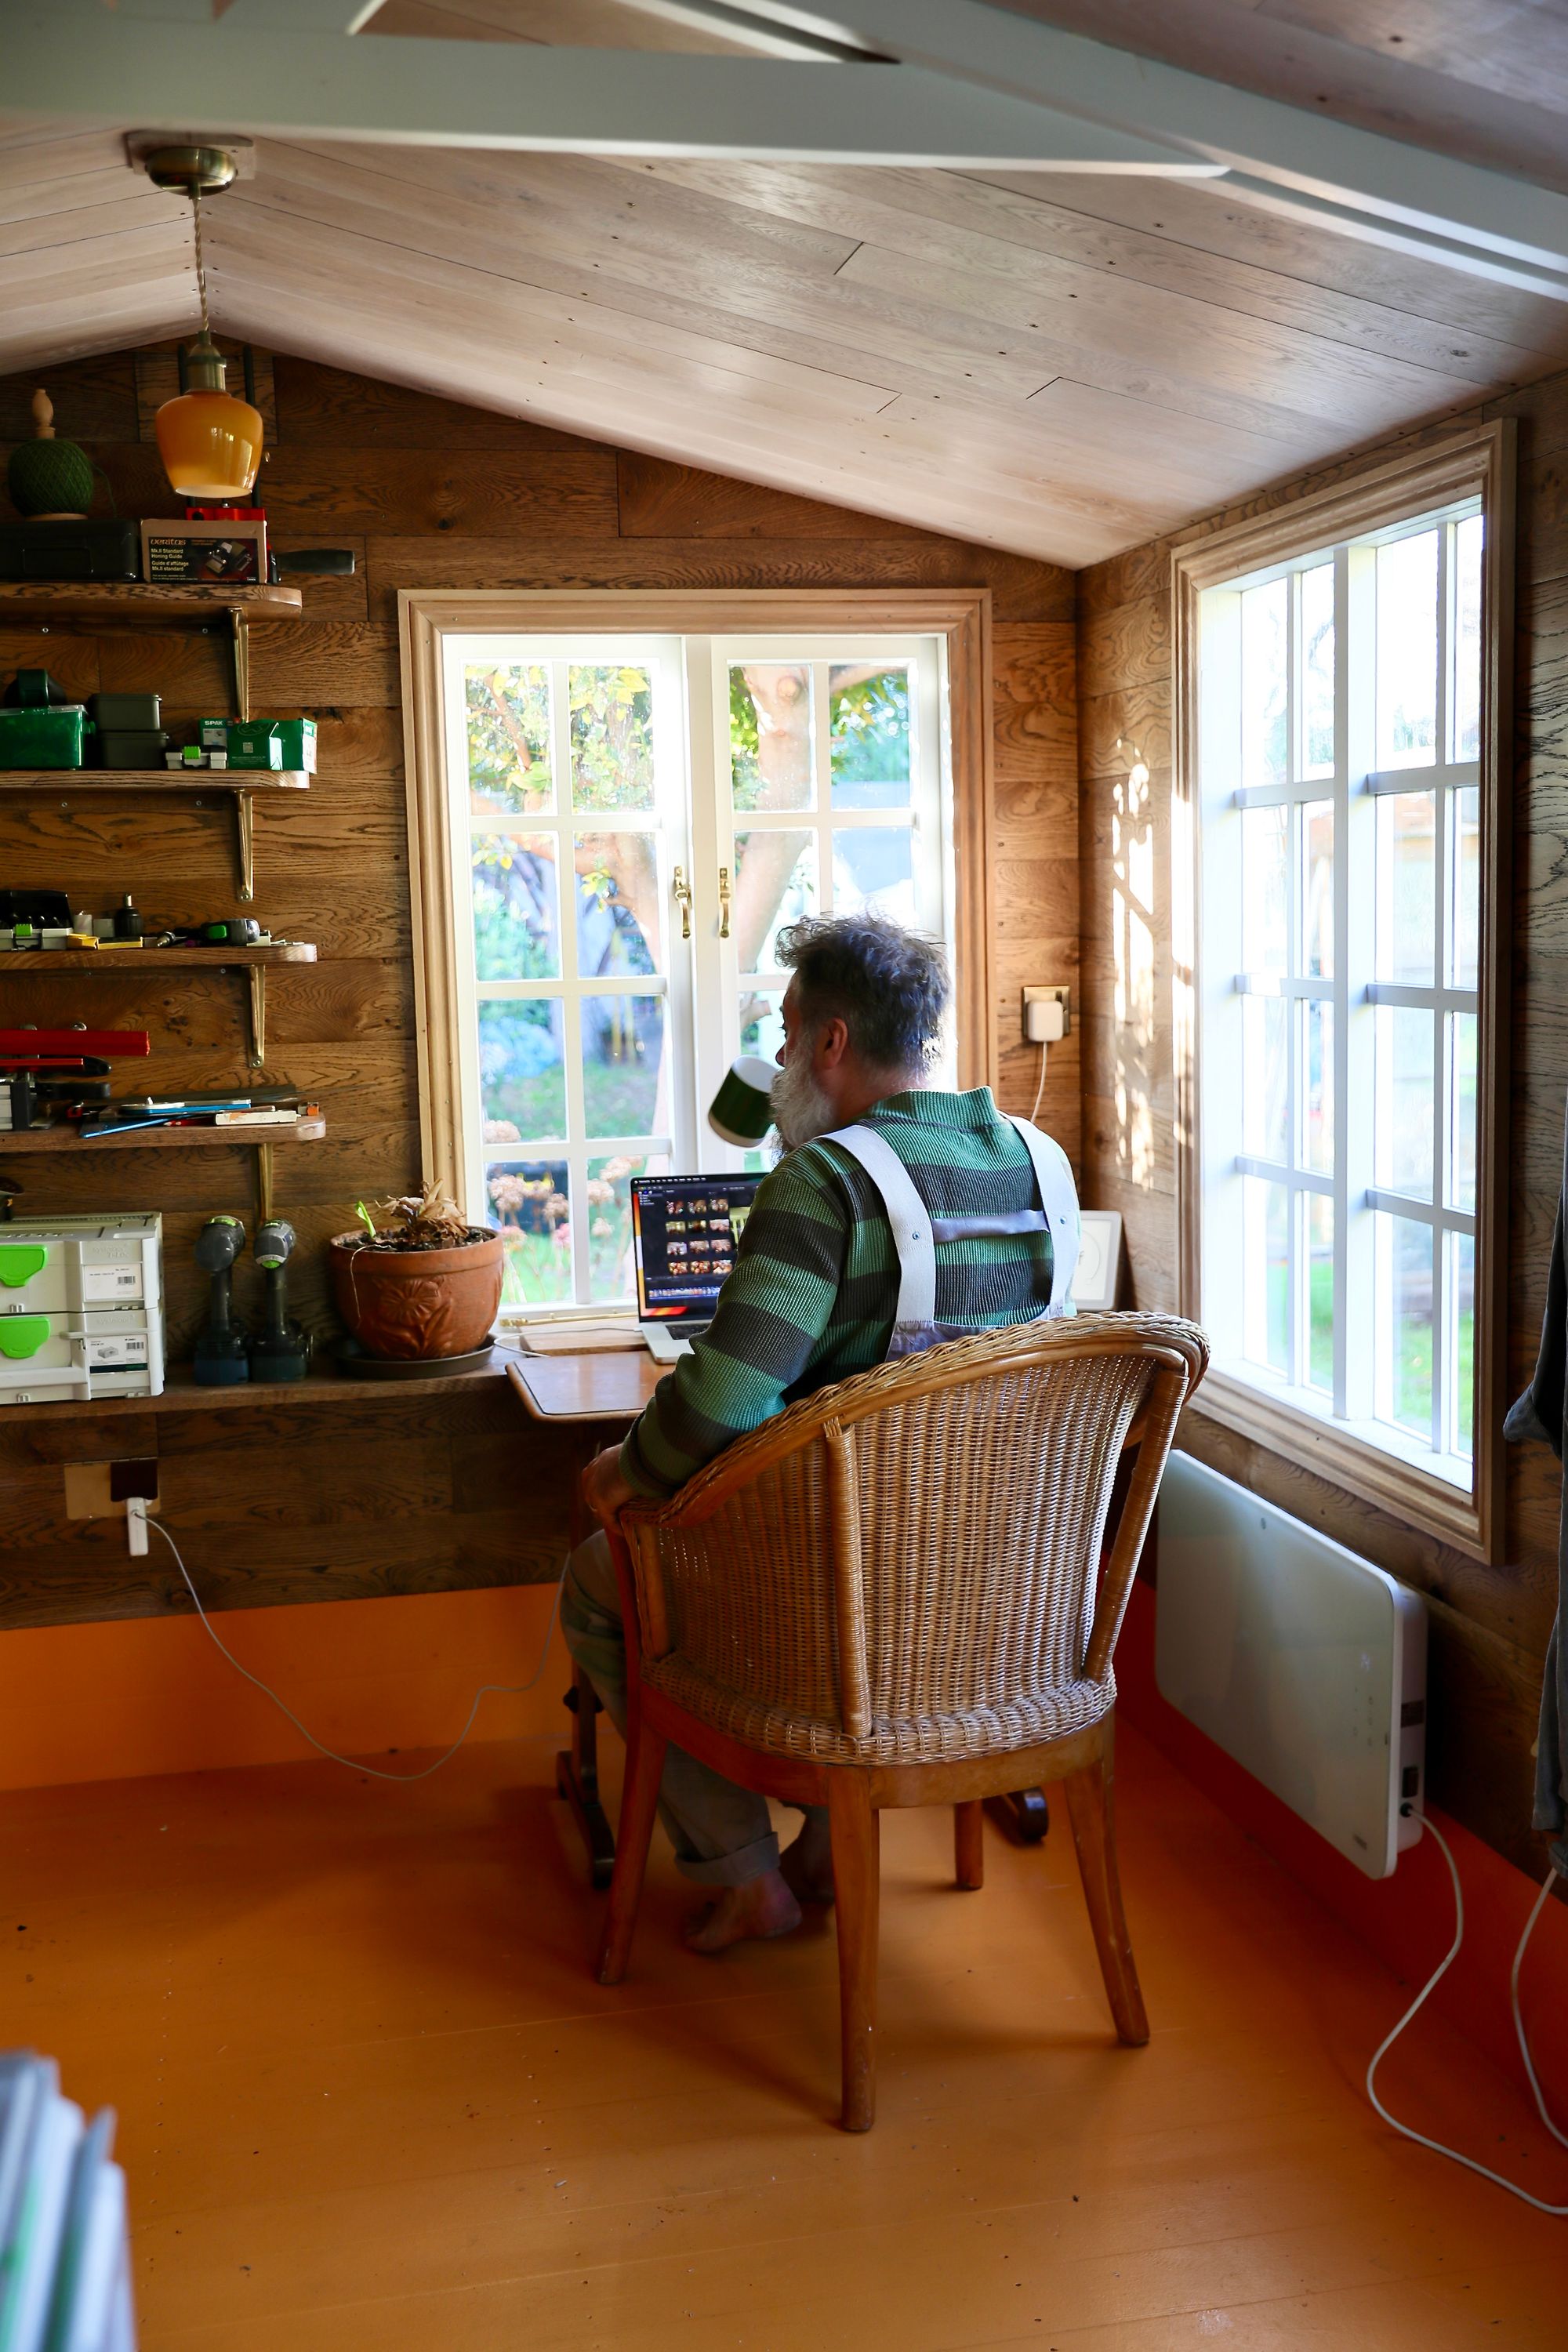
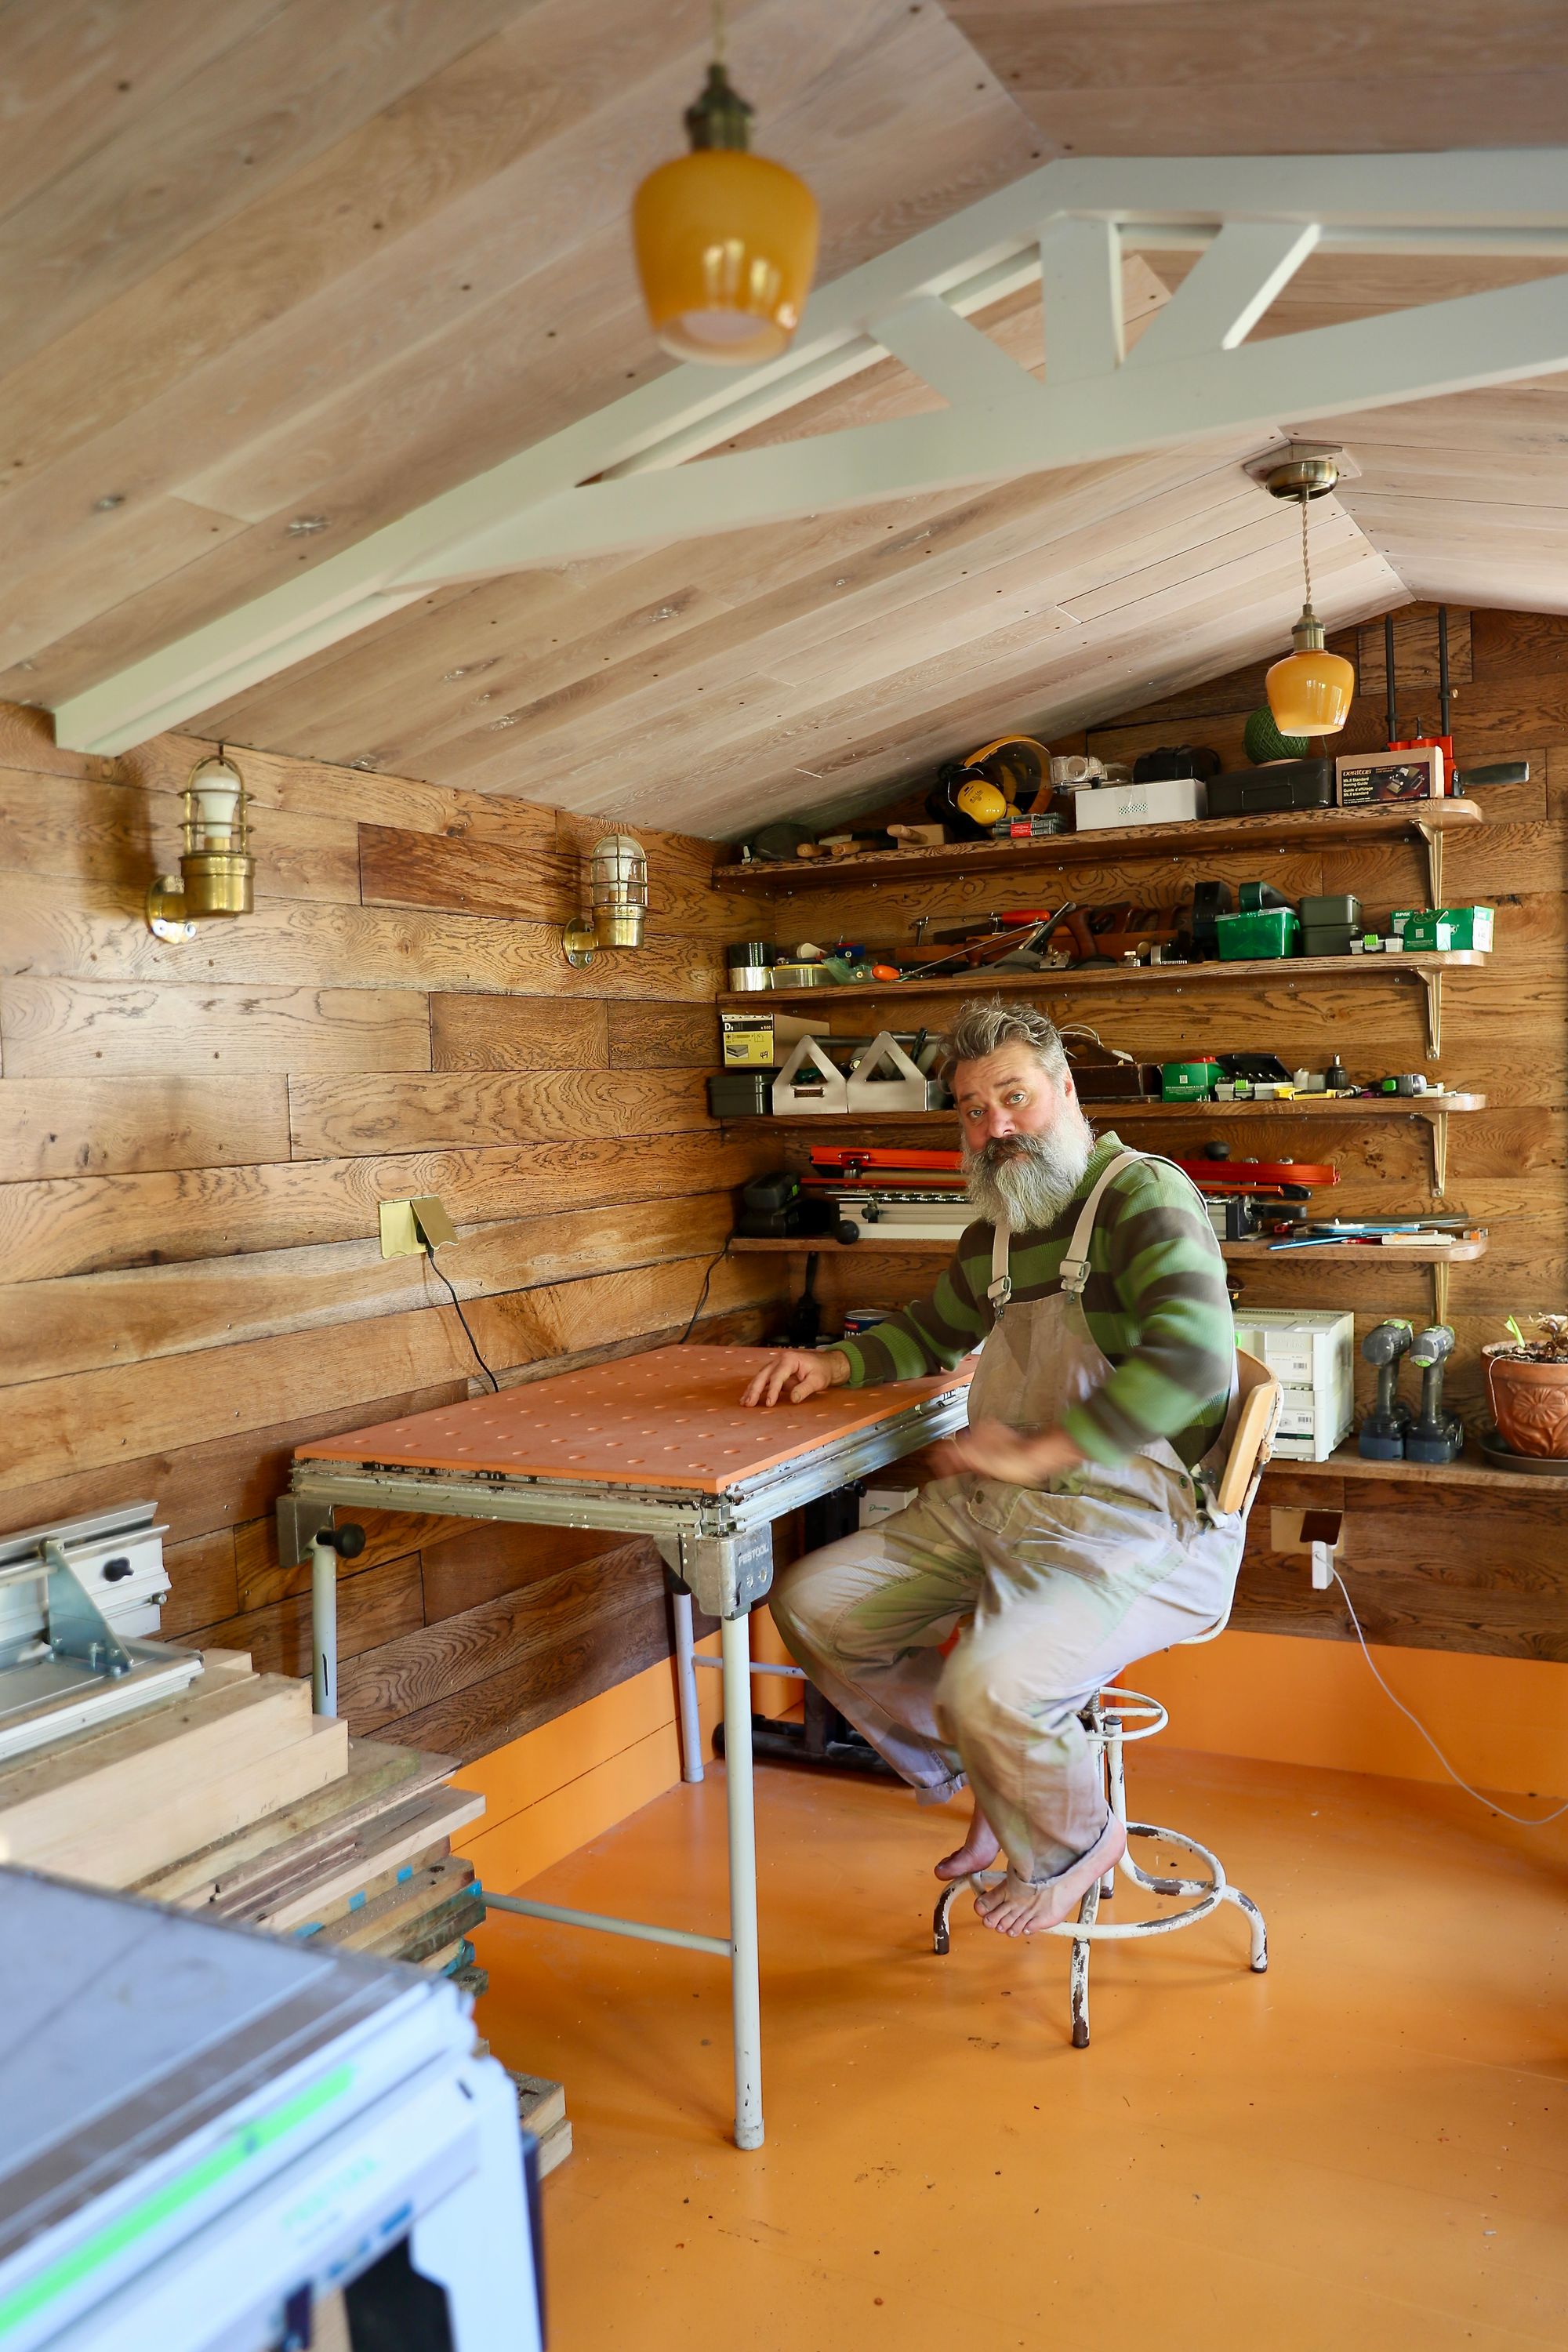
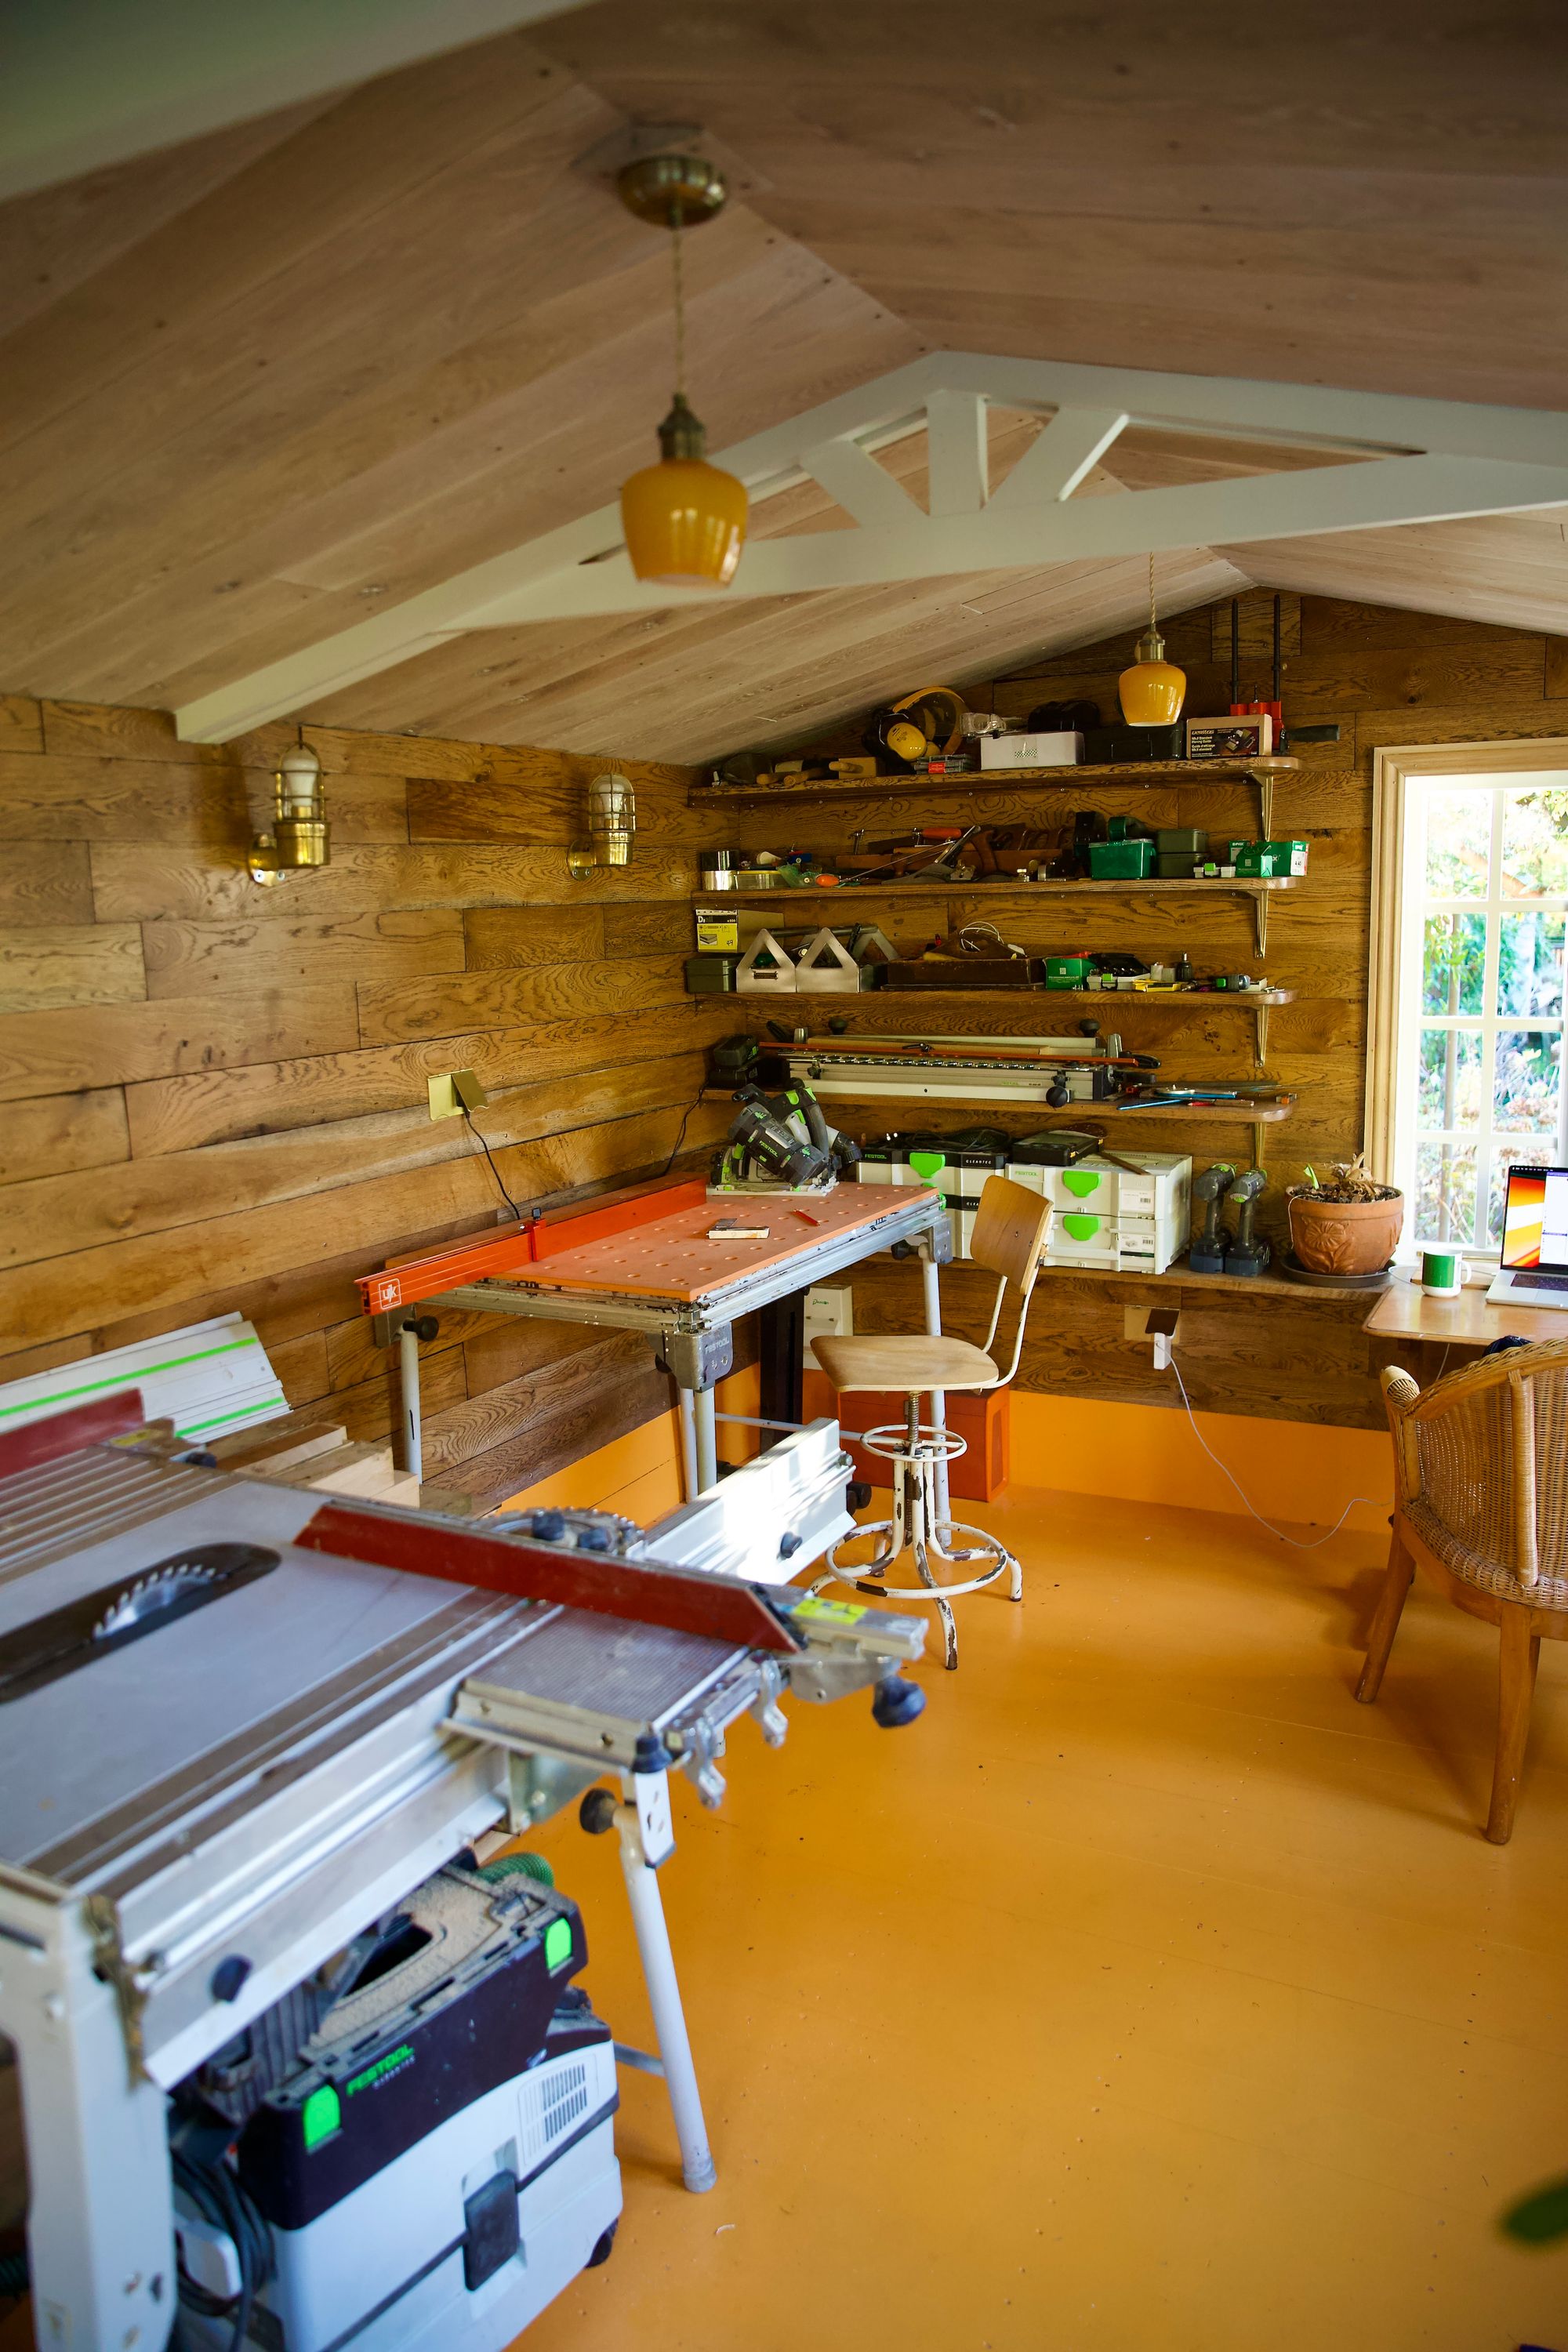
Cookie wants to build his own desk along the back wall, but in the meantime has a temporary 'office' in the corner.
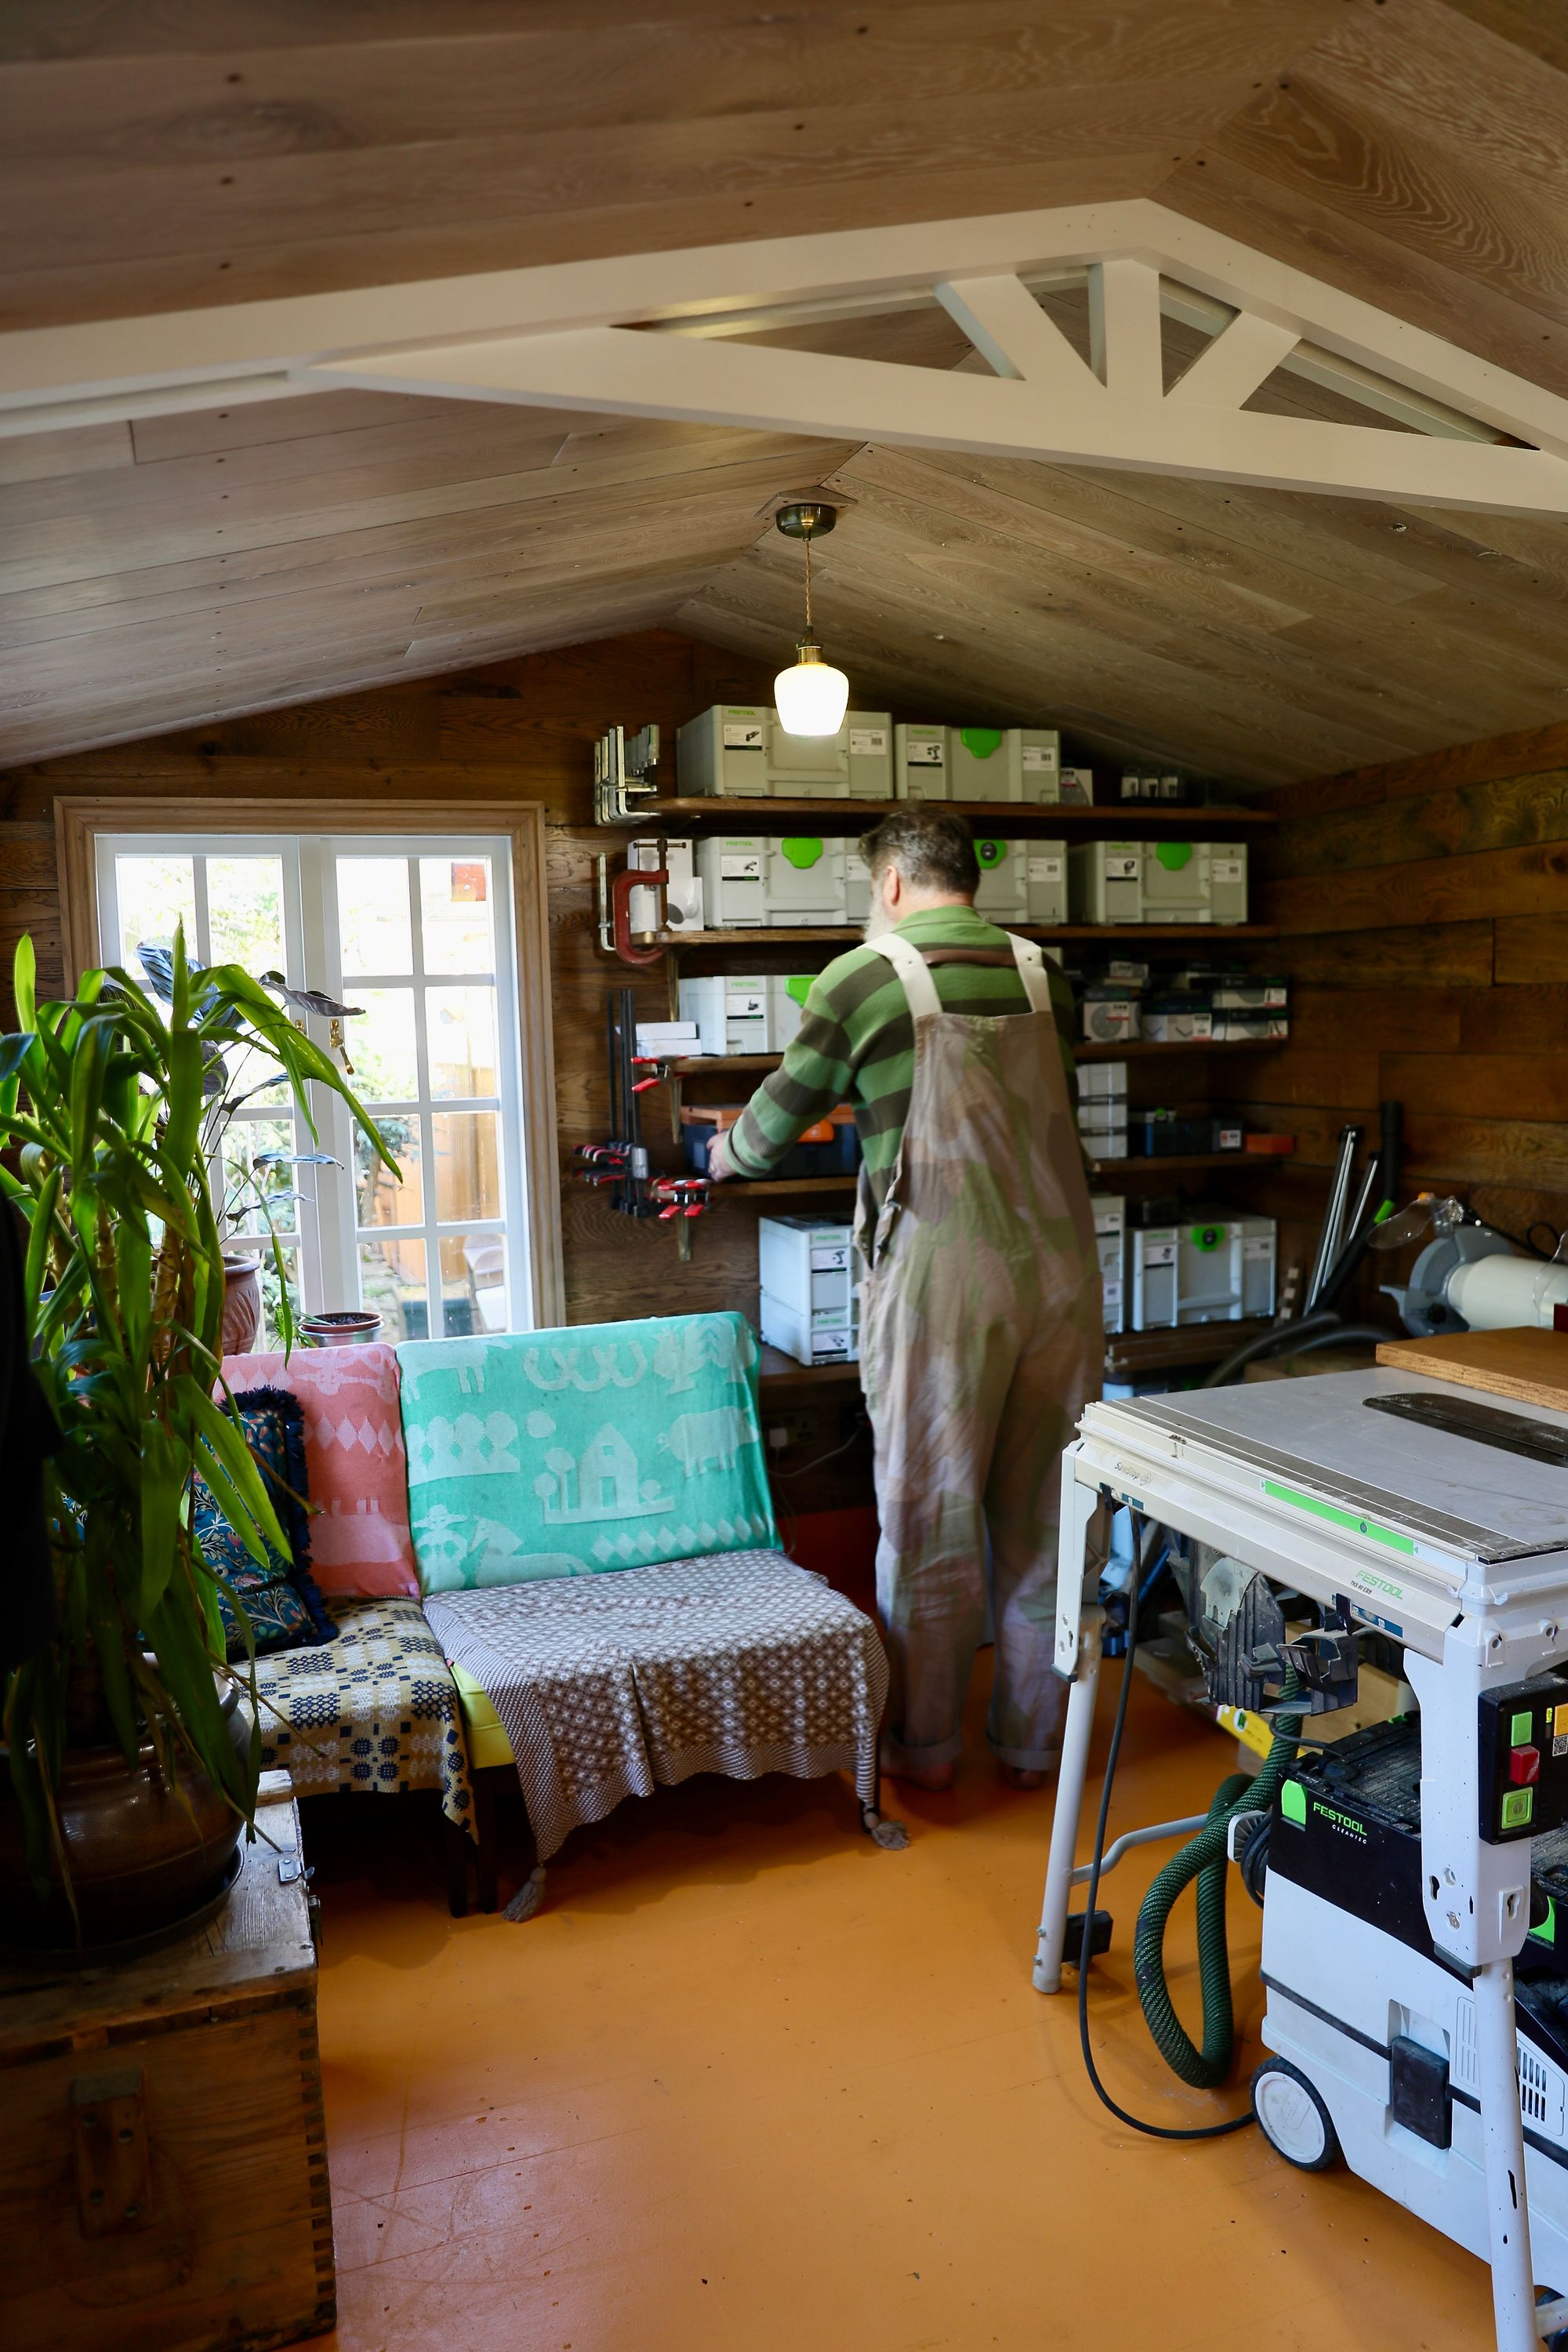
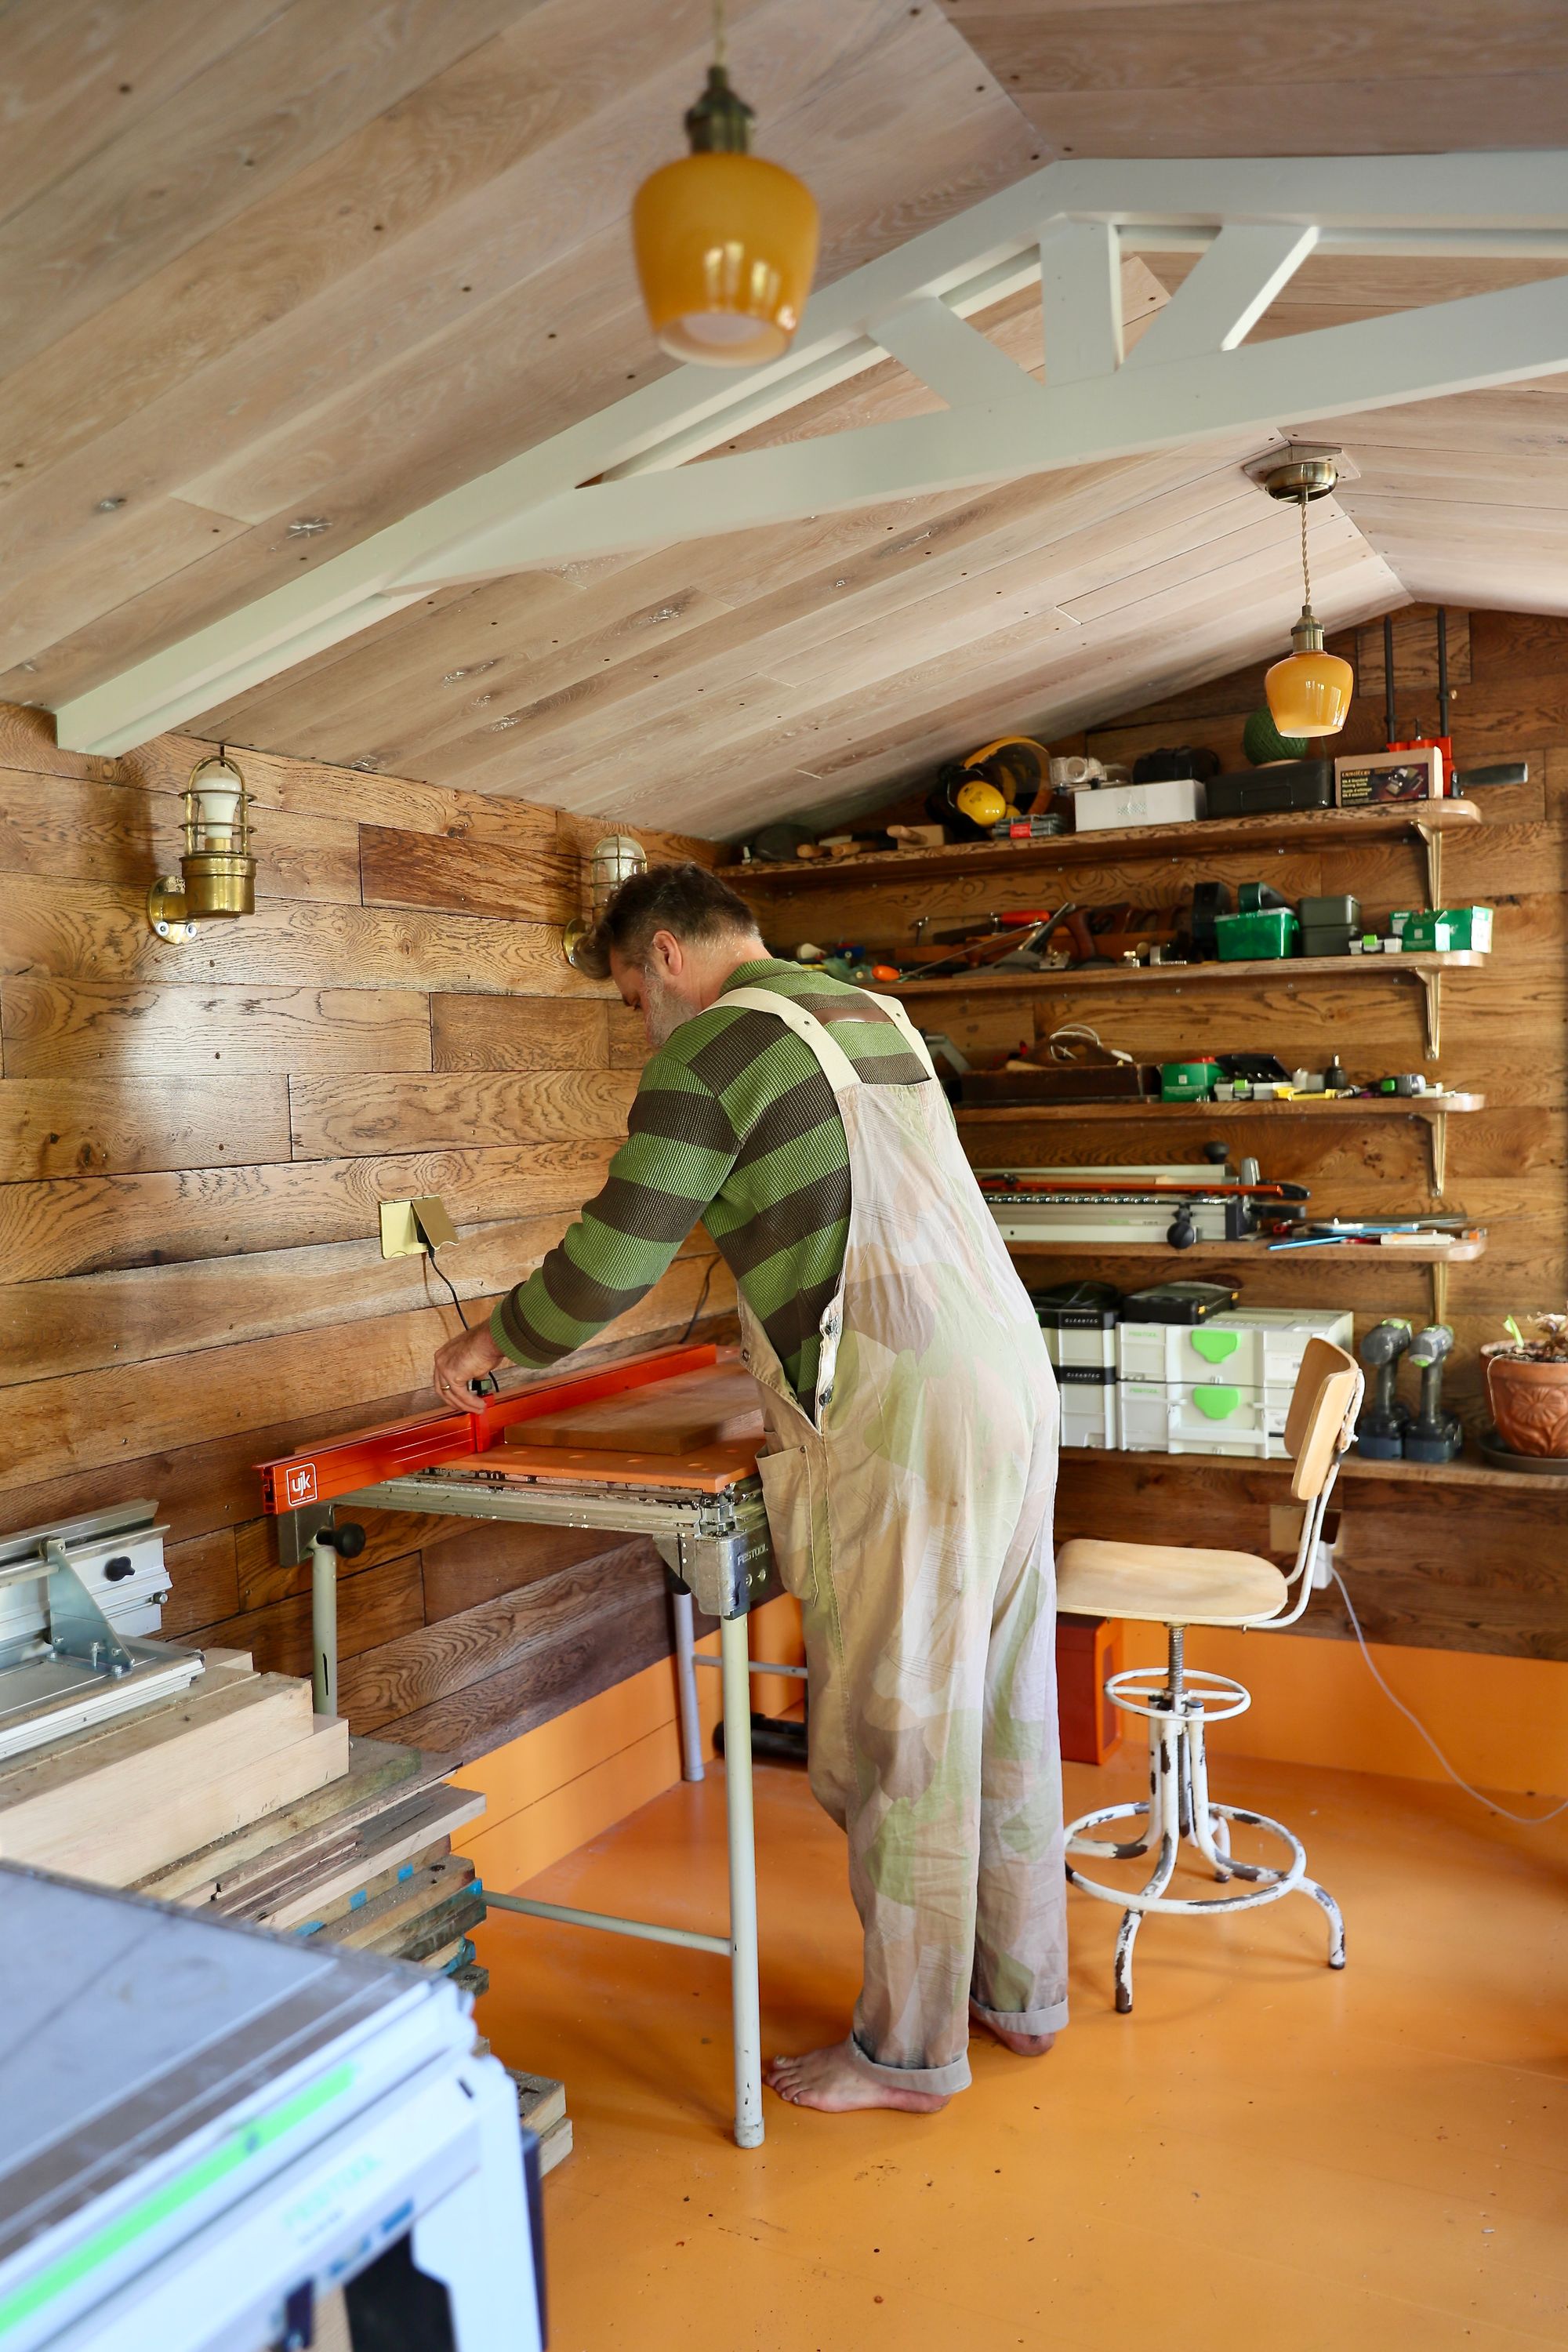
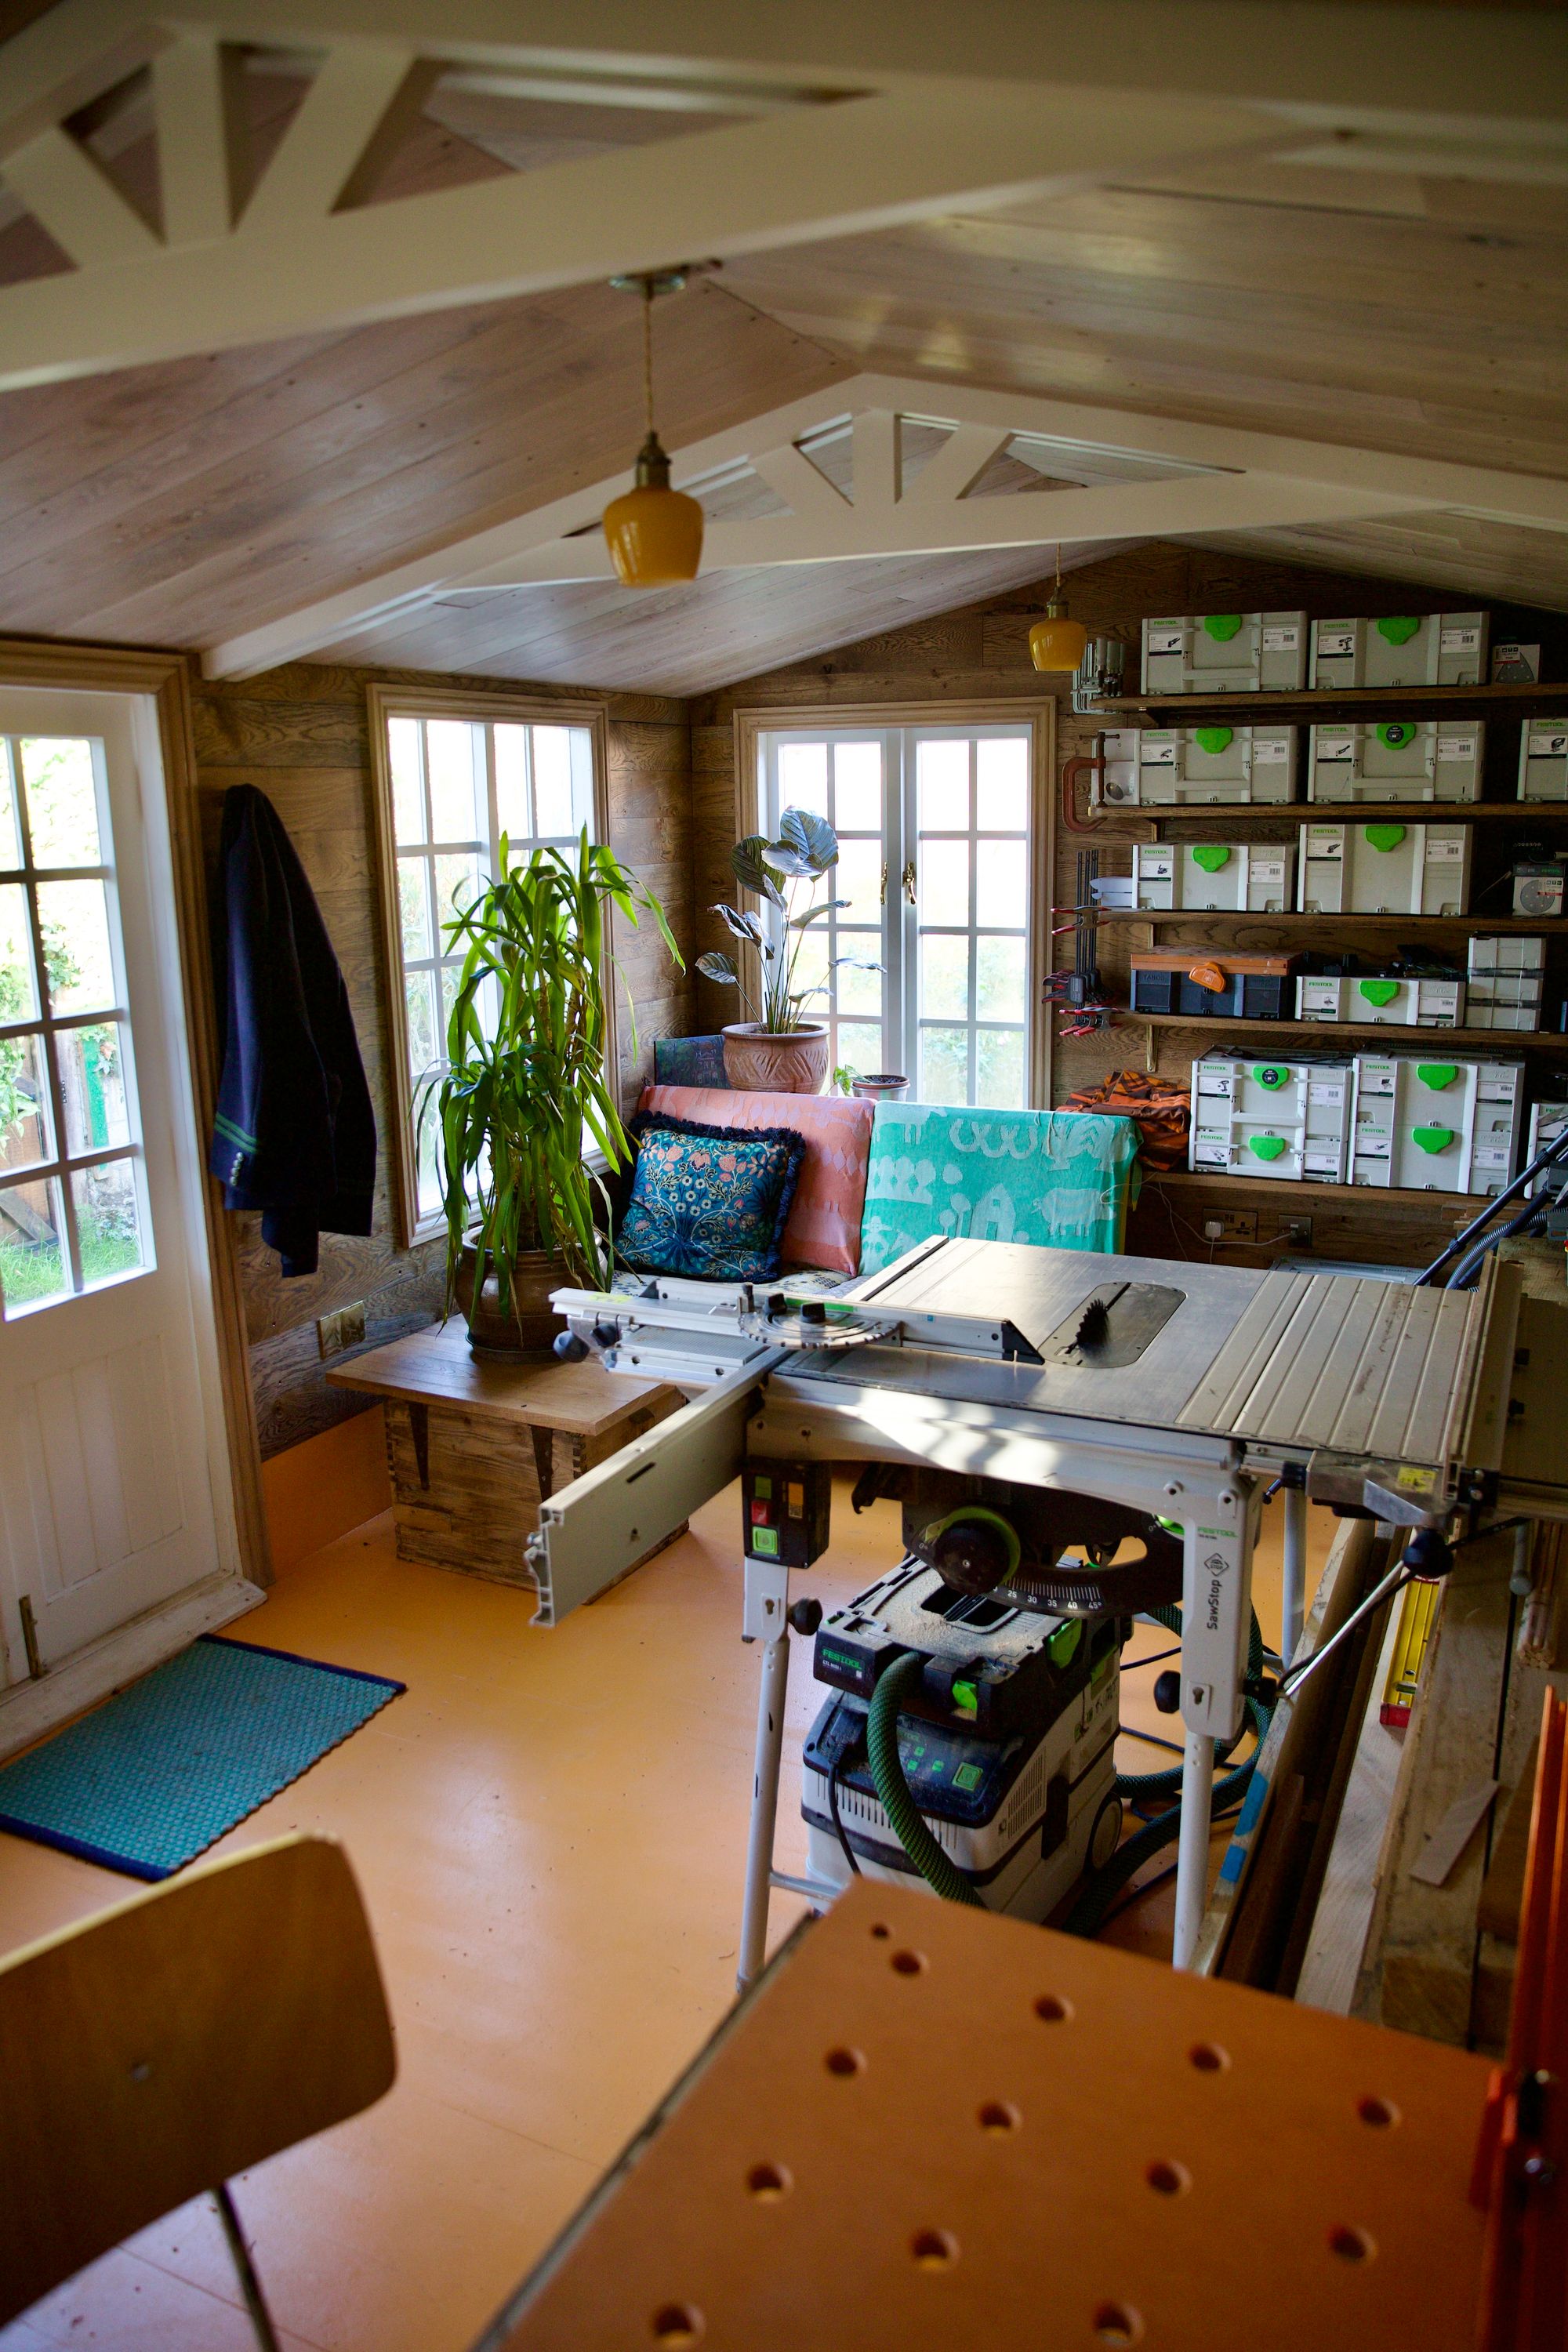
Plenty of storage for all of Cookie's tools, more shelving still to come!
This is where the desk is going to go, under the two wall lights. If you're in the market for some big heavy marine salvage brass lights, head over to Trinity Marine.

Table saw and a big pile of wood in the middle of the room, well it is a workshop, but not very child-friendly...
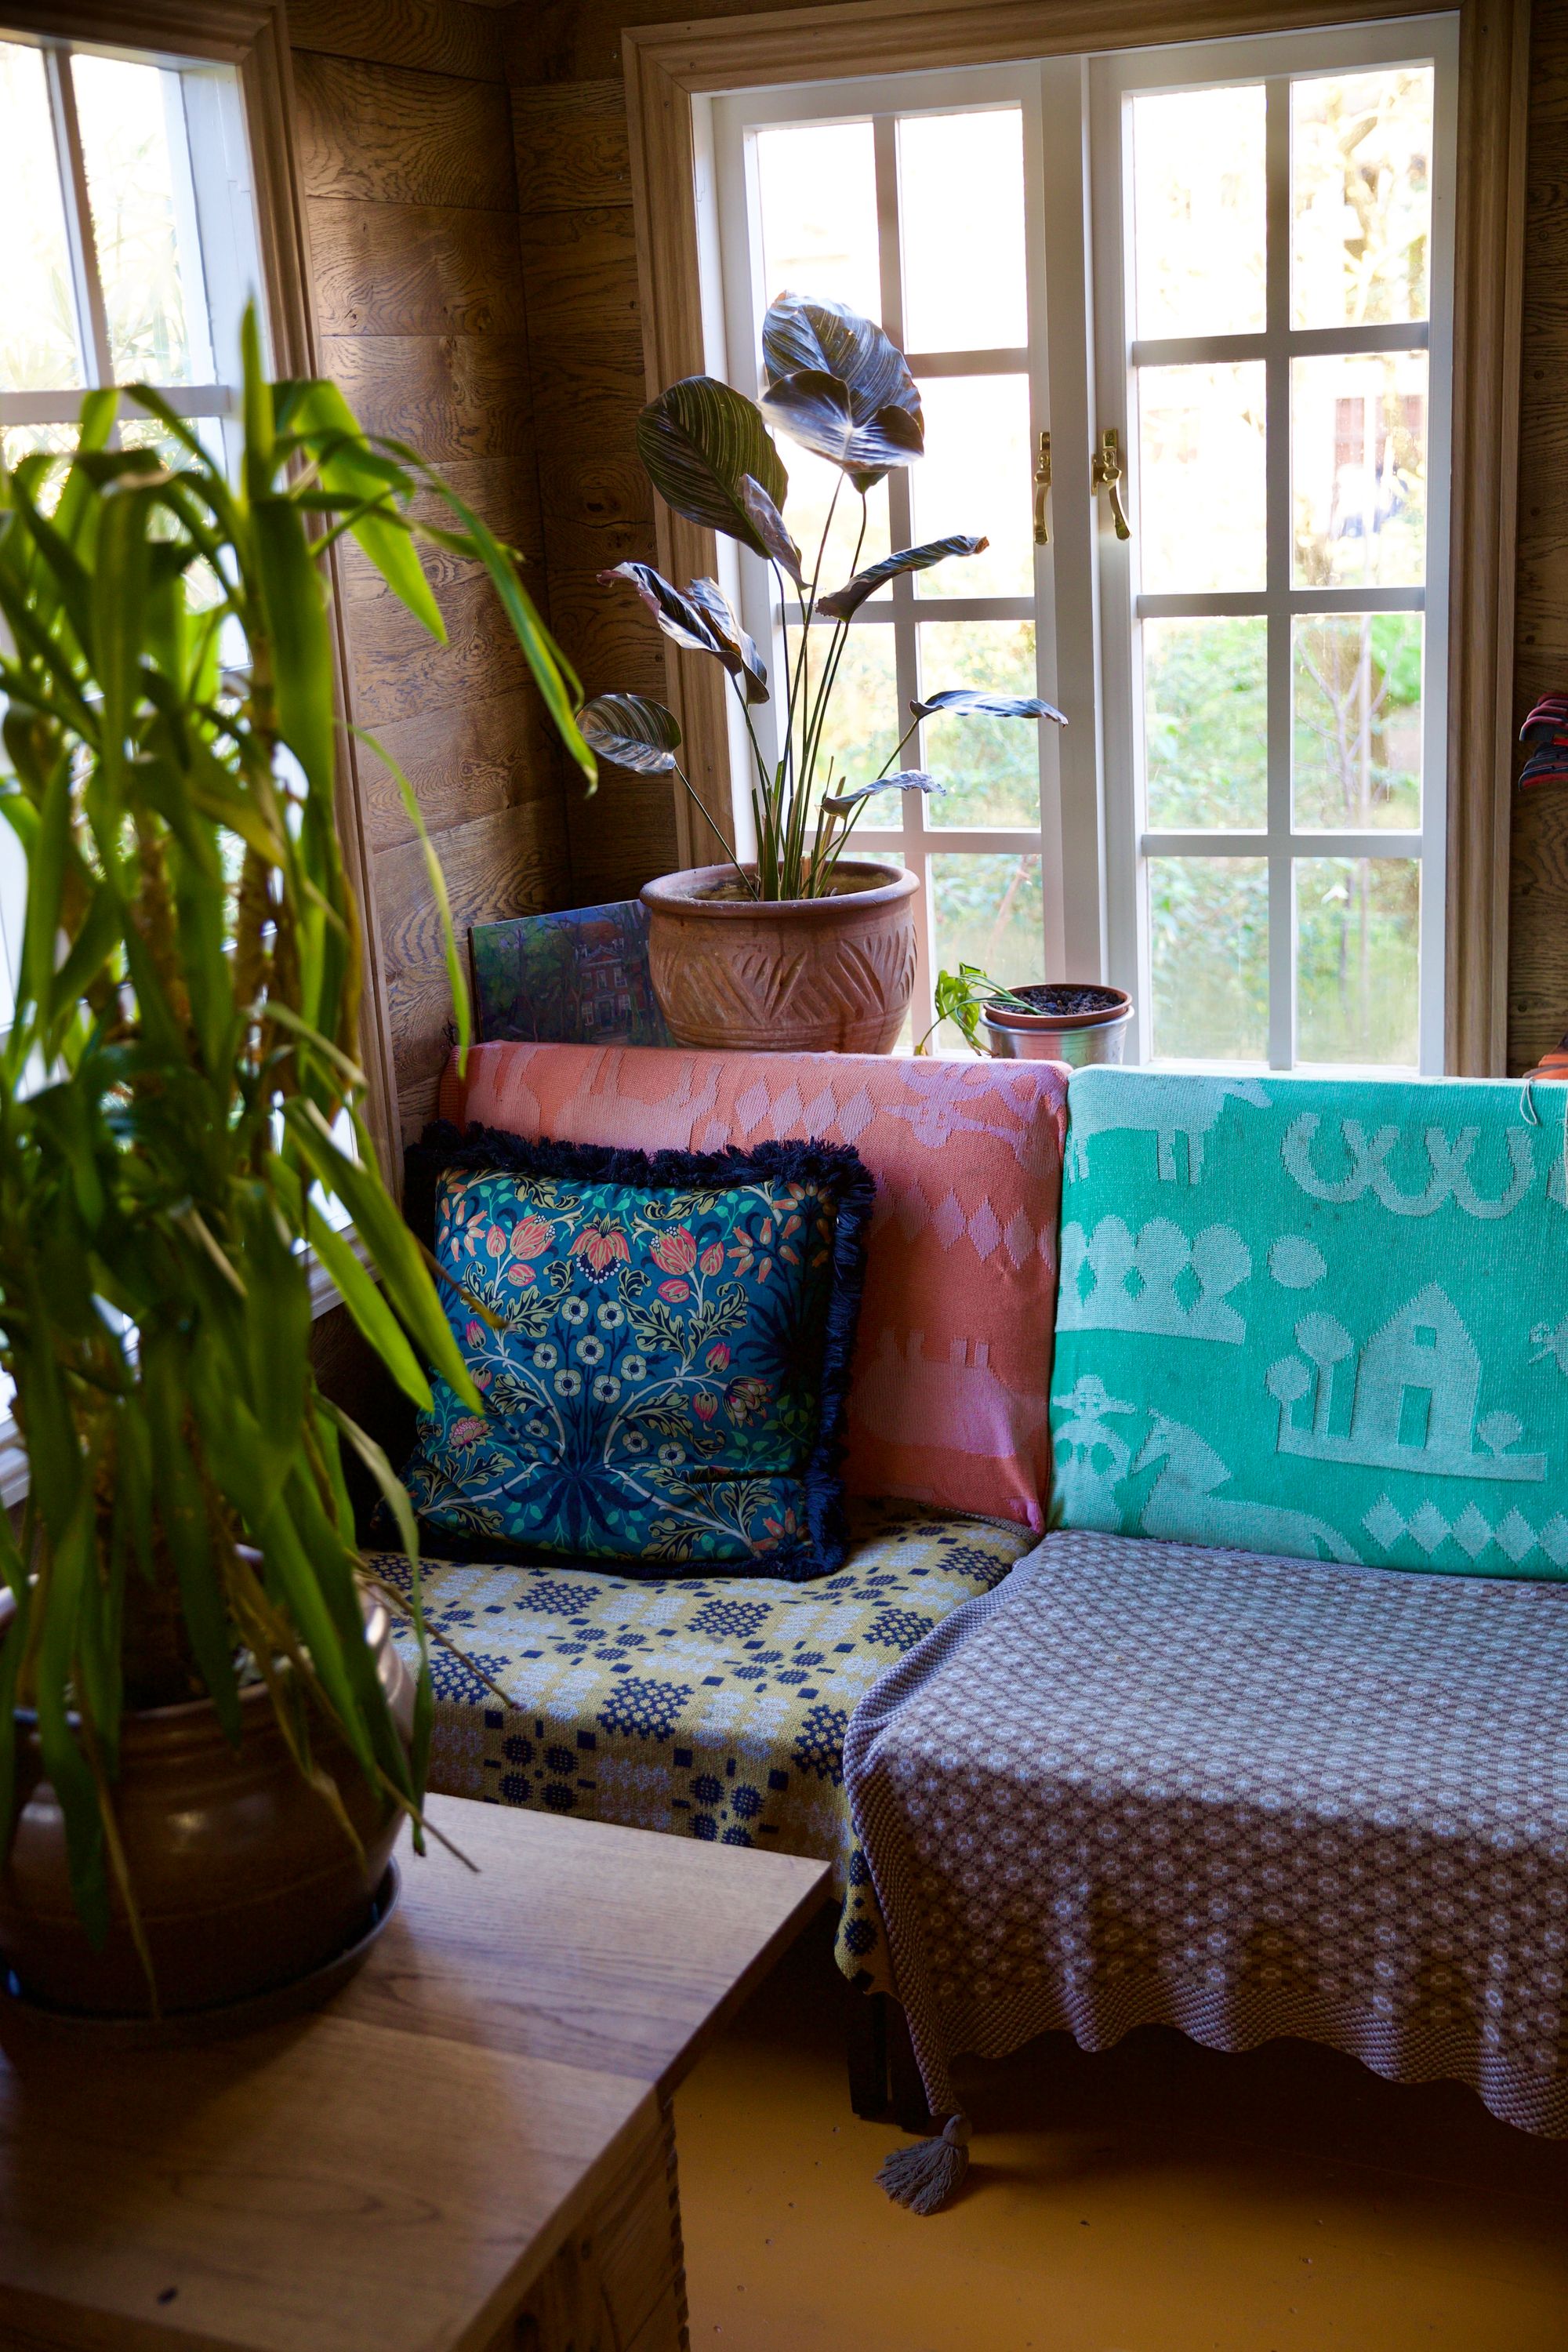
The chairs are a temporary addition to make space for the Christmas tree in the front room, but it's actually feels quite nice having them in here now.
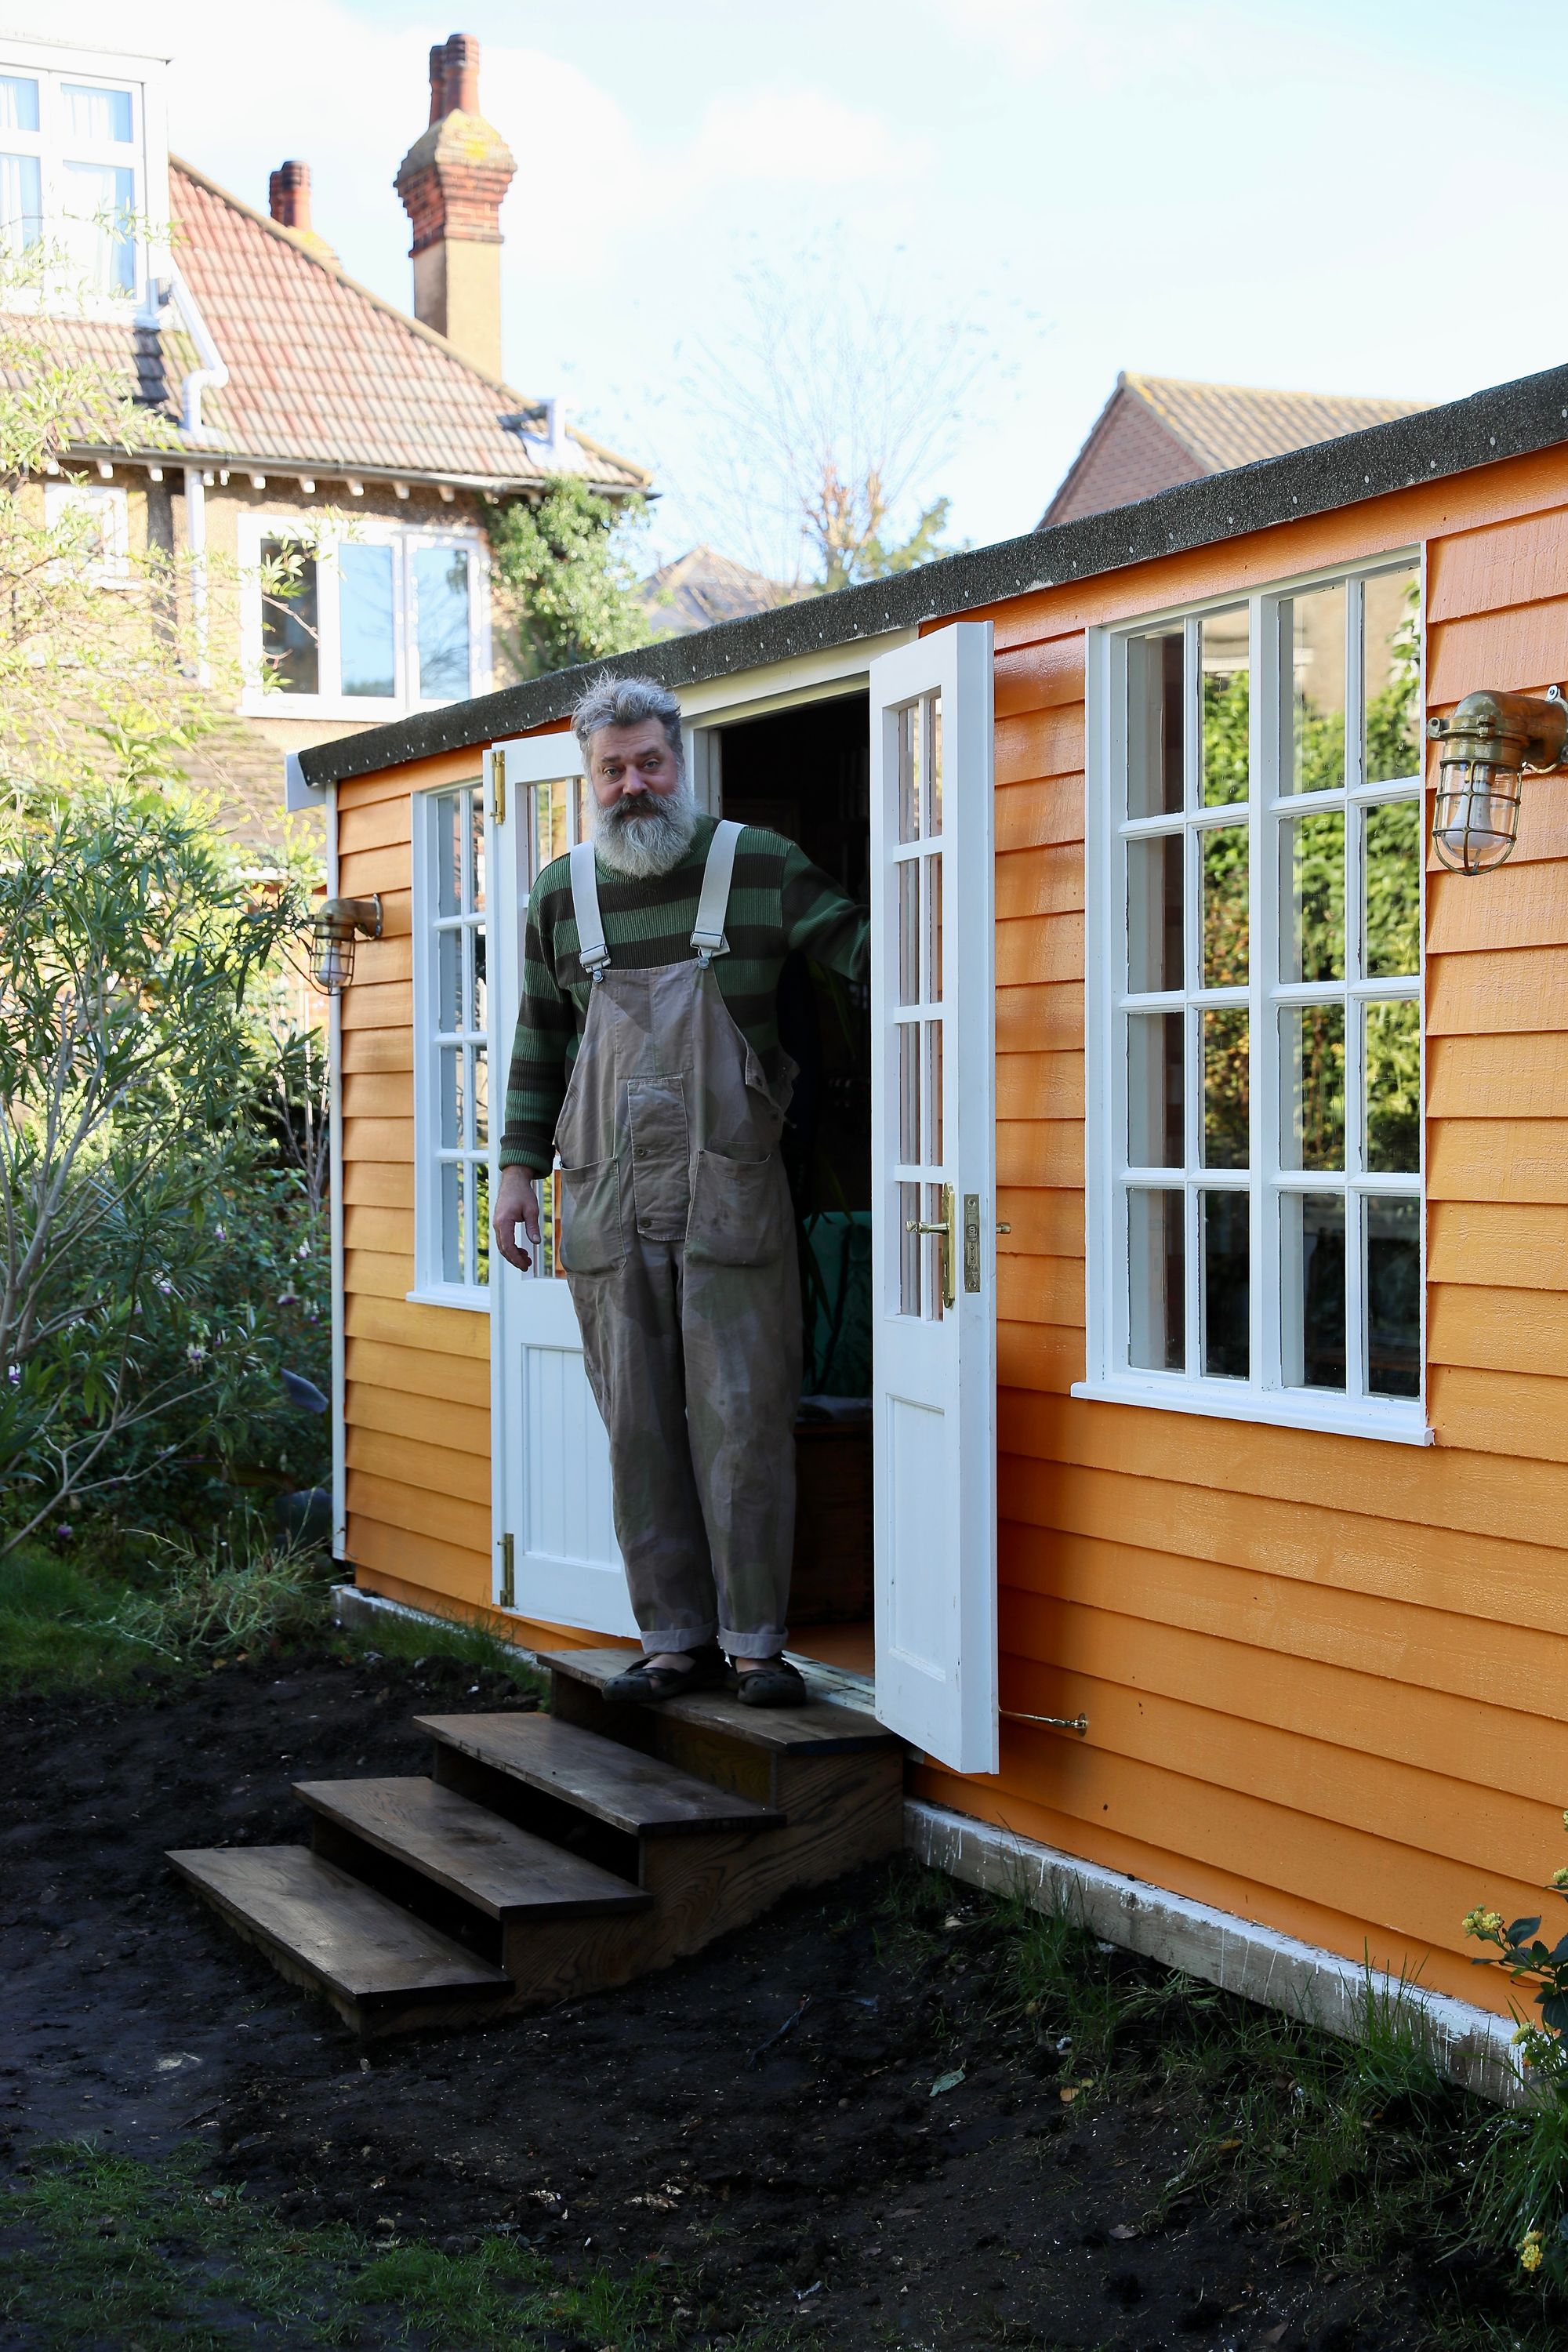
Cookie built some steps out of the offcuts from the shelves (the mud slope was becoming a death trap when it was wet).
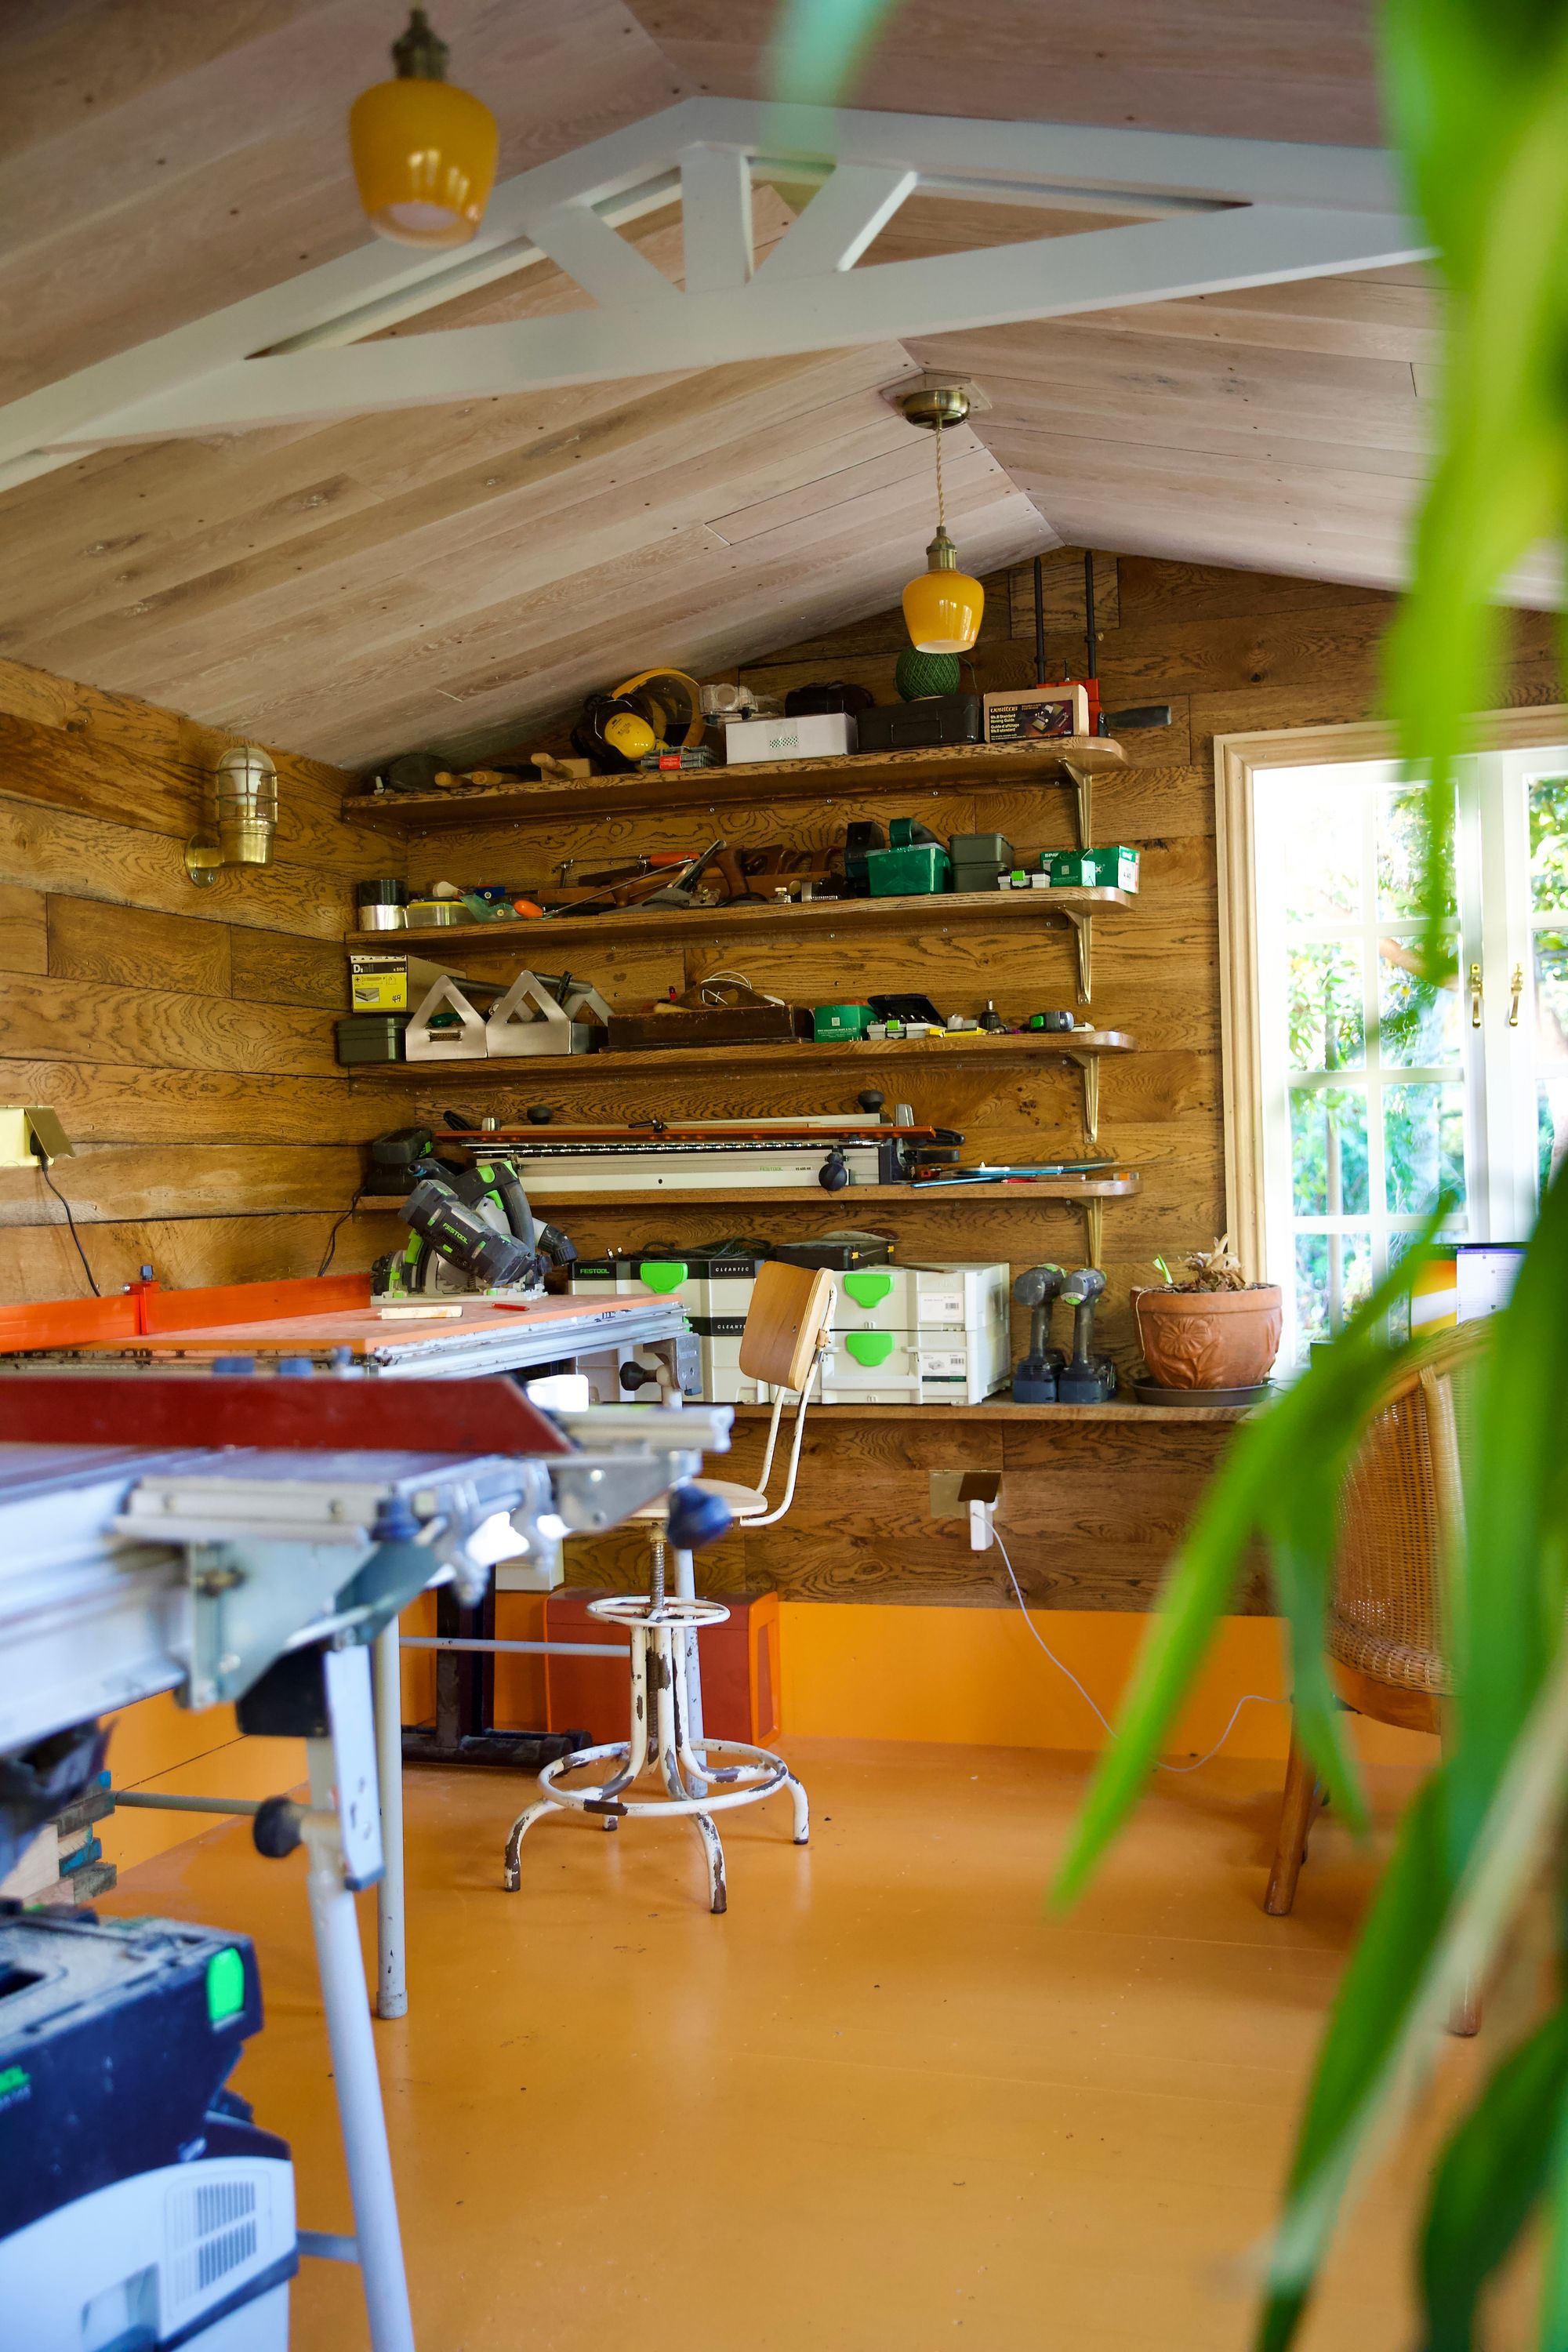
Vintage finds for the shed include the work bench stool, marine salvage wall lights, and the orange glass light shades.
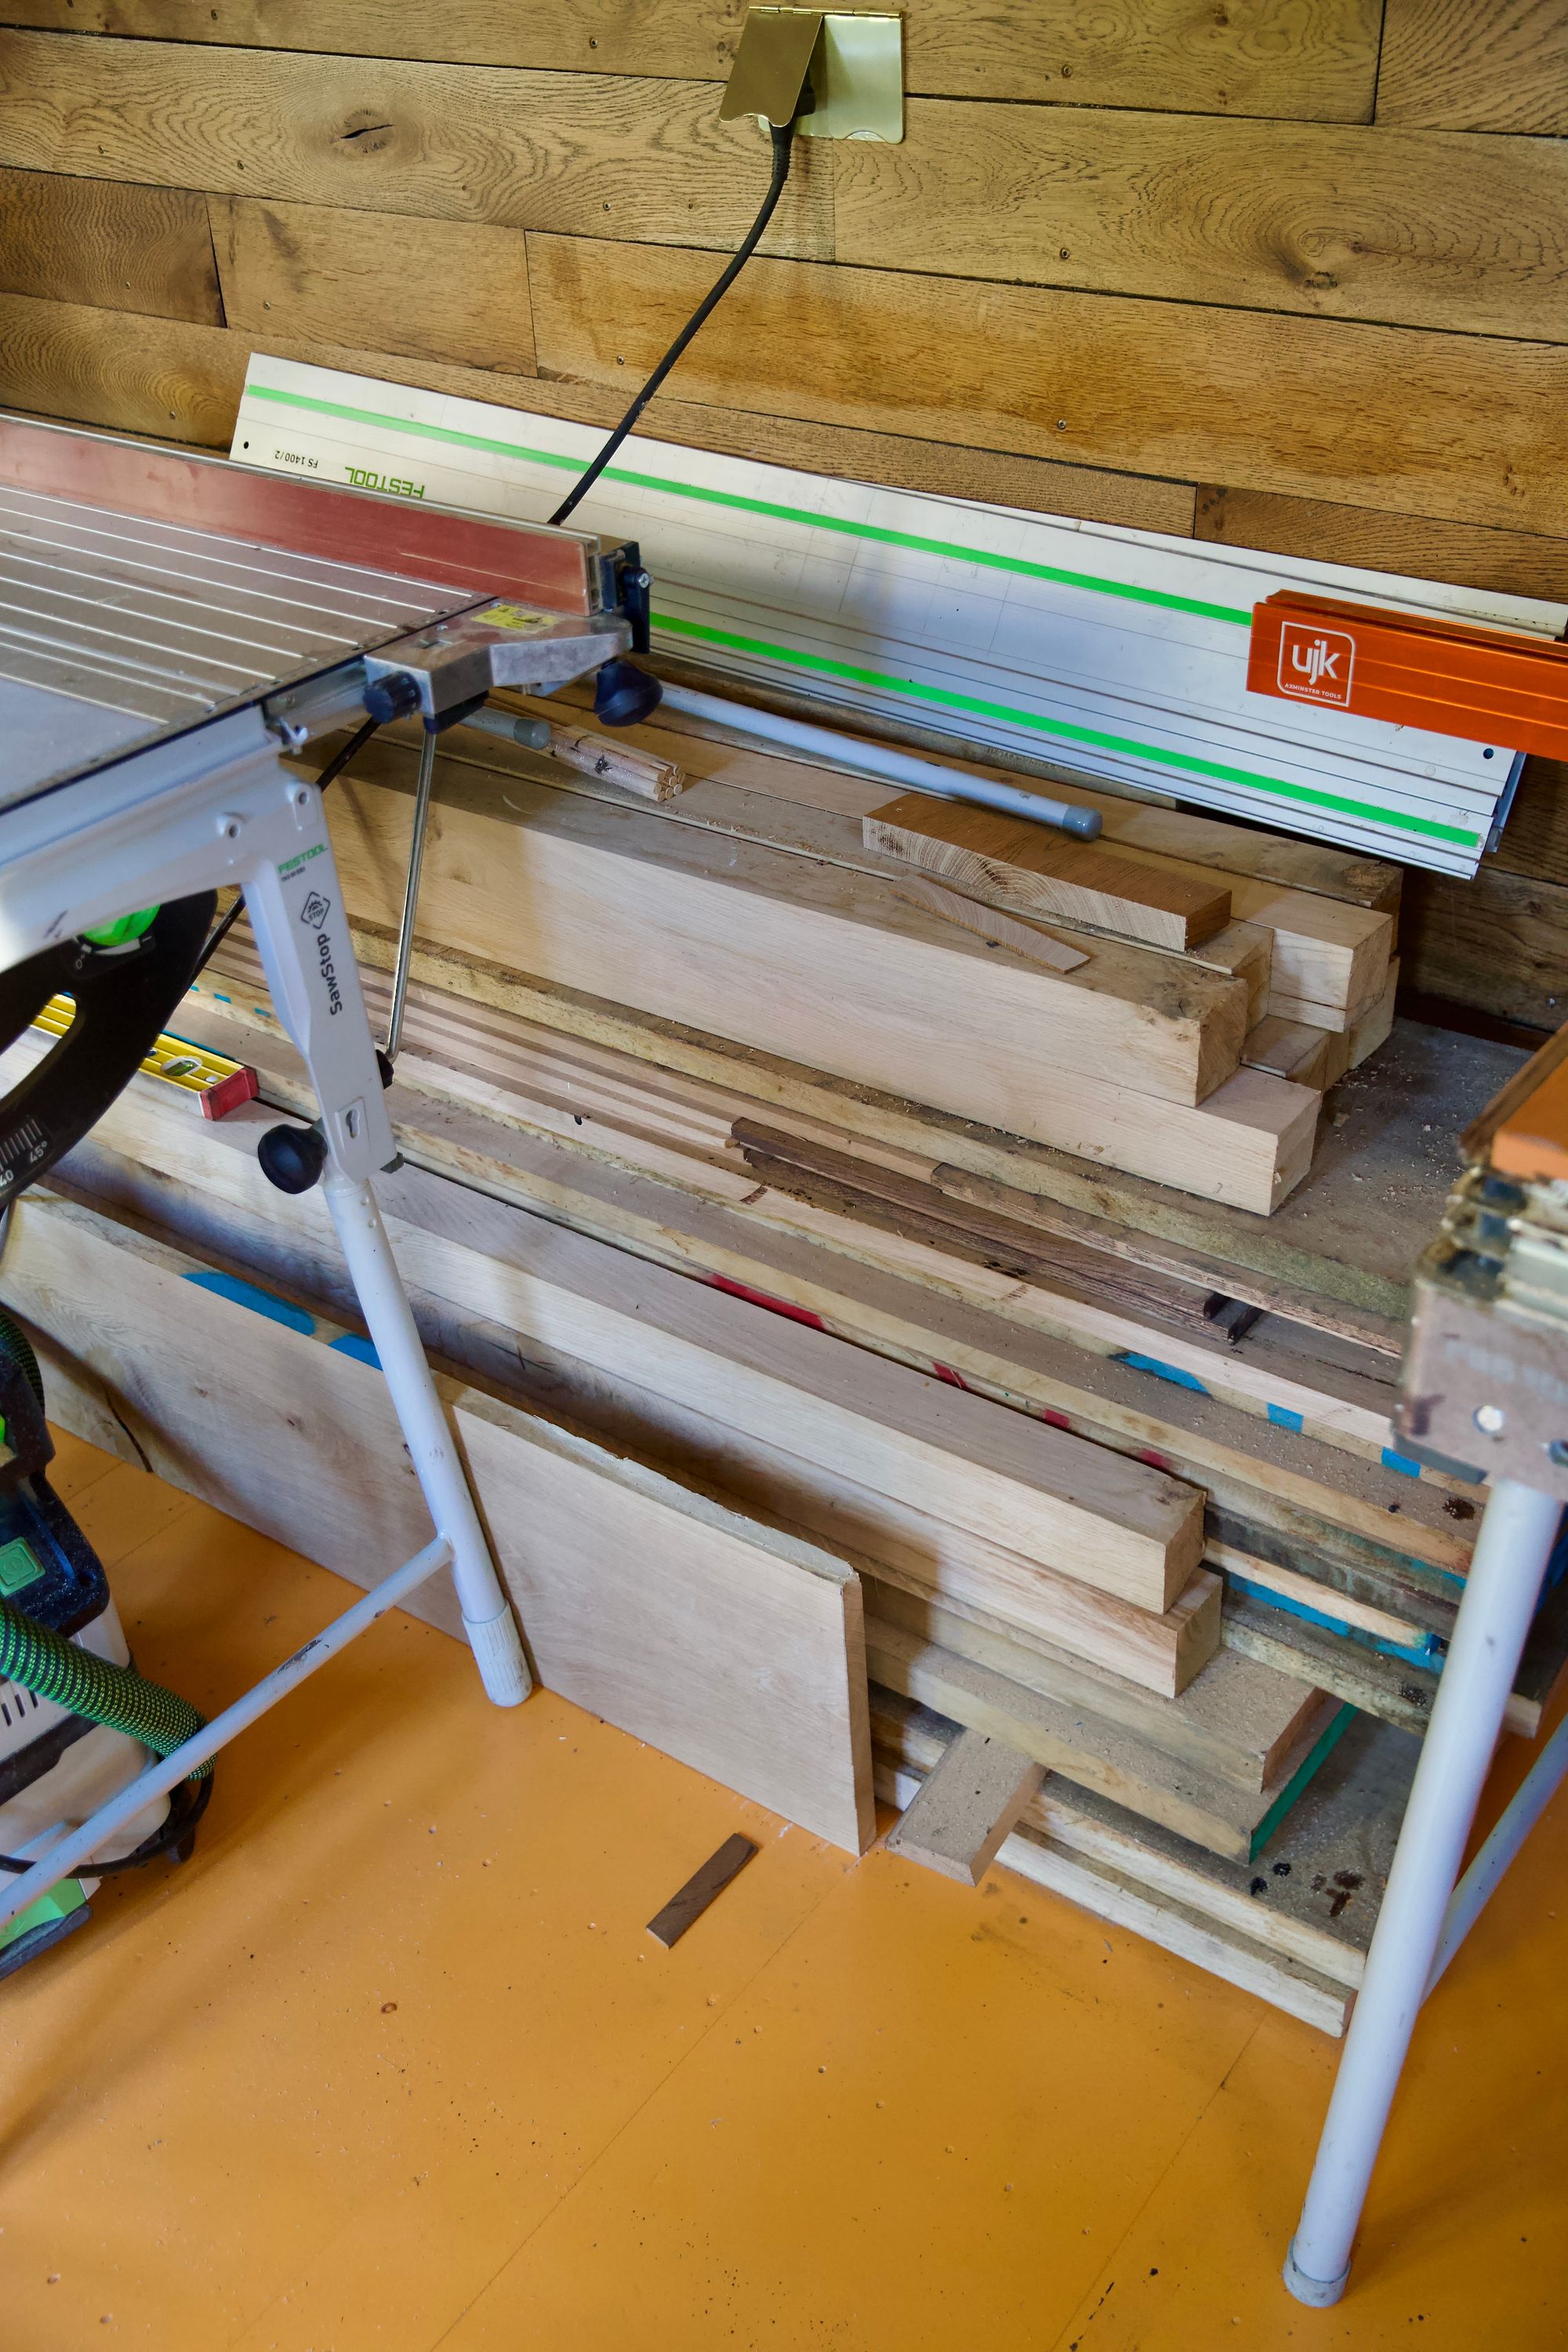
I'm told that all of this wood will soon be turned into more furiture for the shed (and the house hopefully).
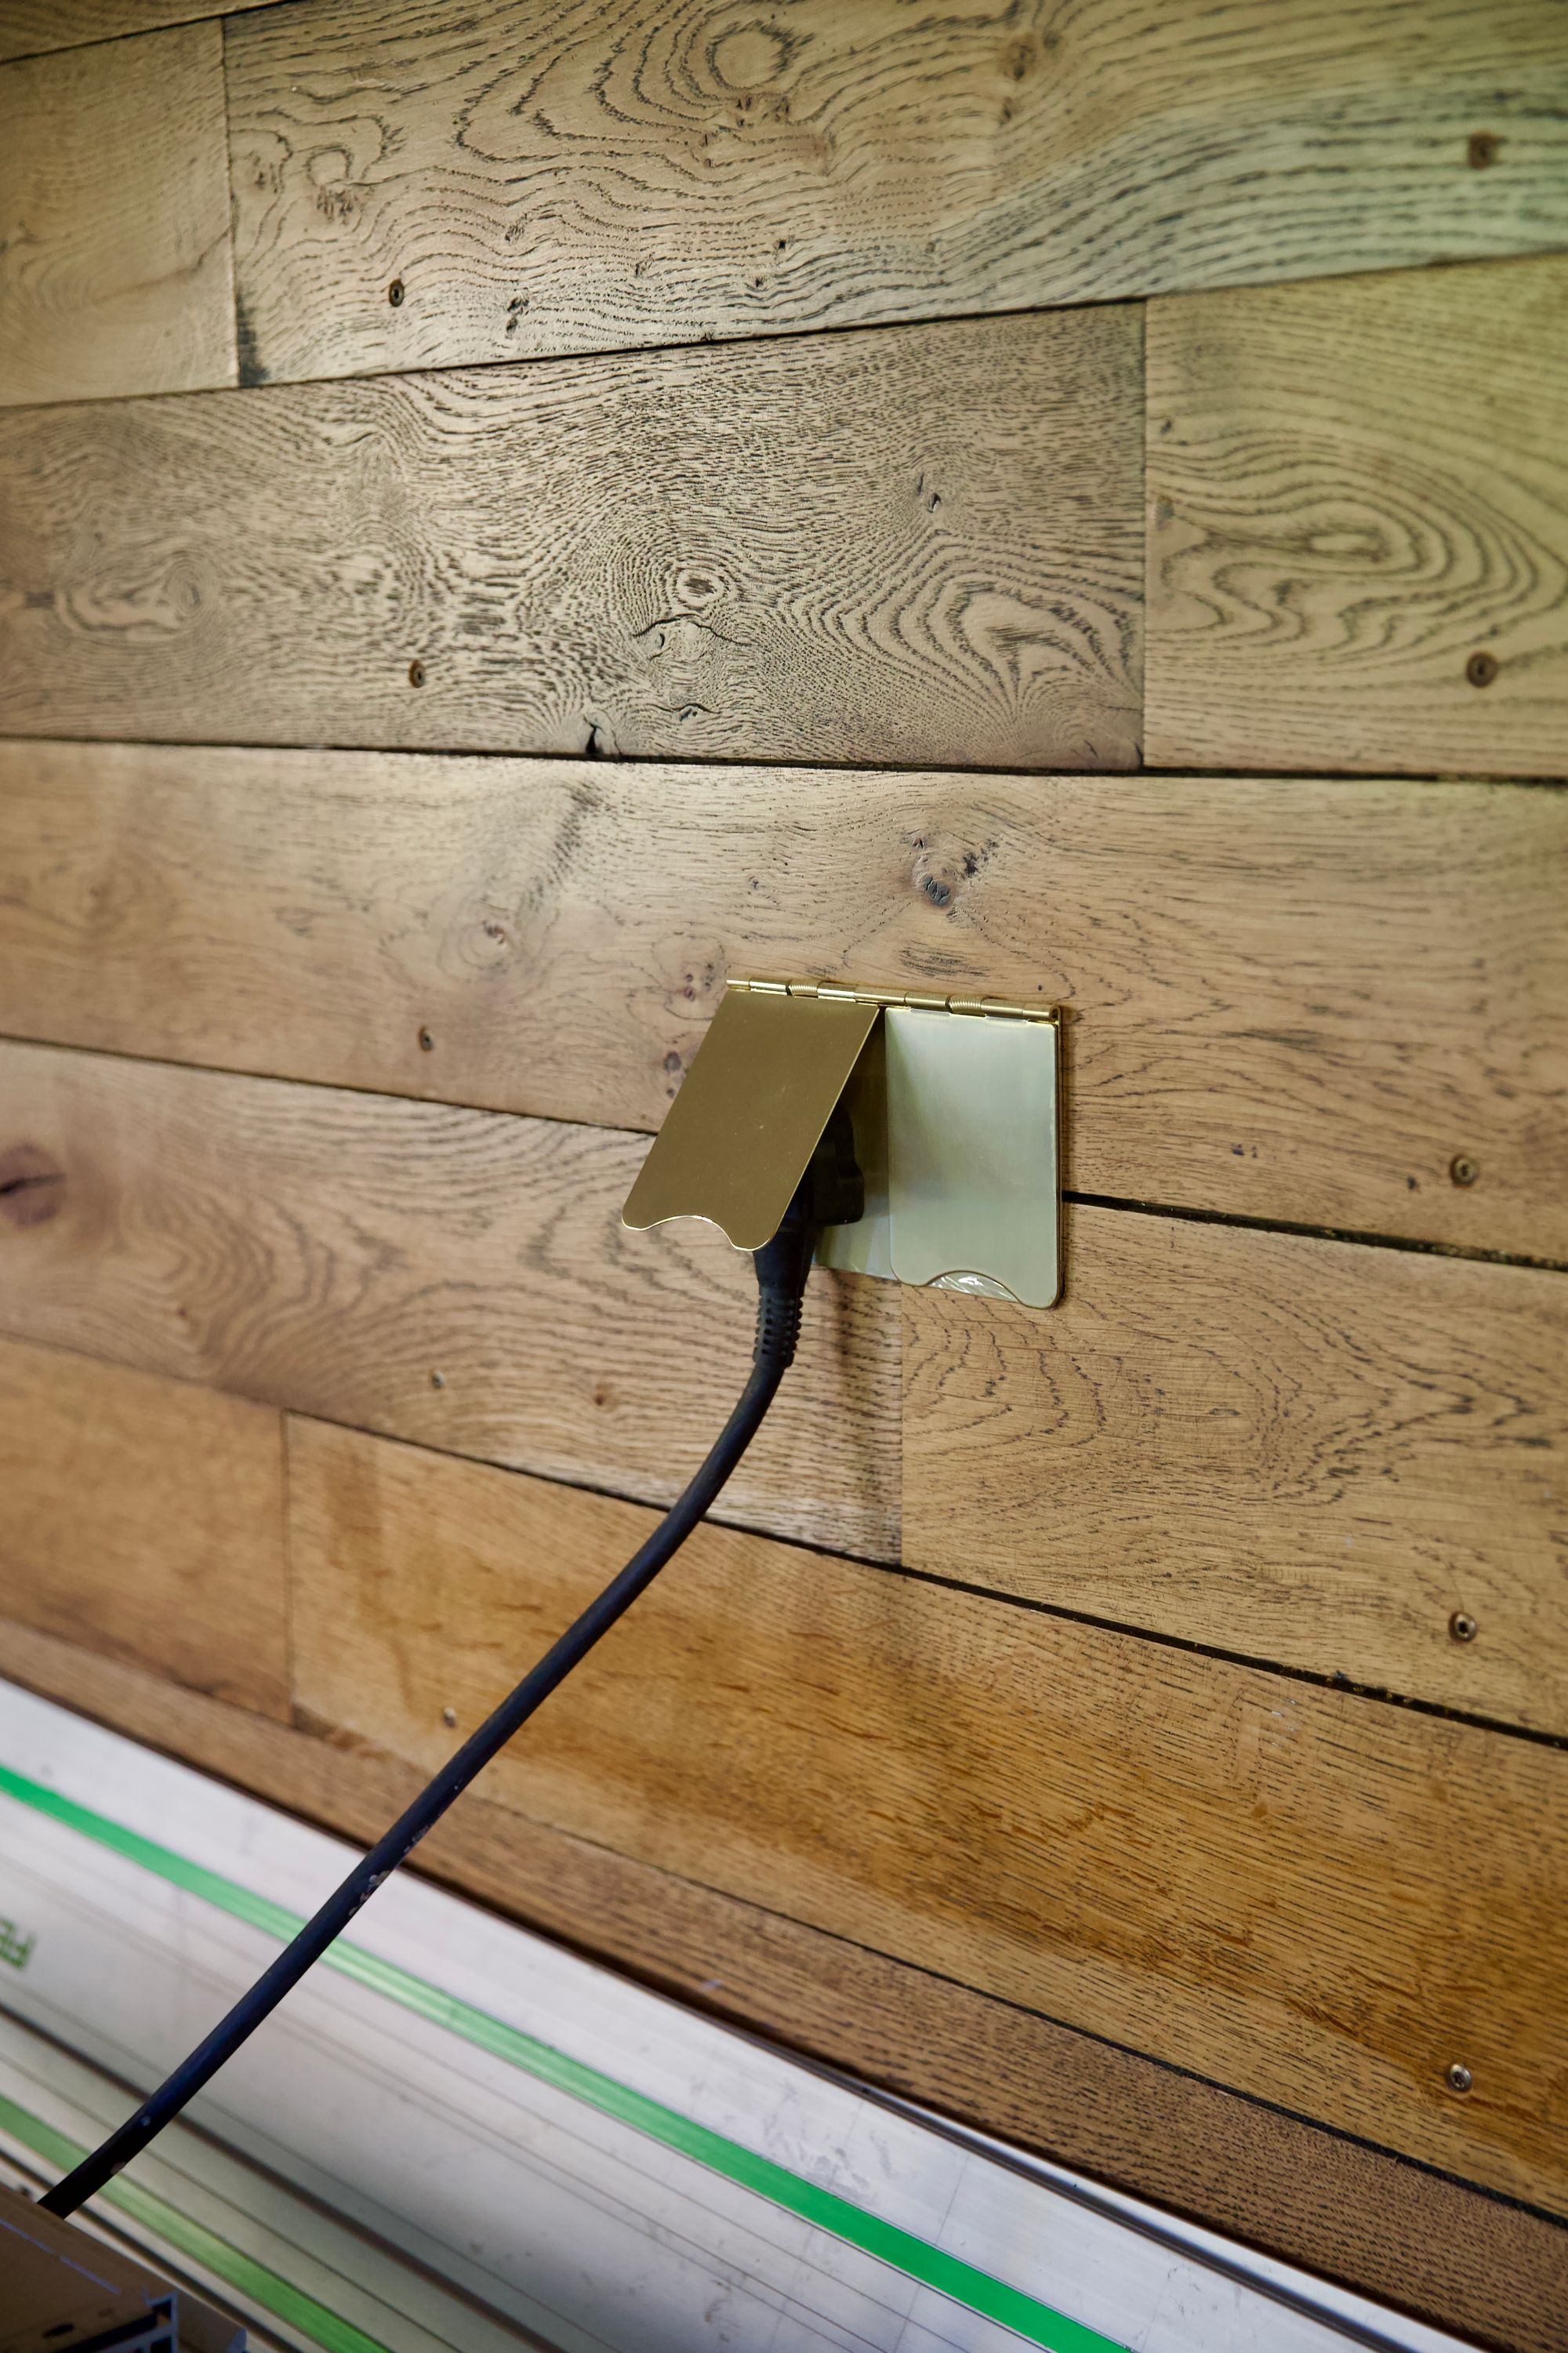
This was a bit of an experiment, but the brass floor sockets have worked really well on the walls! They are cheap as chip compared to fancy brass wall sockets and it's nice that the plug holes are covered when not in use.
Job done. Well for the time being...
Step by step view of the exterior from the greenhouse

Step by step view of the interior back corner


Step by step view of the exterior from the house

Step by step view of the interior front corner
